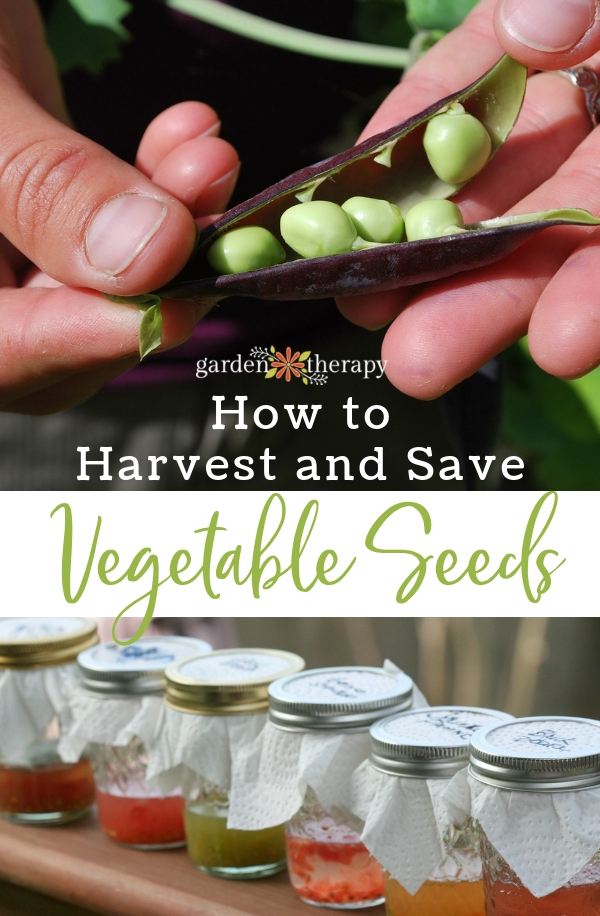
This time of year, we begin to say goodbye to this year’s vegetable garden and plan for next year’s. What better way to do both of these things than by collecting and preserving seeds to plant in the spring? Saving seeds from your very best vegetables will give you the very best seeds, so it’s worth it to take a little time and learn how to save seeds the right way.
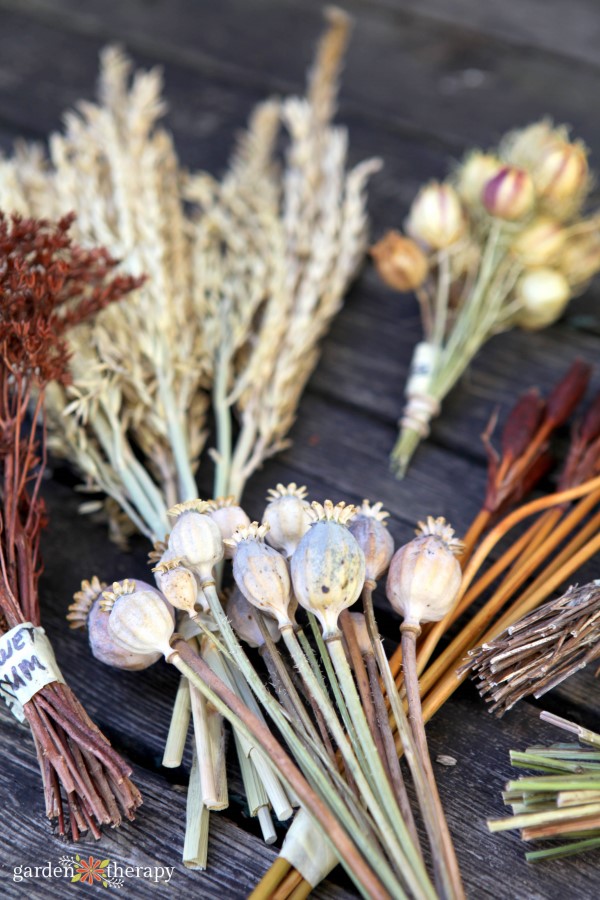
Different seeds have different needs when it comes to collecting them for the following year. Some can simply be transferred straight from plant to seed packet, while others need a bit more attention in the form of drying or fermenting.
In this guide, I’m going to show you three different methods on how to save seeds, and which method to use for some of the most popular vegetables.
While purchasing seeds each year is a relatively economical method for growing a garden, seed saving is still an important practice. When you save seeds from your best-growing plants, you already know that they can thrive in your garden!
Year after year, your crop will get better and stronger as you continue to save only the best seeds your garden has to offer. The practice of seed saving is also a traditional process. For many, growing seeds passed down from older generations honours their history.
This guide will cover…

Seed Saving Supplies
First, you’ll need a supply of seed envelopes for keeping your seeds stored and labelled. We’ve got you covered with lots of free printable seed packets here:
You’ll also need a tool for snipping seed pods in the garden. A small pair of scissors, such as embroidery scissors, is perfect for the job. You will also want a basket or paper bag for collecting pods out in the garden before you transfer them to their envelopes.
For drying and fermenting seeds, you will need paper towel and Mason jars.
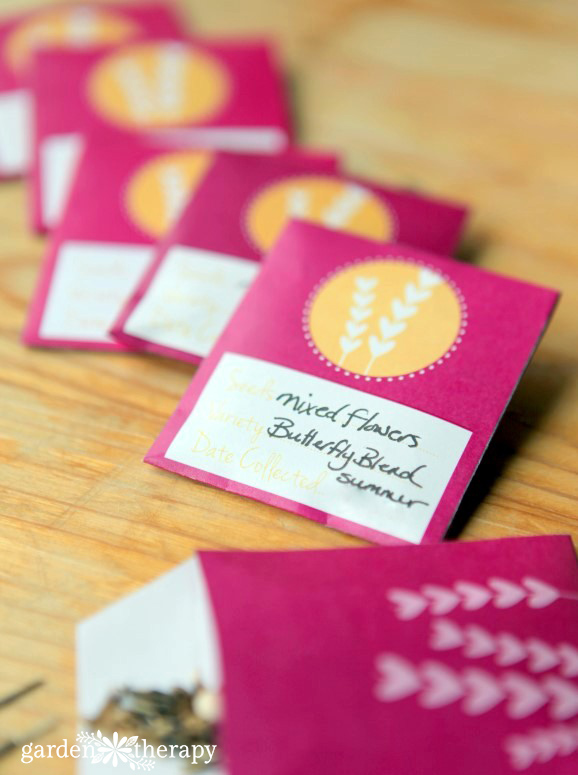

How to Save Seeds Method 1: Mature in the Garden
Some vegetable seeds, such as the ones listed below, will germinate and grow better if they are allowed to mature and ripen right on the plant. When they are ready, simply collect them and store them in an envelope for next year.
For this method, choose to harvest seeds on a dry day in the early afternoon when seeds are retaining the least amount of water.
How to Save Lettuce and Cabbage Seeds
When your lettuce or cabbage plant begins to flower, place a plastic bag over it. When the seeds are ready, they will drop naturally and be contained in the bag, ready for you to collect and store. How convenient! If you want to try something new for your lettuce garden, try some of these unusual leafy greens instead.
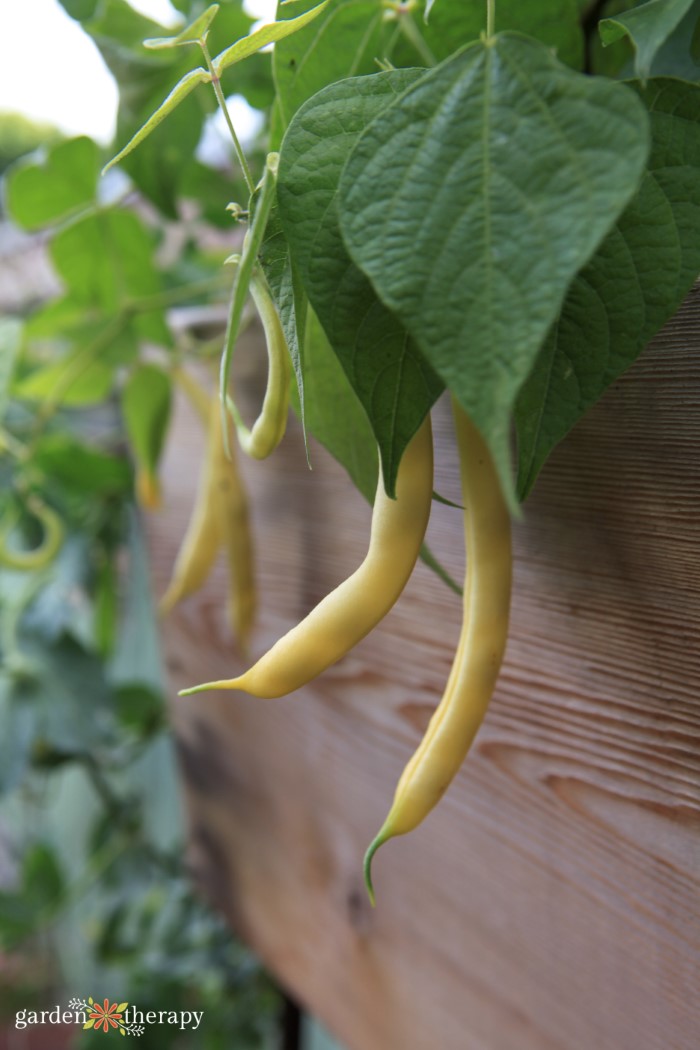
How to Save Pea and Bean Seeds
If pods are green, that means the seeds are still ripening and receiving nutrients from the pods. Be patient and wait until the pods are completely brown before you harvest them. Spread peas and beans out on a clean, dry surface and leave them to dry for a week or so before storing.
You can tell whether or not the seeds are dry enough to be stored by biting one. If it is hard when you bite down on it, it is ready to be packed into a seed envelope and stored for the season. Come planting, make your own pea trellis to support your newly saved seeds.

Seed Saving Method 2: Ferment
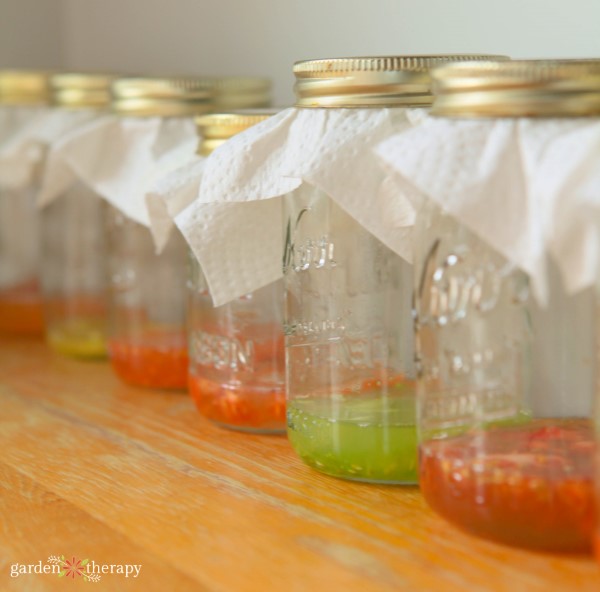
Some seeds need to be fermented for them to germinate properly. To induce fermentation, soak seeds in water for a few days, then collect, dry, and store them.
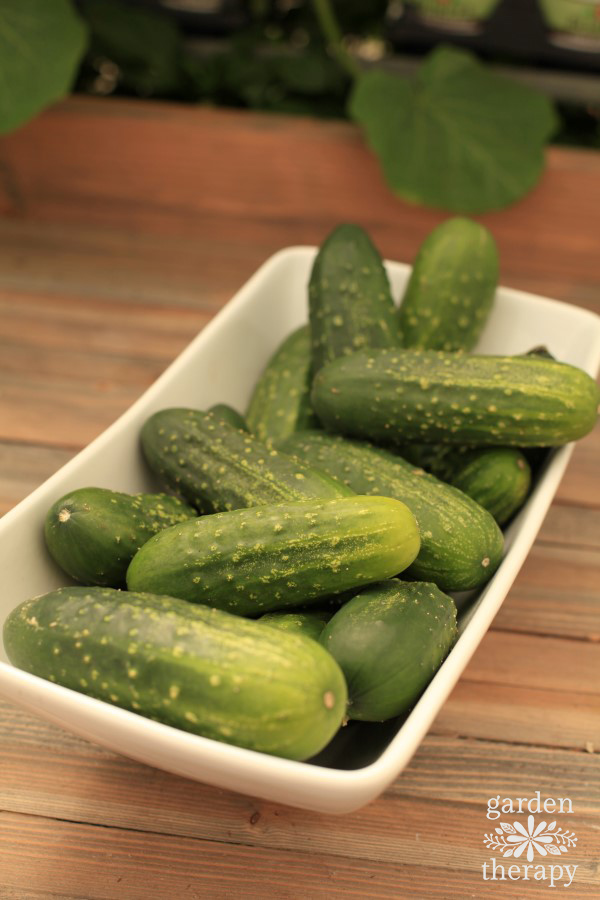
How to Save Cucumber Seeds
Wait until the cucumber is a bit overripe and its flesh has turned somewhat yellow in colour, then cut it in half lengthwise and scoop out the seeds with a spoon.
Drop the seeds into a Mason jar half-filled with water. Cover and let sit for three or four days. The best seeds will sink to the bottom of the jar. Collect those seeds and spread them out to dry on a paper towel. Once they are completely dry, store them in the refrigerator.

How to Save Melon Seeds
Cut a ripe melon in half and scoop out the seeds. Rinse them gently under warm water to remove excess fruit. Put the seeds in a covered Mason jar half-filled with water and let sit for two to four days.
As with cucumbers, the best melon seeds will sink to the bottom, while the ones you don’t want will continue to float. Dry the sunken seeds on a paper towel and store them in a seed envelope until you are ready to plant them.
How to Save Tomato Seeds
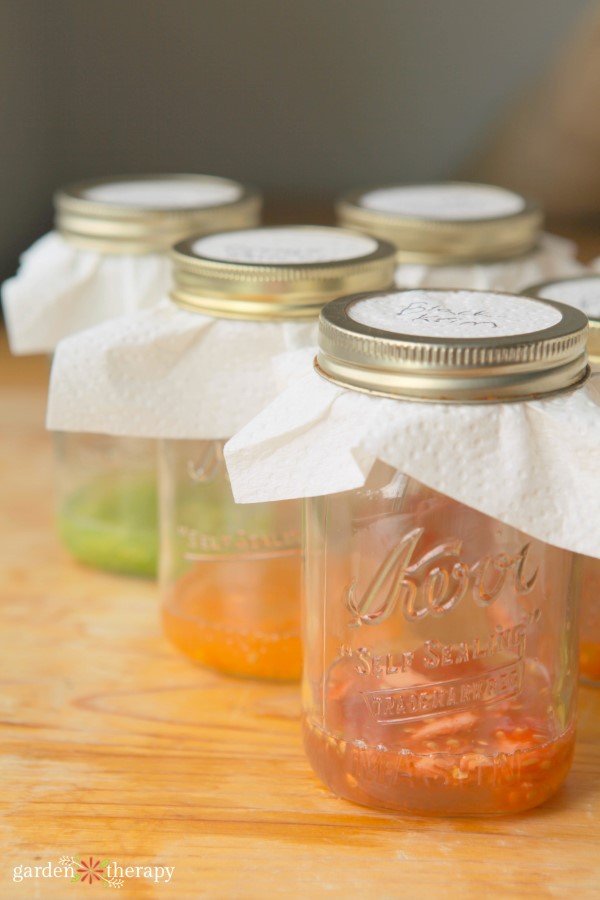
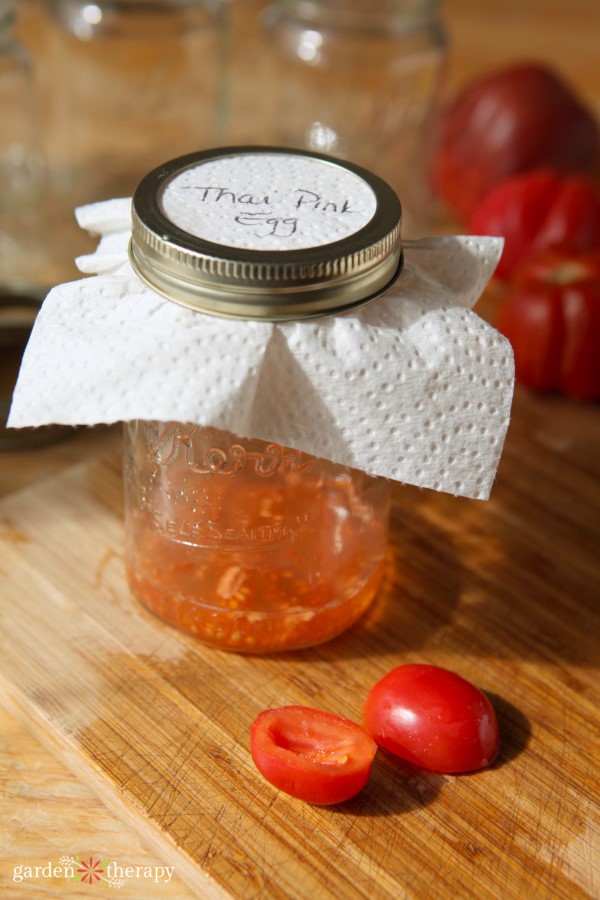
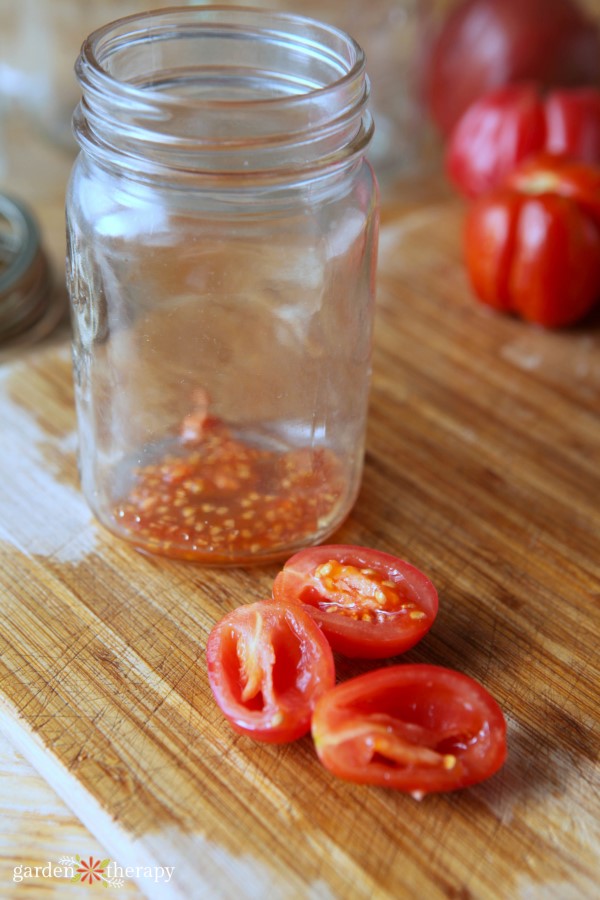
Fermenting tomato seeds requires a few more steps, but it is SO worth it! For tomato seeds, you want just enough water to cover the seeds and surrounding tomato guts.
Instead of using the Mason jar lid, use the Mason jar ring to screw on and hold a paper towel in place. After a few days of sitting in their Mason jar, you should have a full cover of mould on the seeds. Yes, this is a good sign!
Then your seeds are ready to be strained and dried. See detailed instructions in this post on how to save heirloom tomato seeds.

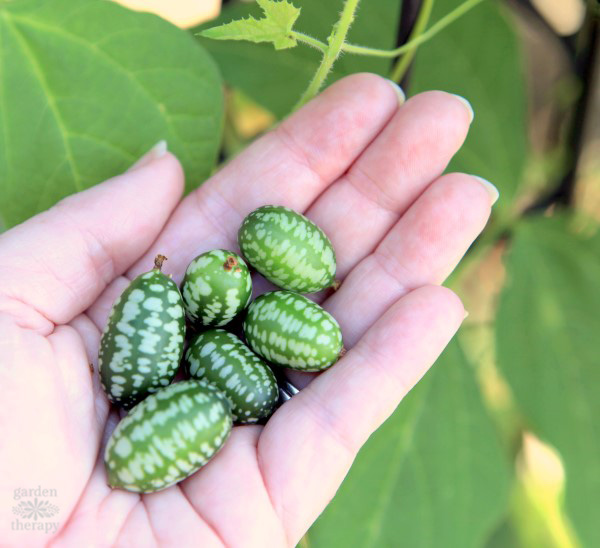
How to Save Cucamelon Seeds
Similar to tomatoes, you can ferment cucamelons using the same method. Their seeds will come back true to seed each year (the same as the original plant).
To learn more about this delightful mini fruit, check out my cucamelon growing guide.

Seed Saving Method 3: Scoop Out and Dry
The scoop-out and dry seed saving method involves simply scooping seeds out from the inside of veggies and laying them out to dry.
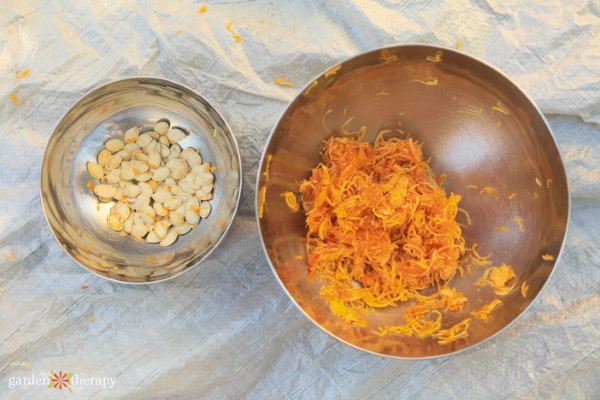
How to Save Pumpkin Seeds
When squash or pumpkins have developed a hard outer shell, they are ready to be harvested for seed saving. Cut the squash or pumpkin in half, scoop out the seeds and rinse them under warm water.
Then, pat them dry and spread them out on a clean, dry surface. Wait until the pumpkin seeds are completely dry before packaging them up for storage.
Different varieties of squash and pumpkin can cross-pollinate with each other, so the seeds you save might produce something that is not quite the same as the squash you collected the seeds from. This can be a really fun surprise!

How to Save Pepper Seeds
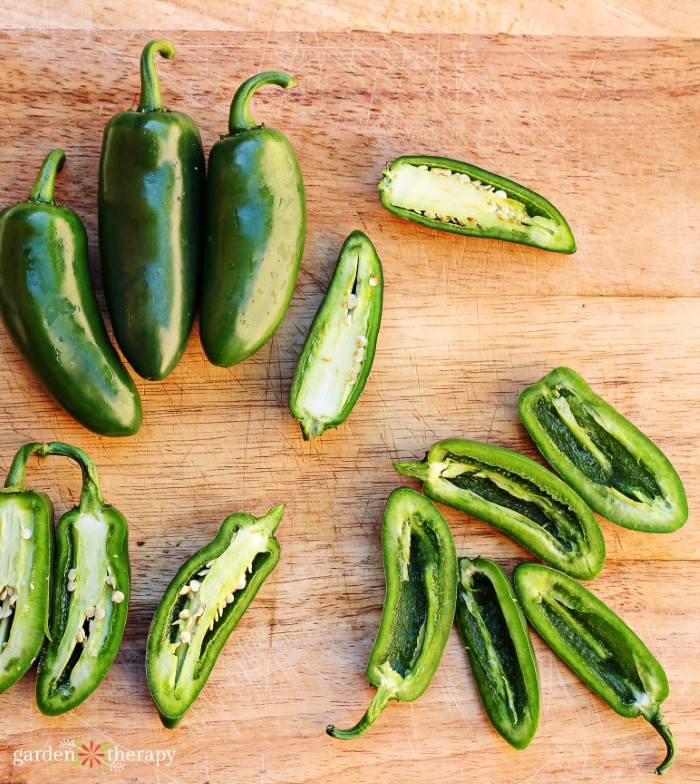
Most peppers will turn a dark red colour when they reach full maturity. At this point, harvest them and slice them in half.
Use your fingers to remove the seeds and spread them around on a paper towel placed away from direct sunlight…then make sure to wash your hands!
Leave the seeds to dry like this for one or two weeks, then store in an airtight container. When you’re ready to plant them, be sure to check out my growing guide for peppers, sweet and spicy!

How to Save Strawberry Seeds
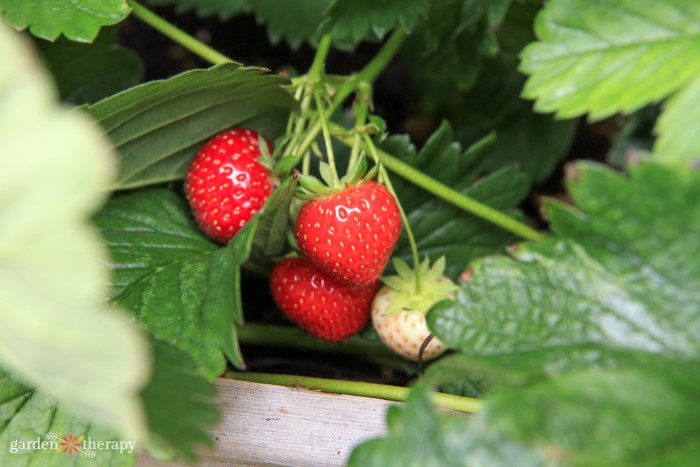
Though technically not a vegetable, strawberry seeds are easy to save using a smear and dry method. Rather than scooping the seeds, you will want to smoosh them on your paper towel. Then, let them dry somewhere warm.
Once dry, you can fold up the paper and stick it in an envelope for safekeeping. In the spring, scrape the seeds into soil and watch your strawberries grow.
Personally, I love to grow alpine strawberries and the process is near identical. Find more detailed instructions on this post on how I save my alpine strawberry seeds.

FAQ About Saving Vegetable Seeds
Let these seeds mature directly on the plant. Harvest pods when they feel dry. To open the pods, rub them gently between your palms.
When it comes to seed saving, many gardeners do not have to worry about the legalities. Most GMO and hybrid seeds are under a patent, meaning that farmers and other commercial growers can only grow these if they sign a contract. This contract states that they can’t save the seeds for the following year, only buying the rights to grow the purchased seeds.
However, if you are sticking to seed saving for your garden or to share with loved ones and neighbours through a seed library, you should be just fine. Heirloom seeds are well worth saving. No profit, no problem! For more on the difference between heirloom, GMO, and hybrid seeds, visit this post.
Have you ever planted some old seeds only to find that they never germinate? Sometimes, this can put you weeks behind your growing schedule before you notice. All seeds should be stored in a cool, dark, and dry place to make sure they last as long as possible. Always write the date you saved/stored them.
When stored right, all seeds should last a year. Depending on the plant, they can be good for as long as 2-5 years. For example, tomatoes last around 5 years, while peas and beans are only good for 2. Research your specific vegetable seed upon saving, and feel free to add a best-before-date when storing. This way you know what to plant come spring and never let any of your seeds go bad before planting.
If you’re ever unsure about the viability of your old seeds, you can easily perform the germination test described in this post.

More Posts About Seeds
Want to save other seeds, too? Click to learn all about saving flower seeds.
Now that you’ve saved all those seeds get ready to plant them next year!

