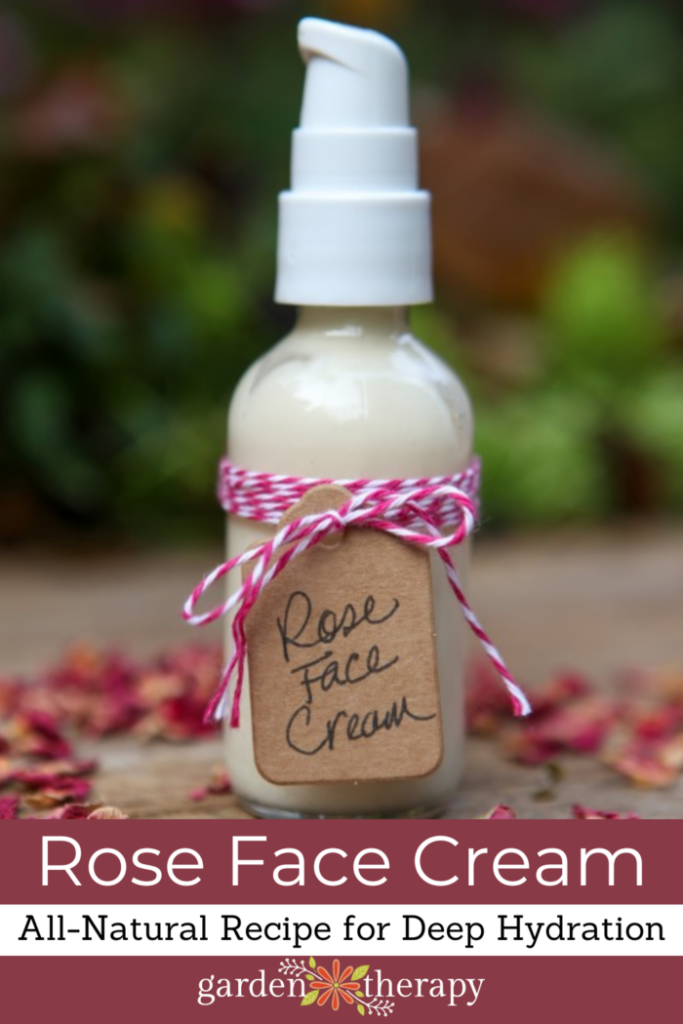
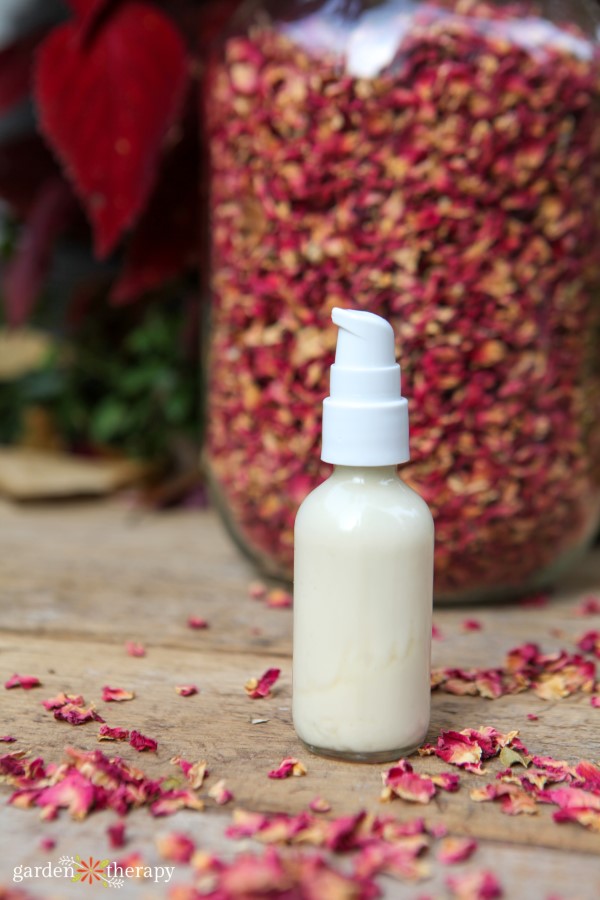
This rose face cream recipe is made specifically to penetrate deeply and hydrate the delicate and sensitive skin on your face. It’s made with all-natural ingredients at a fraction of the price of designer night creams. It’s a rich cream, but it absorbs quickly and is non-greasy. It works beautifully for my dry, sensitive skin when used in the evening after a deep cleanse.
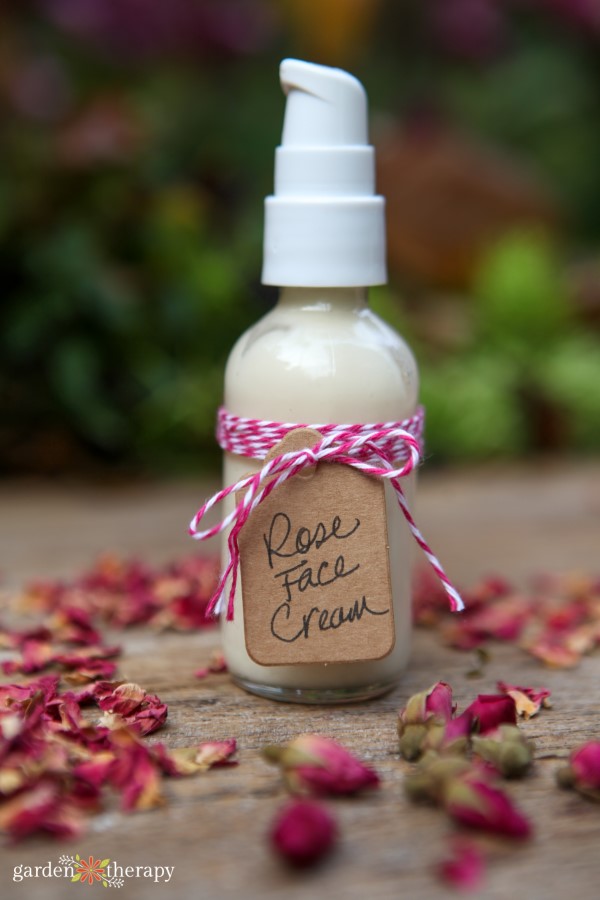
Plants are wonderful at letting us know just what they are best used for. Rose petals may not be the colour of skin, but the velvety smooth feeling of a rose petal is what healthy skin feels like.
There’s a reason I have many skincare products with rose!
Roses are wonderful for the skin, but they are even more perfect when used front and center for the sensitive and delicate skin on your face. I have written plenty about my love for roses and their healing benefits.
This rose face cream is one of the daily products I use, especially in the winter when my dry, sensitive skin needs some extra loving. And I’m going to let you in on the recipe!
This post will cover…
Why Timing is Important When Applying Face Cream
Just as the best quality ingredients are essential in skin care products, it’s equally important to apply the right type of product at the right time of day. Throughout each day, our skin is going through different functions as directed by our circadian rhythms.
In the morning, our skin is least likely to absorb rich ingredients and it is more likely to have a reaction. Wash with a gentle cleanser and apply a light moisturizer in the morning to set your skin up for the day.
In the evening, the skin is ready to drink in the herbal properties of healing plants. At this time of day, it’s a good idea to do a deep cleanse with a gentle soap and a sea sponge to scrub away any dry skin and dirt.
Then, give your whole face a quick spritz with rose water and witch hazel toner. Finally, apply this silky rose face cream, and your skin will feel like a rose petal.
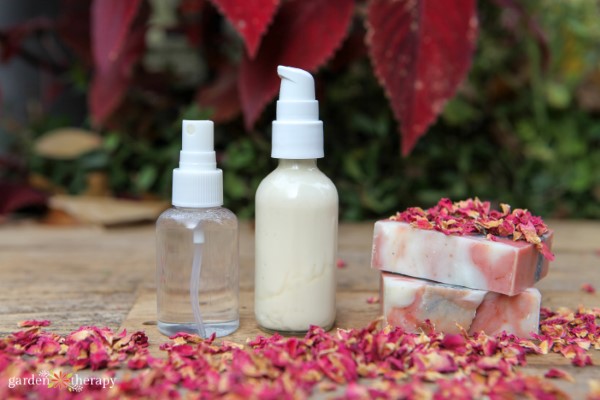

Rose Face Cream Recipe
If you’ve never made lotion before, I recommend you check out this post for a more detailed description and FAQ about the process. This facial cream is a special recipe that is designed to moisturize your skin without clogging pores.
For exact measurements, see the recipe card at the bottom of this post.
Aqueous Phase Ingredients
Oil Phase Ingredients
Cool Phase Ingredients
Make It!
Before you start, please make sure that all of your equipment and workspace are sterilized using alcohol. It may be tempting to skip this step, but I strongly encourage you to do this and do it well.
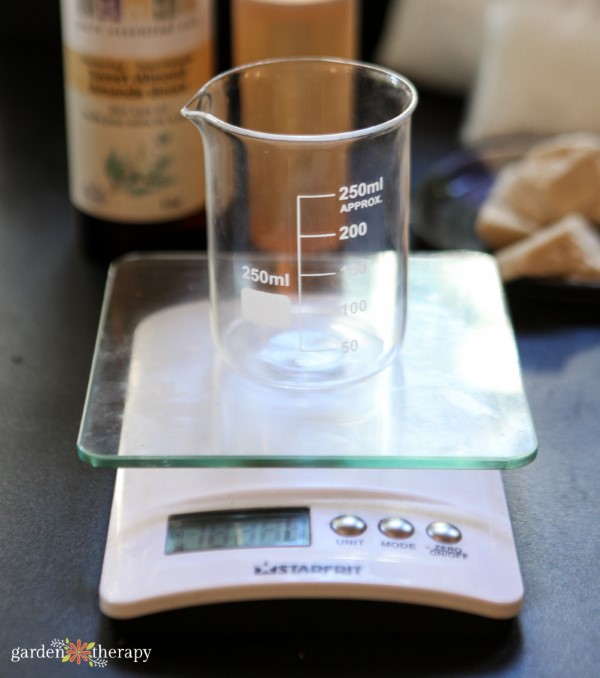
Use a kitchen scale to measure the oil ingredients in a heatproof container like a beaker.

Next, measure all of the water ingredients in another heatproof container. In this case, I used a Turkish coffee pot.
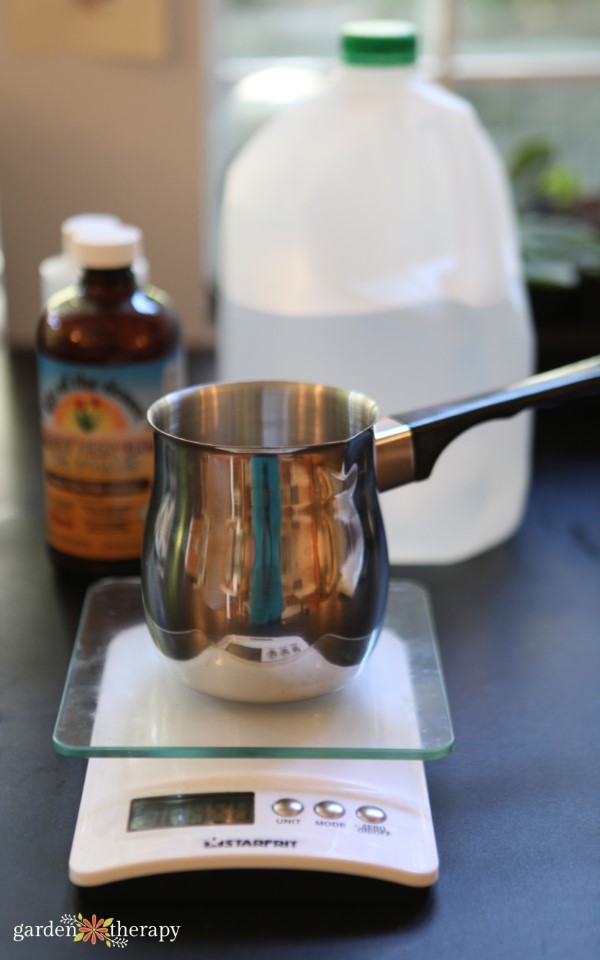

Create a double boiler and heat both the oil ingredients and the water ingredients to 160 degrees.
Keep both the water ingredients and oil ingredients at 160 degrees for 20 minutes. Similar to canning, this helps to kill off any bacteria.
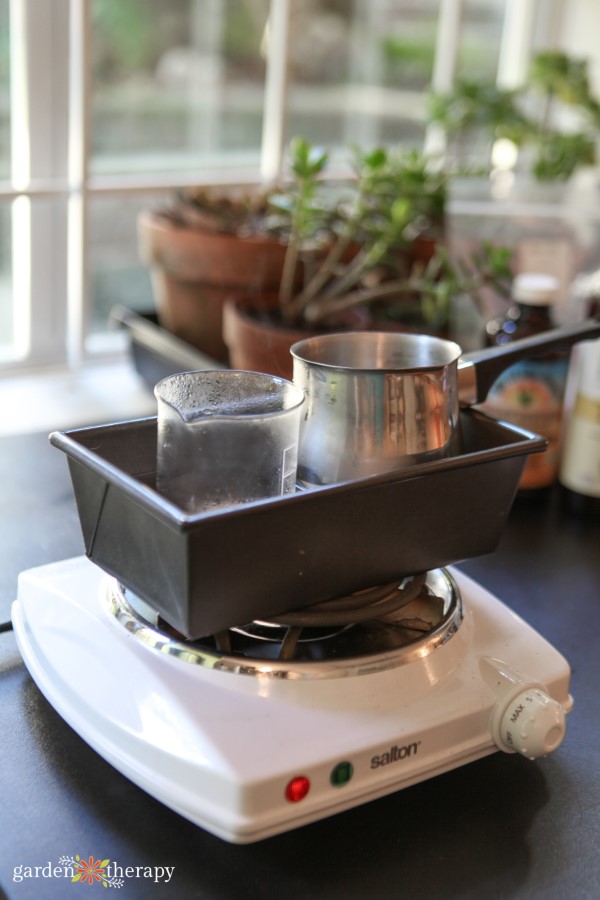

In a mixing bowl, add the oil ingredients first and then pour in the water ingredients.
Use an electric mixer to combine the ingredients. In a large bowl, they should thicken up quickly and cool down.
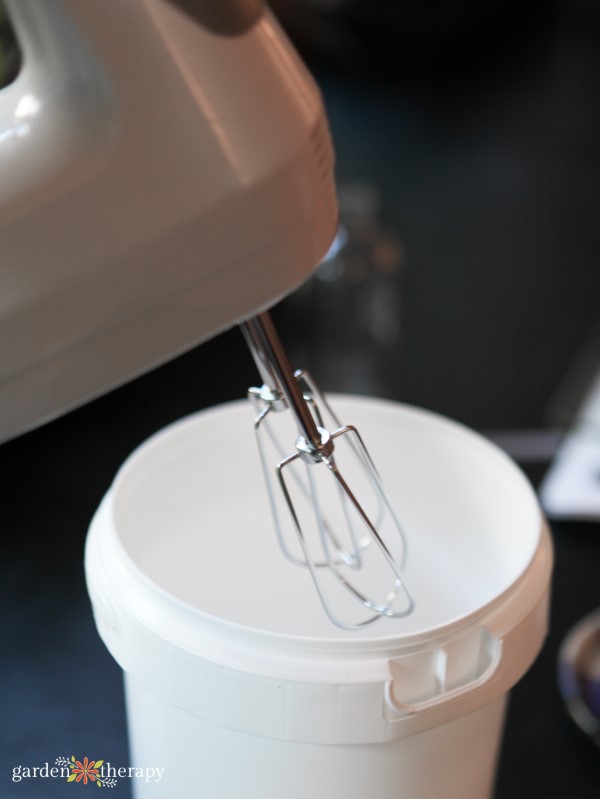

Once the ingredients have reached 80 degrees, you can add the cool phase ingredients. Remember, these ingredients are heat-sensitive and will break down at higher temperatures, which is why they’re added at this time.
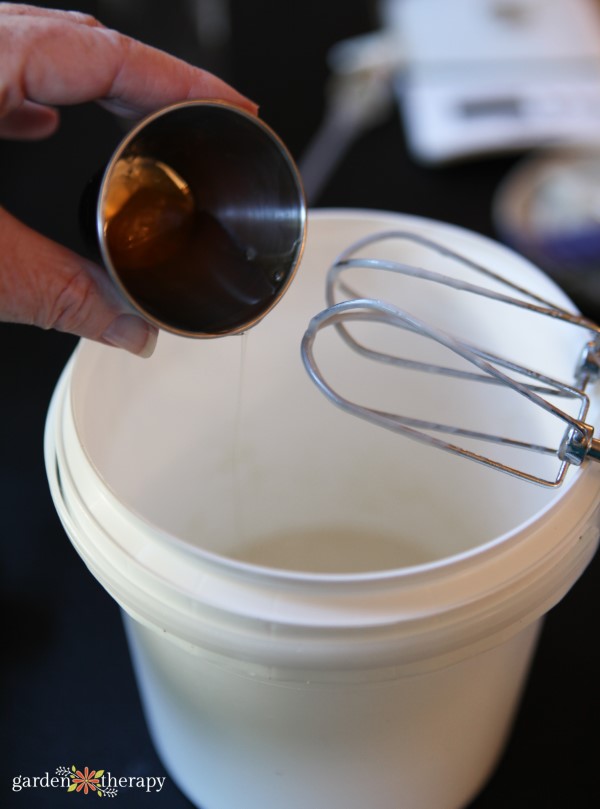

Continue mixing your lotion until it’s thick and fluffy.
Now, you can add it to a sterilized container.

FAQ About Rose Face Cream
With the leucidal, the shelf life is about 6 months. While it can go for longer, I find that the properties change after 6 months and the key ingredients don’t work as well.
I apply this rose face cream in the evening after I wash my face with a gentle soap and apply rose water toner. It can also be applied in the morning, but I find that my skin absorbs the benefits best at night.
Roses have anti-inflammatory properties, which make them good for reducing puffiness and redness and evening out overall skin tone. They also have natural oils that hydrate the skin and reduce dullness.
As an antibacterial, they’re great for treating acne. They also can be used to help heal scars, stretch marks, and prevent wrinkles.
More Rose Plant-Based Beauty Recipes
All-Natural Rose Face Cream
This rose face cream harnesses the healing power of roses, making your skin feel as smooth as a petal.
Aqueous Phase Ingredients
-
Sterilize all equipment and your workspace with alcohol. Do not skip this step!
-
Use a kitchen scale and weigh out all the oil ingredients. Place in a heatproof container.
-
Weigh all your water ingredients in another heatproof container.
-
With a double boiler, heat both your oil and water ingredients separately until they are 160 degrees. Keep them at 160 degrees for twenty minutes to kill off any bacteria.
-
Place the oil ingredients then the water ingredients together in a mixing bowl. Use an electric mixer to combine until they thicken.
-
When the ingredients have reached 80 degrees, add in the cool phase ingredients. Don’t add them any earlier or the ingredients will break down.
-
Continue mixing until the lotion is thick and fluffy. Place in a sterilized container.


