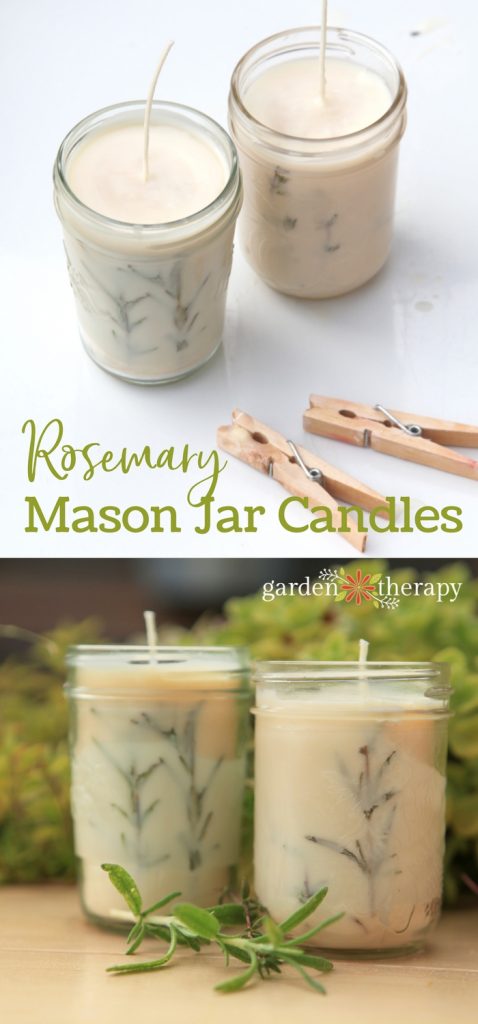
If you are lucky enough to have an abundance of rosemary, why not preserve that lovely herbal fragrance within a candle? These DIY rosemary candles use a combination of fresh herbs and essential oils for a fragrant candle that burns cleanly.
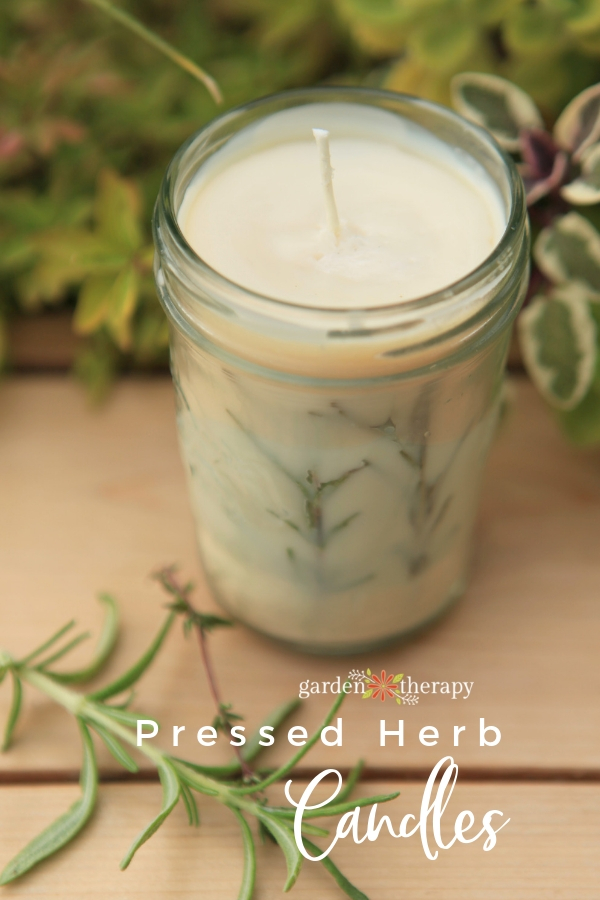
Pressed herb candles are a unique way to preserve the beauty of the garden. Rosemary looks great in these candles, but you can also use herbs like thyme or lavender that are readily available in the garden, grocery store, or garden center. This project uses a mix of beeswax and soy wax, mason jars, pressed rosemary leaves, and essential oils.
Rosemary Candles
The scent of rosemary is purported to help aid focus and memory, plus it smells wonderful and cozy mixed with the beeswax and evergreen essential oils. These easy-to-make candles can be used as beautiful handmade gifts or a special treat for just you!
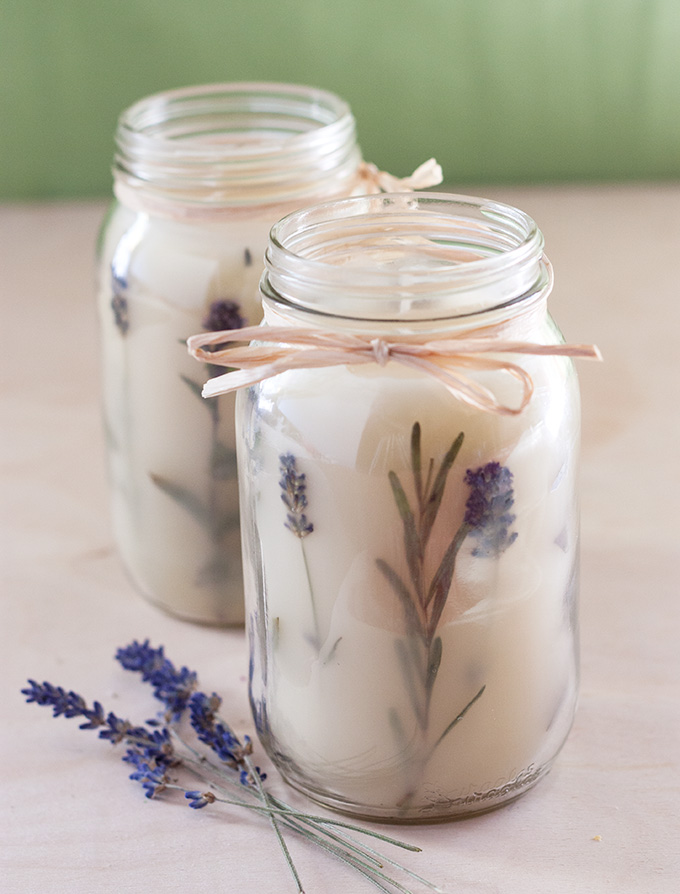
This project was originally created by our contributor, Rachel Beyer, who got the inspiration from a local apothecary in Portland, Oregon. Rachel is an accomplished artist and nature lover, so it’s no surprise how beautiful her lavender candles turned out. You can see a few more photos of these lovelies on her blog, Adventures in Making.

Project Update:
If you have come over from Pinterest, you may see a few differences in the photos on this page. In the original photos, the rosemary looked beautiful in the jars but the stems were woody and therefore hard to press against the side of the jar. The rosemary burned when the candles were lit, so for safety’s sake, we remade the project with young rosemary stems that were pressed flat against the jar.
The new project turned out great and we are in LOVE with the results. The key is to press whatever herb you choose as flat as possible and use the wax to stick it to the edge of the jar. That way it will stay against the side of the glass jar and away from the flame.

A Note on Safety: Even though we have tested and revised this project, your DIY candles should never be burned unattended, just like any candle. Please always use your common sense with any DIY project, especially when fire is involved.
How to Make Rosemary Candles
Here is how to make these pressed herb candles with rosemary and scented with essential oils. The mix of essential oils can be changed to suit whatever the occasion or season. The rich, earthy notes of evergreens make this a great Christmas gift, but try mint, lime, rosemary, and lavender for other seasons throughout the year.
Materials
(Makes 2 8oz candles)
Additional Tools
Make it!
Harvest young, thin-branched rosemary sprigs or other herbs from your garden and press them between heavy books or a wooden press for a week, until they are very flat and dry. See how to press leaves in a homemade wood flower press here.
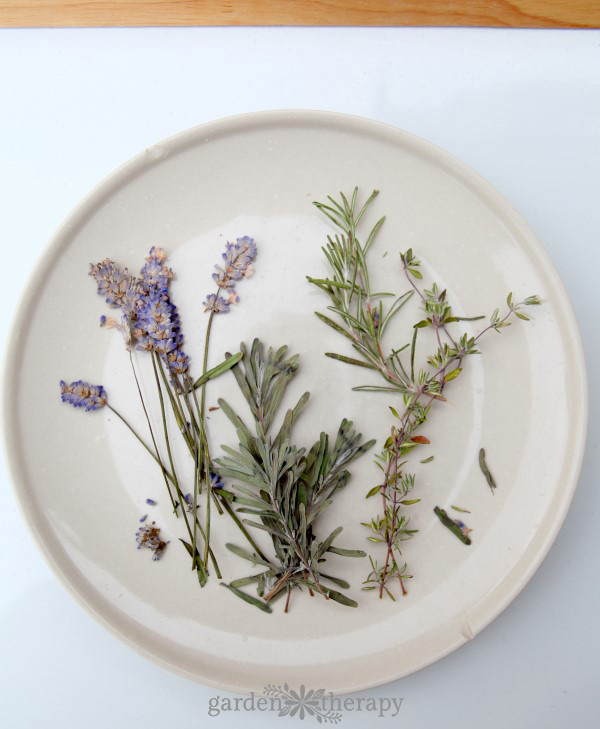

Cut the rosemary sprigs to length so they will sit at least 1″ below the rim of the jar.
Make Your Essential Oil Blend
When making candles, you can use anywhere from one-half ounce (15 ml) to a full ounce (30 ml) of essential oils per pound of wax, depending on how strong the scents are. Some essential oils can overpower a blend, so adjust accordingly.
This recipe uses one-half ounce (15 ml) to create an evergreen scented blend because of the potency of the oils. This blend is easiest to weigh in milliliters to create the half ounce used:
Once you have the pressed herbs and essential oil blend ready, it’s time to start making candles! Create a double boiler using a saucepan with an inch or two of water and a metal pitcher or tin can. Place the wax into the pitcher and let melt completely.
While the wax is melting, use tongs to dip the rosemary sprigs into the melted wax and then place against the side of the jar. Use a craft paintbrush to brush melted wax over the rosemary to hold it in place.
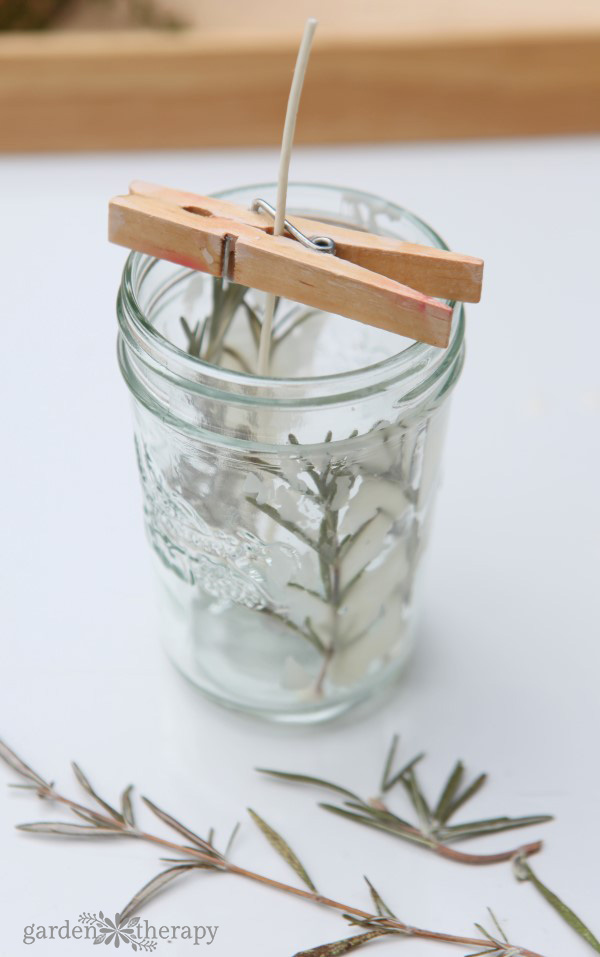

Attach the Wick
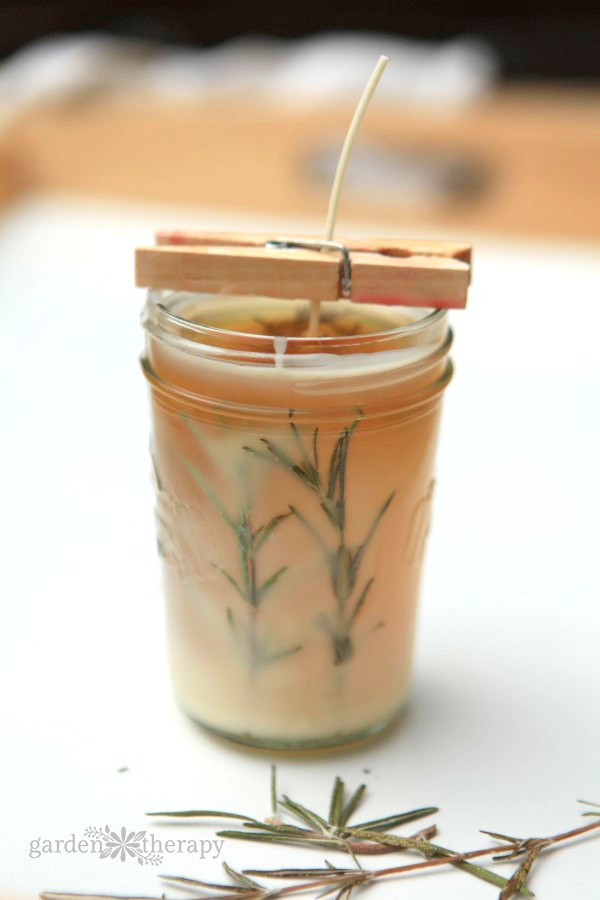
Cut your wick to size and use pliers to attach a metal tab. Then add a glue dot to the bottom and place into the center of your jar. Use clothespins to secure the wick and keep it centered.
Once your wax is melted, remove it from the pan and use a popsicle stick to stir in the essential oils. Then pour the wax into each prepared jar. Let dry.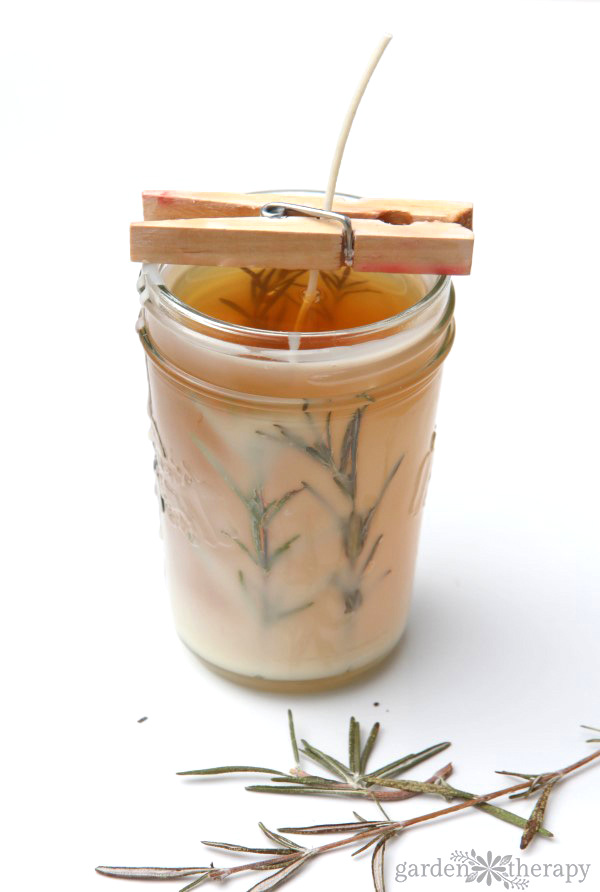

Wrap the outside of the jars in a dish towel and set aside to set. Cooling slowly and completely will create the best looking candles.
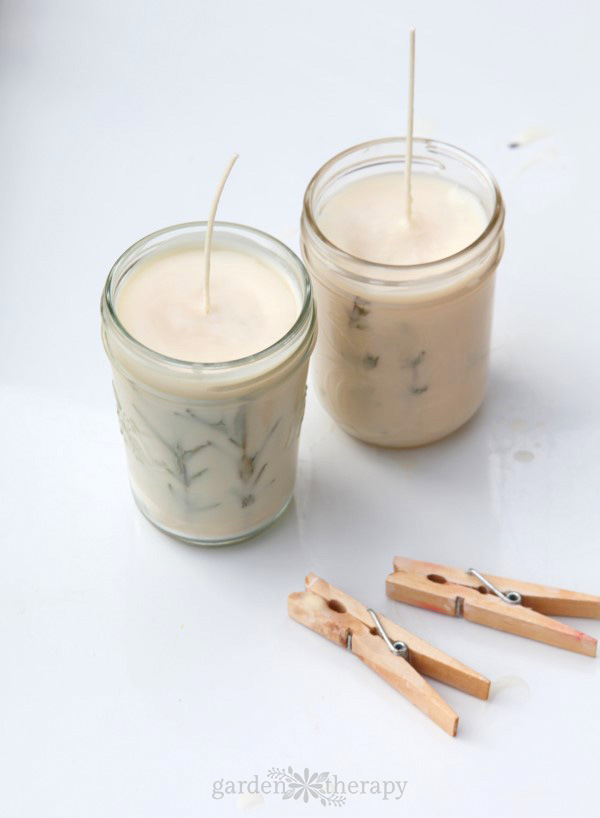

Allow Your Rosemary Candles to Cure
Next, your candle will need to cure for 48 hours undisturbed. Once cured, trim the wicks with scissors.
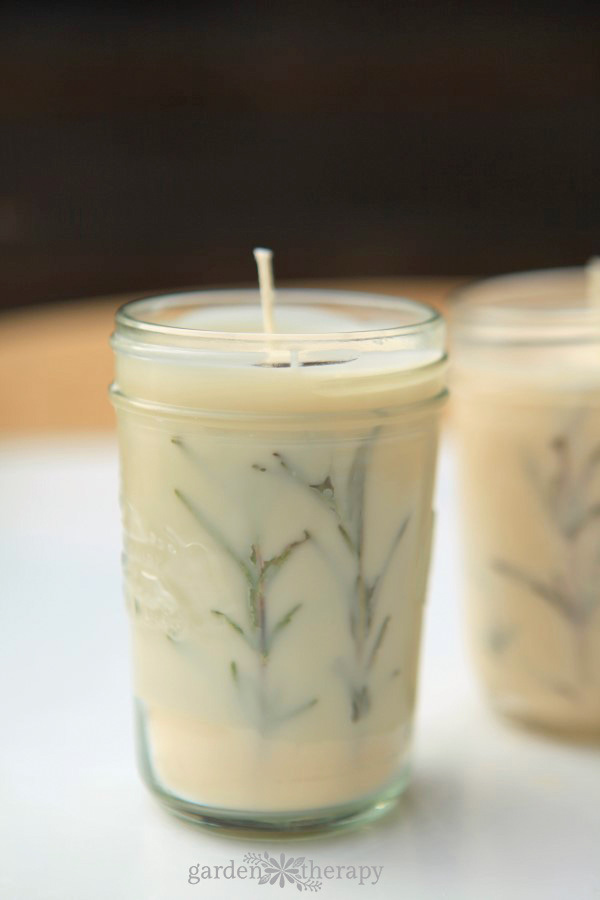

Your rosemary pressed herb candles are now ready to burn or give away as gifts.
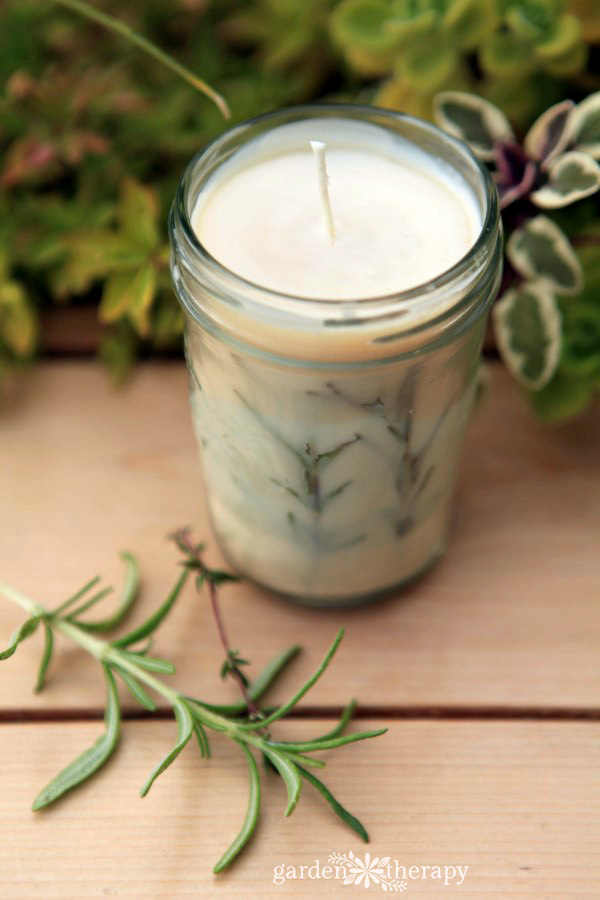

Disclaimer: This website contains general information about gardening, natural beauty, crafts, DIY projects, and recipes. The information is not advice, and should not be treated as such. While we do our best to provide useful information, any reliance you place on such information is strictly at your own risk and not a substitute for medical, legal, or any other professional advice of any kind.
More Posts You Might Like:
DIY Herbal Rosemary Candles
Have an abundance of rosemary? Bring that woodsy scent indoors and enjoy it all year long with these diy rosemary candles.
-
Harvest young, thin rosemary sprigs (or other herbs) from your garden. Press them flat. This can be done by leaving them in between heavy books until totally dry.
-
Cut the sprigs to they will sit 1″ below the jar’s rim.
-
Measure out your essential oils into a glass container. You’ll need 6 ml of fir oil, 4 ml of bergamot, 4 ml cedarwood, and 1 ml of juniper berry essential oil. Set aside.
-
Create a double boiler and melt the wax completely. As the wax is melting, use tongs to dip the rosemary into melted wax and then “glue” them to the inside of the mason jar. Use a craft paintbrush to add additional melted wax to help keep the herbs in place.
-
Next, cut your wick to go just over the mason jar lip. Use pliers to attach a metal tab, then add a glue dot at the bottom to center the wix. Clothespins can be used to keep the wick centered and secured.
-
Once the wax is fully melted, remove it from heat and stir in the essential oils using a popsicle stick. Then divide out the wax mixture and pour it into each prepared jar. Allow the wax to harden fully for about 48 hours.
-
Trim the wick, light, and enjoy!


