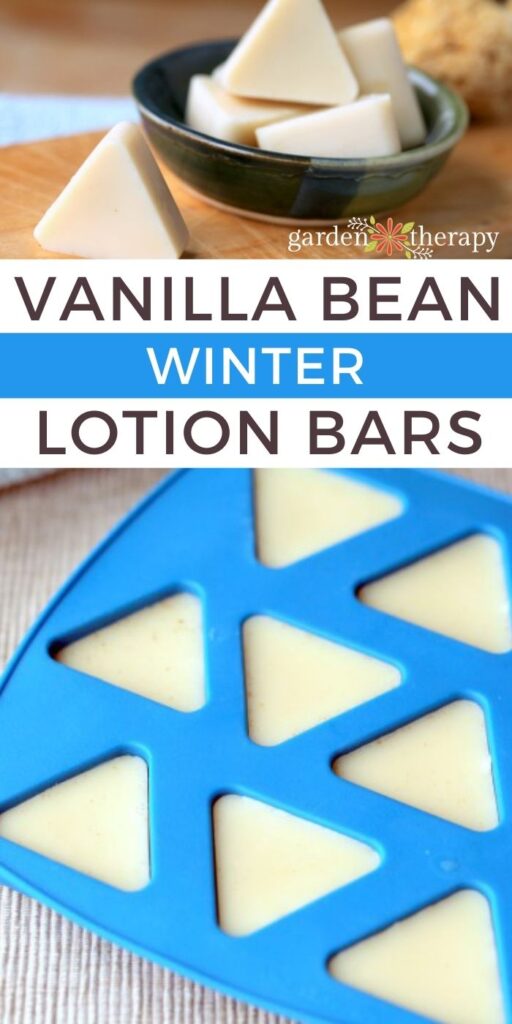
This vanilla bean lotion bar recipe is formulated specifically for the cool winter months in a cold climate. These pocket-sized lotion bars are easy to tote around and are perfect for chapped, dry hands. Plus, they smell incredible too!
The Perfect Winter Lotion Bar Recipe
Homemade lotion bars are popular because they are convenient, full of healthy skin ingredients, and make wonderful gifts. If you have tried a lotion bar before and didn’t care for it, please give this winter lotion bar a chance. I have spent time testing different lotion bar recipes and this is the clear winner for moisturizing dry skin in the winter.
No Beeswax
A lotion bar for the winter is very different from a lotion bar for the summer. I’ve tried a lot of recipes and while many look beautiful, they are waxy and difficult to apply. With colder temperatures in the winter, a lotion bar with beeswax will feel more like rubbing a candle on your skin than lotion.
Instead, this recipe uses a soothing, moisturizing combination of cocoa butter and coconut oil but this recipe is ideal!
Smaller Size
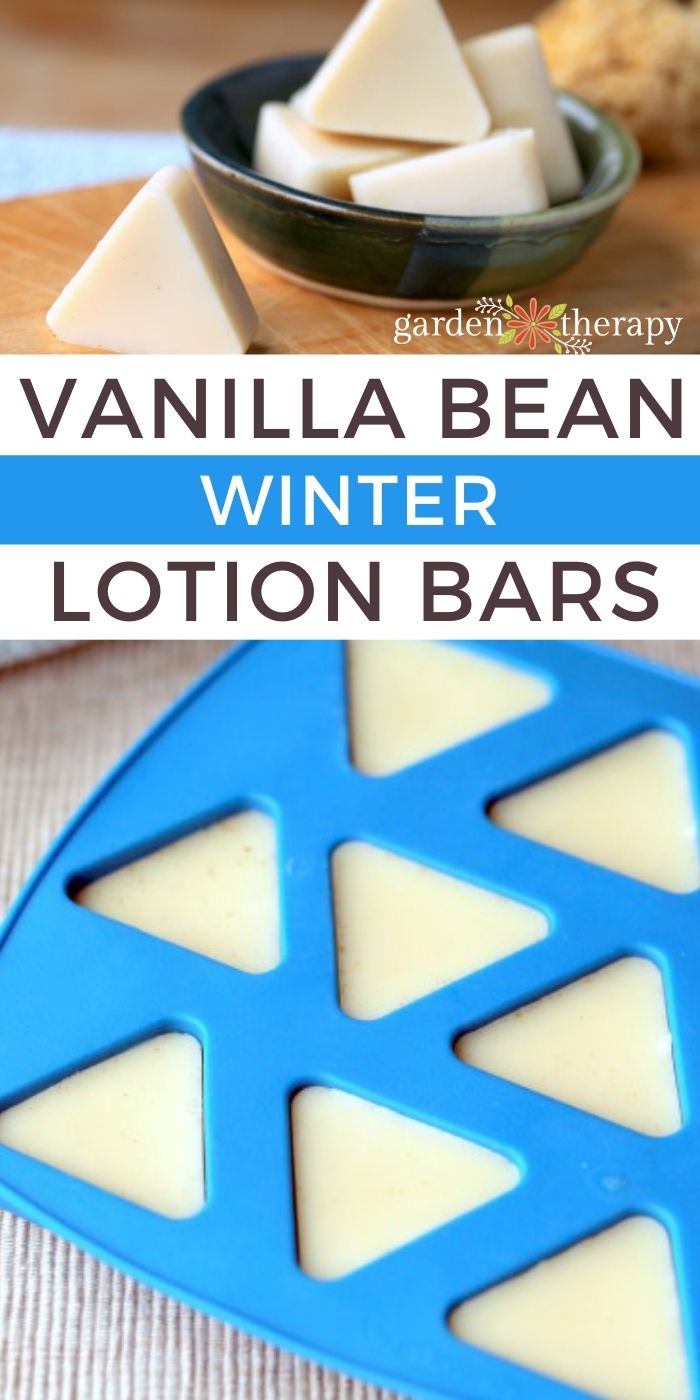
The lotion bars are also much smaller as they are made in an ice cube mold, so they are easy to throw in your purse or pocket and use on the go. Because of their small size, these winter lotion bars will easily melt into your hands and give you just enough lotion to moisturize your skin with a delicious vanilla scent.
The small size makes them perfect for applying, and the oil/butter that warms your skin melts quickly. But this doesn’t make them great gifts! If you would like to make these as gifts, then please use this recipe instead, simply swapping out the calendula and lavender for vanilla as listed in this recipe.
Why Use a Winter Lotion Bar?
I have very dry skin, and in the winter it is even worse. Forced air heating, repeated sanitizing, and hot showers strip the moisture and make my skin dry and itchy all over. Besides drinking a ton of water to hydrate from the inside, I have also found that a cocoa butter and coconut oil lotion bar combination works best for me.
They are both solid at room temperature (in the winter) and melt at body temperature. If your home isn’t too warm, you can easily keep a bunch of these lotion bars in a container and they won’t melt until they are rubbed onto your skin.
Note: in the summer, I do add beeswax to firm up the bar and hold moisture once applied. Here is the lotion bar recipe that I use for summer.

Vanilla Bean Winter Lotion Bar Recipe
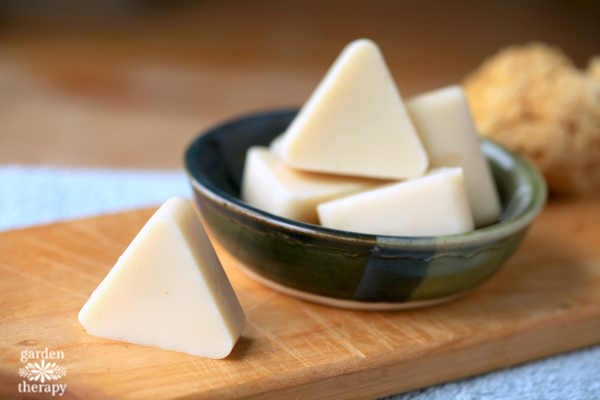
Make these lotion bars in candy or ice cube trays so they are just the right size for a few applications. An ice cube sized winter lotion bar will last two showers if I apply it to my whole body. These bars absorb quickly and leave my skin silky. They don’t leave me feeling greasy at all.
Ingredients and Materials
Makes 12 mini lotion bars
Vanilla Extract vs Essential Oil
Vanilla absolute is what I use for this recipe. I get asked ALL THE TIME if vanilla extract can be used in its place, but sadly, the answer is no. Vanilla sold as an essential oil is quite different from the vanilla extract used in baking.
Vanilla essential oil has an oil base, whereas vanilla extract is in alcohol. It won’t have the same results if you swap them out because only oil will combine in the lotion bar, where the alcohol will separate out.
That being said, vanilla essential oil is not truly an essential oil because it is not extracted through distillation. It can sometimes be called vanilla absolute or oleoresin as the resins of the vanilla bean are extracted through a chemical process.
If all of this is too much, you can swap the vanilla essential oil for another essential oil if you choose. Lavender and sweet orange are nice for this bar.
Make it!
- Melt the cocoa butter and coconut oil together over medium-low heat in a Turkish coffee pot (or a small pot with a pour spout). I use this pot for all of my natural skin care recipes because it is tall, has a long handle, and a spout.
- Stir constantly and keep a watchful eye on the lotion base. You want them to just reach the melting point and not overheat.
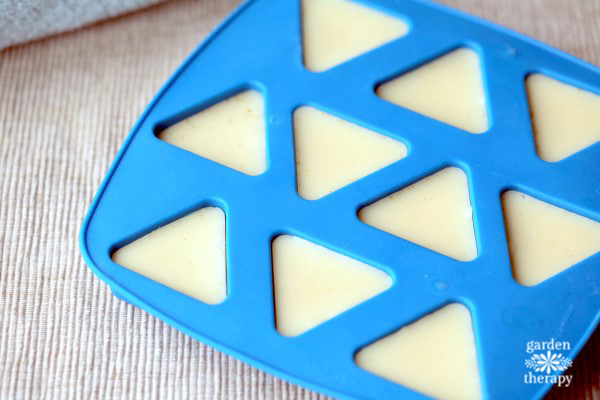
- When they have melted and combined, add the vanilla essential oil and stir well. Vanilla essential oil is dark and gives the lotion bars a vanilla bean appearance of small brown specks without adding vanilla beans.
- Immediately pour the lotion base into an ice cube tray. Place the tray in the refrigerator to cool for two hours, then use and enjoy!
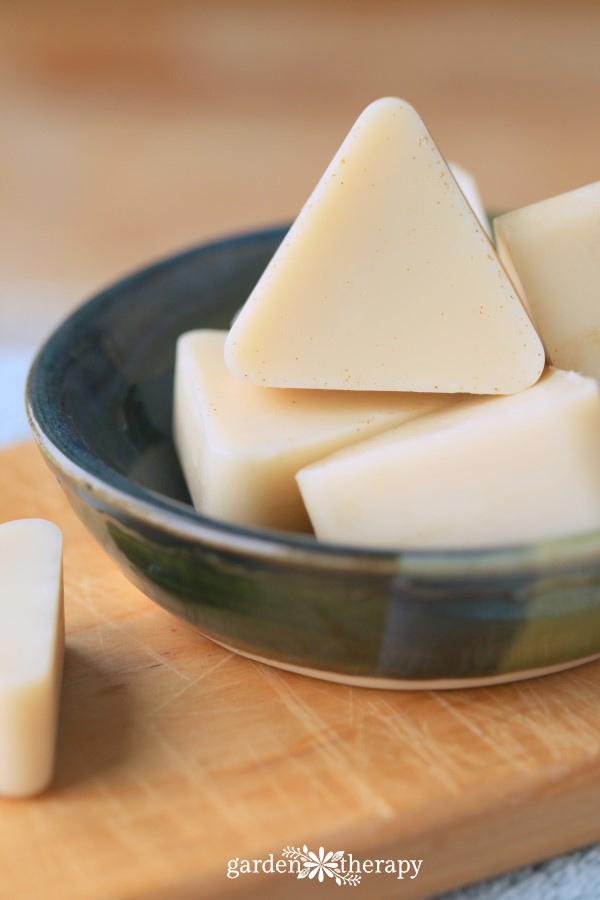

How to Use the Lotion Bars
Melt the winter lotion bar by rubbing it in the palms of your hands. The oil/butter will melt, and you can then apply it to the rest of your skin. Easy!
How to Store
Because these lotion bars are made from soft oils, I recommend storing the finished winter lotion bars in the fridge. If your house is not too warm, they should do just fine at normal indoor temperatures. However, if you make a large batch of these, I would store the bulk in the fridge, just in case.
For many, many more natural skincare recipes and gift ideas, check out the Plant-Based Beauty section of the site!
You Might Also Like:
DIY Vanilla Lotion Bars
These petite vanilla lotion bars are specifically formulated for winter. No more waxy lotion – instead, these bars melt right in your hand to help you soothe dry, cracked skin.
-
In the Turkish coffee pot, melt together the cocoa butter and coconut oil over medium heat. Stir continually and make sure the lotion bar base does not overheat.
-
Once they are melted and combined, remove from heat and add the vanilla essential oil. Stir well.
-
Pour the lotion bar mixture into the ice cube or candy molds, then place in the fridge for 2 hours to harden.
Ideally, these lotion bars do best when stored in the fridge. However, if your house is not too warm, you can keep them at room temperature as well.


