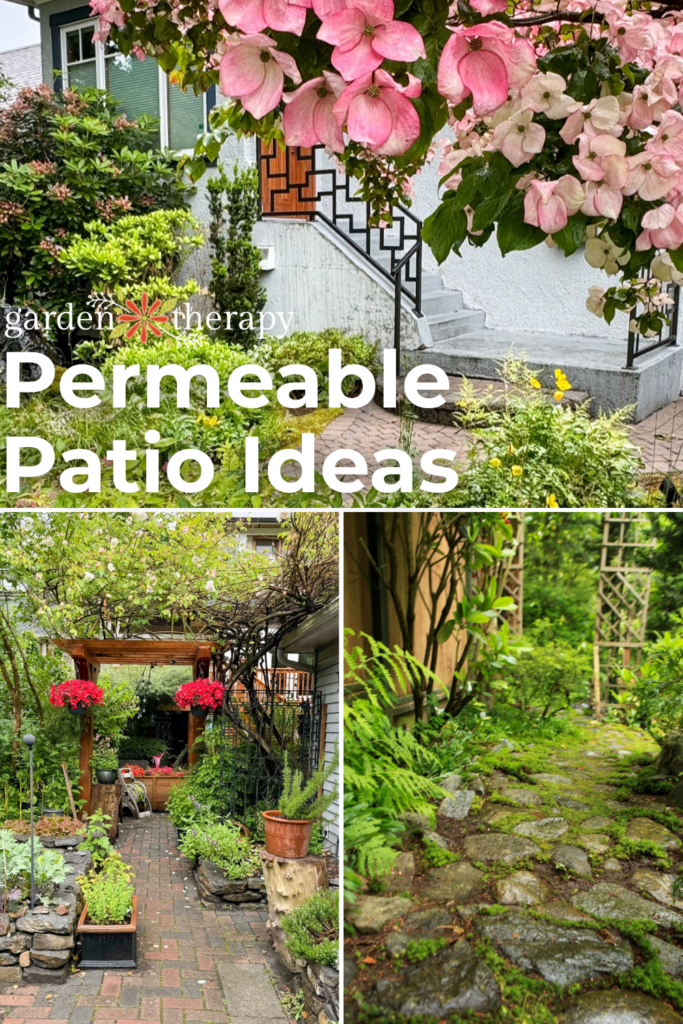
Not only are pavers a more cost-effective solution, but they’re ideal for providing natural drainage and replenishing your garden’s natural water reservoir. Making a permeable patio or pathway is something you can easily do in a weekend. Try these tips and get inspired by other patios!
Gone are the days of pouring concrete. No, we want to ensure that rainwater returns to the earth and hydrates our garden. And it can’t do that when concrete acts as a complete barrier.
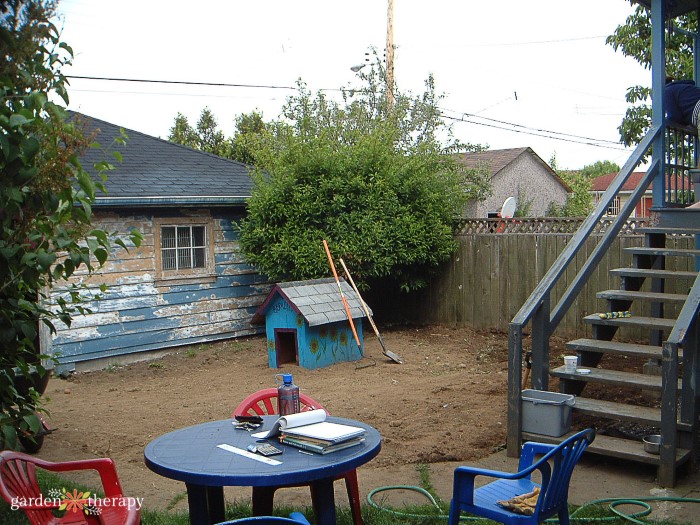
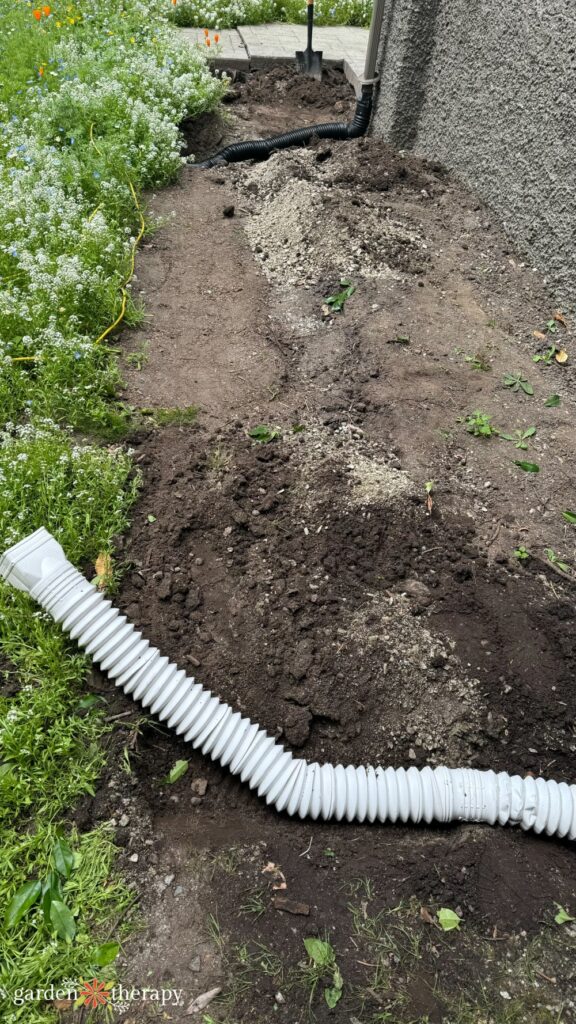
When I first moved into my new home, the drainage issues in the yard were very evident. The front and back lawns were very uneven and would result in the pooling of water in my very rainy climate.
I knew I had my work ahead of me, evening out the lawn, updating the downspouts, and adding in a dry river to redirect water back into the ground. And that was just the front yard!
My backyard has a patio as well as an outdoor hot tub area, all of which need proper drainage. I even included an outdoor shower with a French drain!
I’ve designed and lived in a few gardens now in the Pacific Northwest, so I know a thing or two about installing a permeable patio. Let me give you some tips and inspiration!

The Importance of Permeable Patios
When it rains, all the water from the driveways, the sidewalks, and the streets doesn’t know where to go. If it doesn’t pool, it slowly makes its way to the storm drains (which are often plugged up with leaves if I’m being honest).
What if all that concrete and asphalt were green instead? The water would soak back into the earth where it’s supposed to fall, helping to hydrate the plants and refill groundwater. When the rain stops and the summer drought begins, the surrounding plants are better prepared for it.
Permeable pavers allow water to pass through back into the earth while still giving you those flat, even grounds perfect for patios and pathways. Rainwater passes between the pavers and helps to replenish the groundwater supply in your garden.
This can also help manage stormwater runoff if you notice pooling in specific areas of your yard. To make things even better, the roots of the plants in your garden will naturally filter pollutants.
Check your local area to see if there are any tax incentives or programs for installing rain-wise practices like permeable pavers in your area. You might just get some financial help with your project!
How to Install a Patio or Pathway
If you’re looking to do a DIY project on the building, these are the basic steps and considerations for making a strong, drainable base for your patio. Remember to take your time making sure it’s level and graded!
Make a Plan
What you intend to use the hardscaped space for will determine what style of paver you will use, the direction it will lay, and how you prepare your soil. Make sure you have a clear plan of how you want to use the area before doing any digging.
Measure the area to determine how many supplies you will need. Consider getting a little bit extra in case any of your pavers break during installation or even a few years down the line.
Depending on your soil and space, you may have to dig deeper. Make sure there are no utility lines, and you have a permit if necessary for larger projects, such as a driveway.
Prepare the Soil
It’s key that you have a good understanding of your area’s existing drainage. Does your soil nicely absorb water, or is it hard and clay-like? For instance, soil with poor drainage may need a deeper base of gravel and rock beneath the pavers to hold onto the water.
If you’re unsure about your soil drainage, you can do a percolation test to help determine if your soil effectively absorbs water.
Use spray paint to help you mark your area. Remove any grass, plants, or roots that may interfere with your installation.
When you put pavers down, you won’t be putting them directly on top of the lawn or on top of soil. You’ll actually build a base of gravel, level it, and grade it so that the water flows away from your property.
How deep your base layer depends, again, on your existing drainage. A minimum depth of 6 inches should be required. For my hot tub area, I went 6 inches deep. My French drain went 3 ft. deep to accommodate my outdoor shower. It all depends on the use and your soil’s water table.
Add a Base Layer
Once you have your area dug out, you may want to add a layer of landscape fabric. If your area is by plants, lining the bottom with landscape fabric helps prevent weeds from popping up.
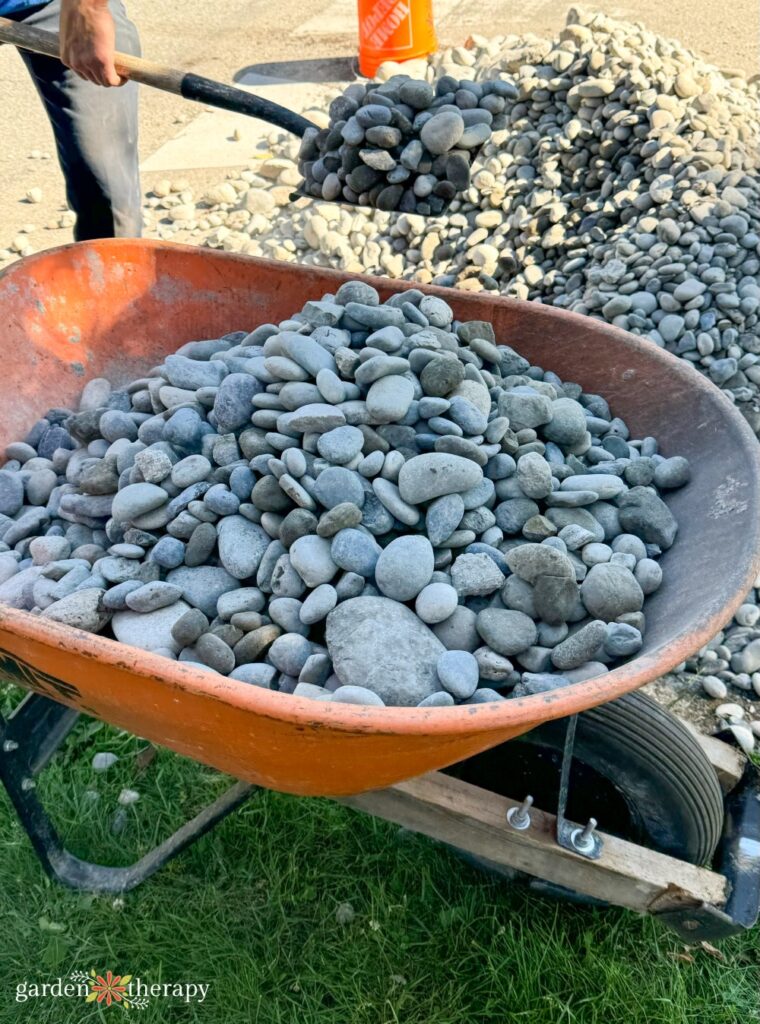
First, you’ll add in a layer of really free-draining material. A crush gravel mix works well, with ¾ inch stones. This should fill roughly 1/3 of your base layer.
Next, you’ll add another layer of smaller crush stones mixed with sand. This helps to ensure a proper settling and will keep a level surface. You don’t want to use entirely sand and smaller-sized pieces because this can create a layer of impermeable cement.
Level out your base using a rake or by dragging a 2×4 board. You may want to bring out a level if you’re making a patio, to ensure that the surface is as straight as possible.
This base layer will create some free-flowing drainage that allows the water to go through and pool a little bit before it trickles down into the soil. It creates a great base for any of your pavers.
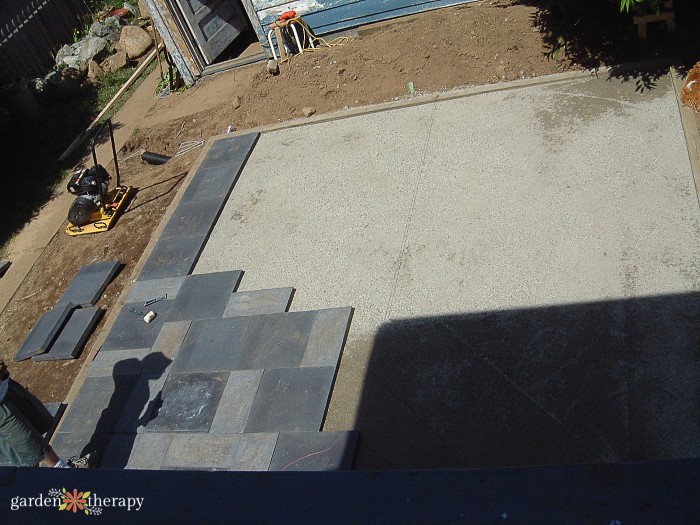
Add Your Pavers
Now for the fun part! Once your base is filled and leveled, you can add your pavers of choice on top. Save a little bit of that smaller stone and sand combination to fill in the joints. Use a broom to help sweep all the gaps and fill the nooks and crannies.
Permeable Patio and Pathway Inspiration
Your patio or pathway can fit right into your garden, with these pictures being the proof. Here are a few gardens I’ve seen where people implemented rain-wise stonework.
While made of concrete pavers, this design still allows water to freely drain between the stones. It’s surrounded by natural greenery, which helps to absorb the water.
I love the idea of using old chunks of concrete that people have broken and left, giving them new life in your backyard.
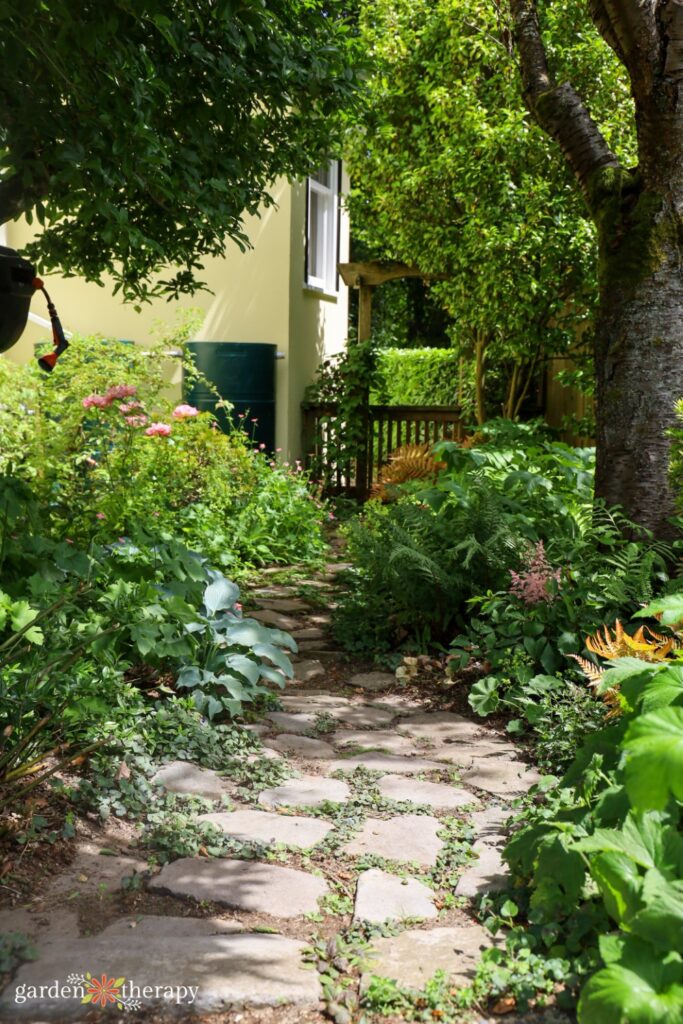
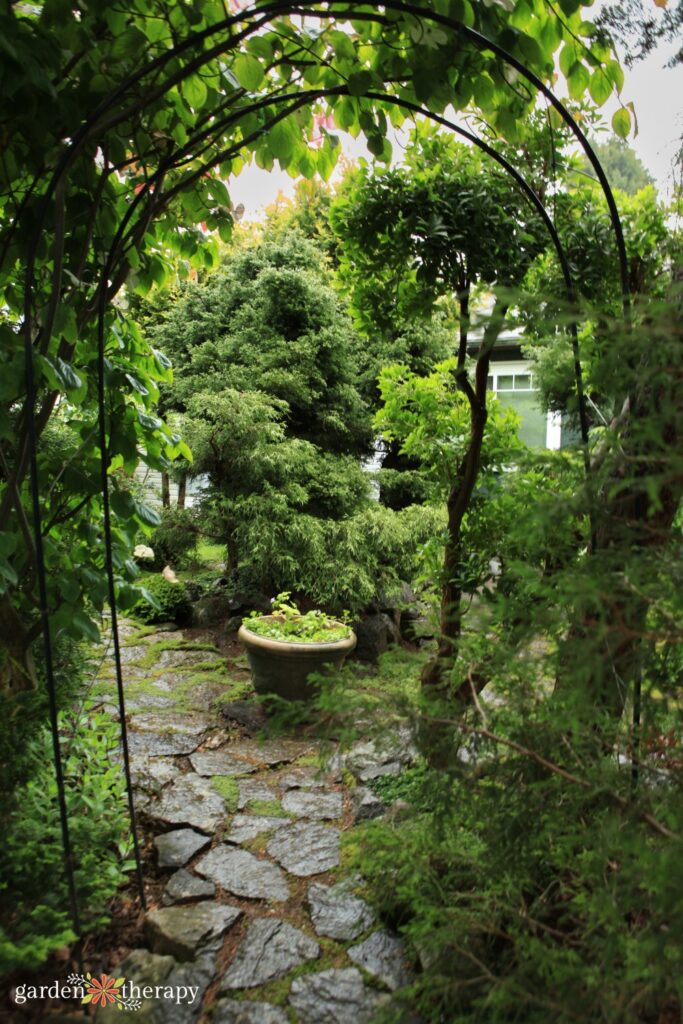
Natural stone works beautifully for a pathway. It isn’t as level as pavers, so it doesn’t always work for a patio. But I love the cottage-like whimsy it brings to a garden as the groundcovers weave their way in between the stones.

What if you just skipped the pavers altogether? This garden uses small gravel as the top layer for its patio and walkway. This is handy for high-traffic areas, like next to your vegetable garden.

Brick can have a second life in your garden. It can be easy to find for free on Facebook Marketplace, whether that’s from an old chimney or a different backyard undergoing renovation. Brick is naturally porous, and when you use sand to fill the gaps, it can be a great permeable patio solution.
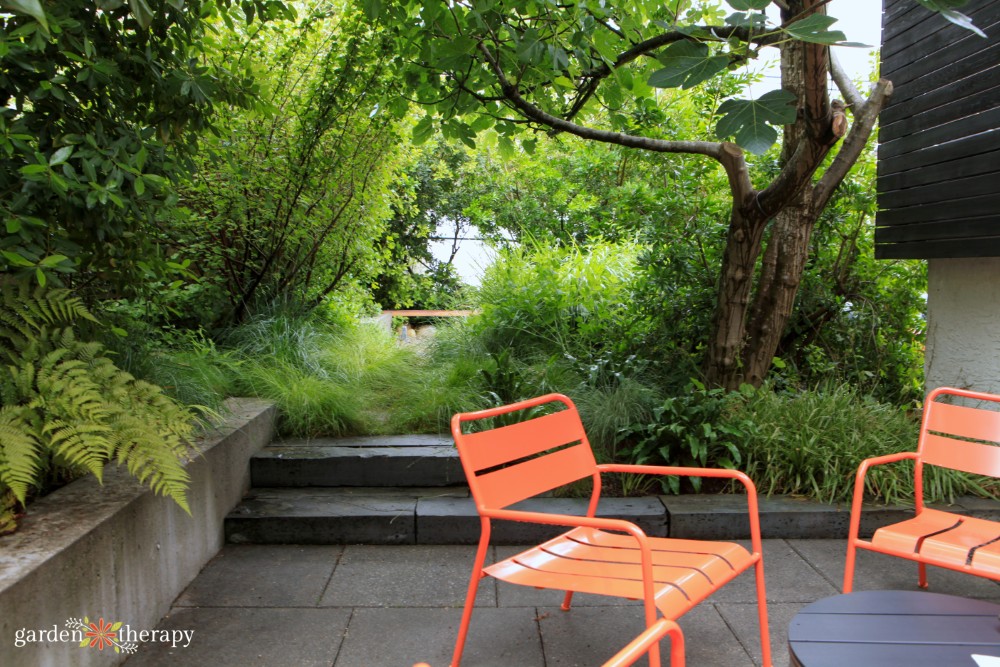
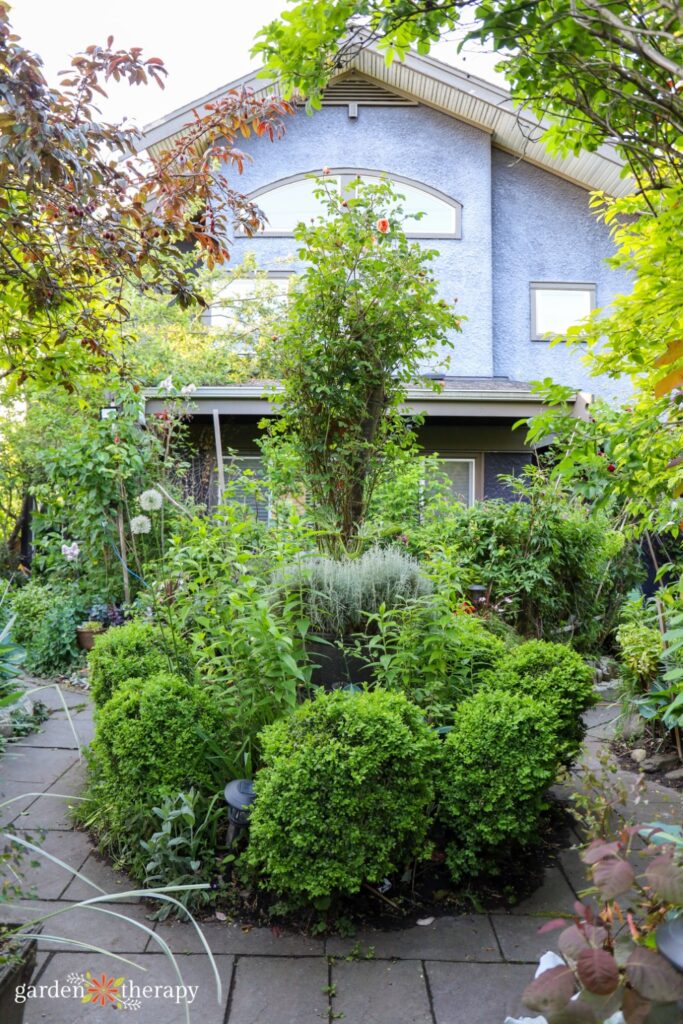
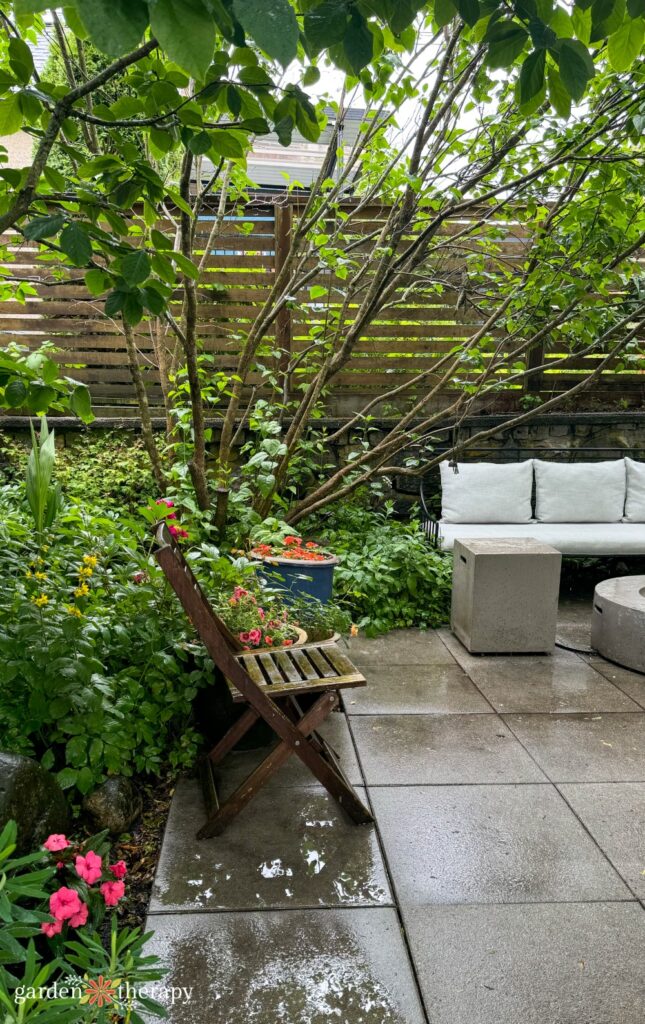
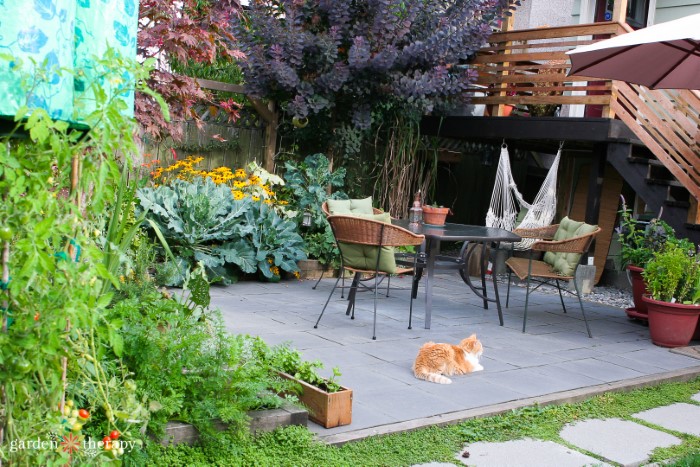
Combine your patio with natural stone edging, like this backyard has done. The stone steps help connect the patio and the pathway. When created properly, this patio can help drain water into the soil where the plants can then absorb it, creating a lush rainforest-like setting.
Flagstone is one of the most popular stone options for backyard patios and pathways, and for good reason. It’s known for its durability, being able to handle different weather conditions, including cold and sun fading. And it looks good in just about any setting!
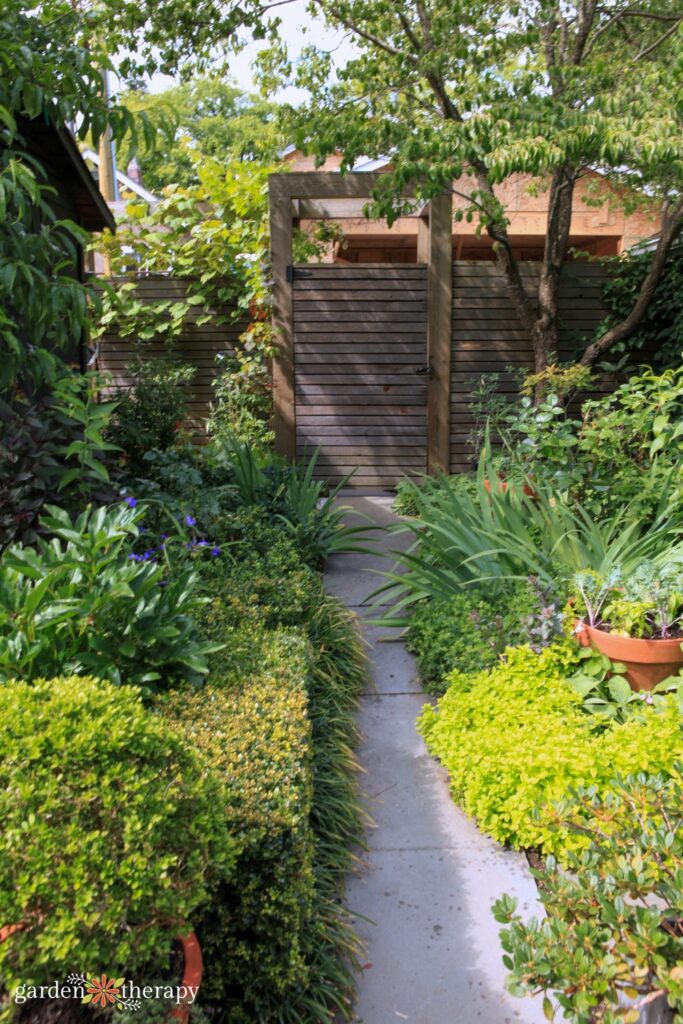
A thin pathway using regular pavers can still be rain-wise, as the nearby plants and soil absorb the water runoff. Just make sure it’s been properly graded so that the water drains in the right direction.
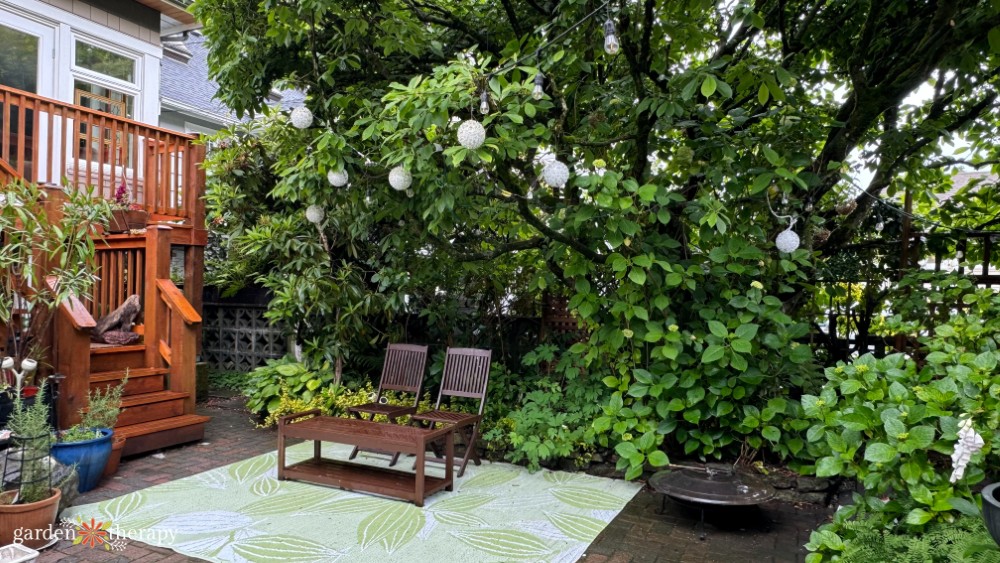
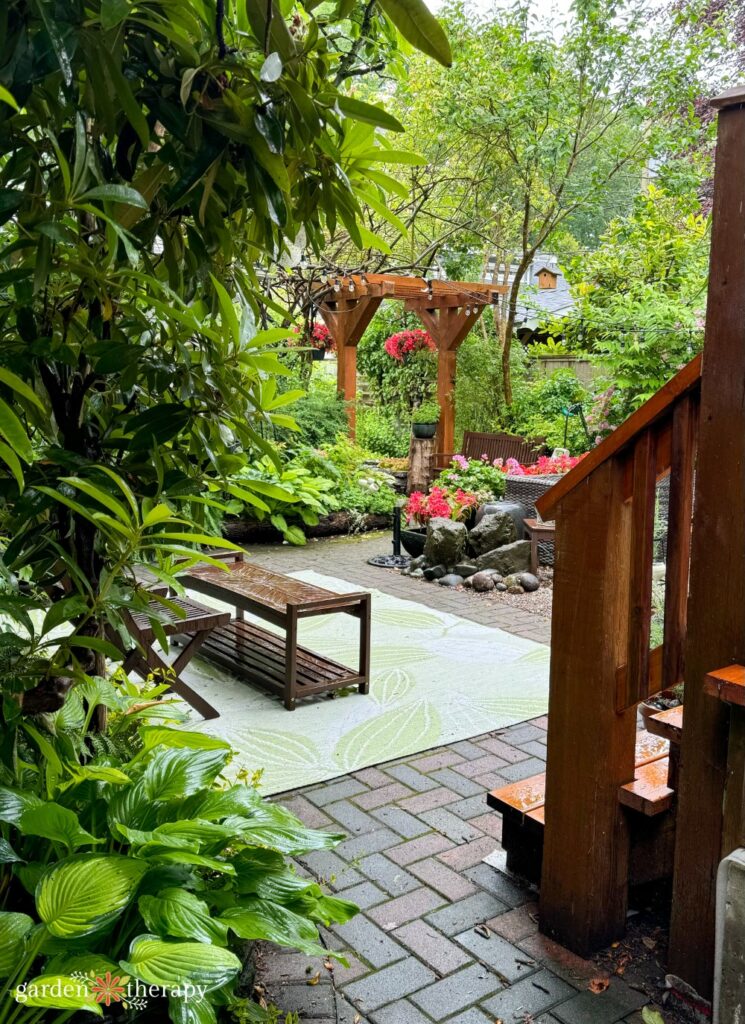
This backyard utilizes brick pavers, but makes the setting cozy with an outdoor rug and overhead lighting. Patio accents can also greatly enhance the area, so don’t worry about your stonework being too plain.

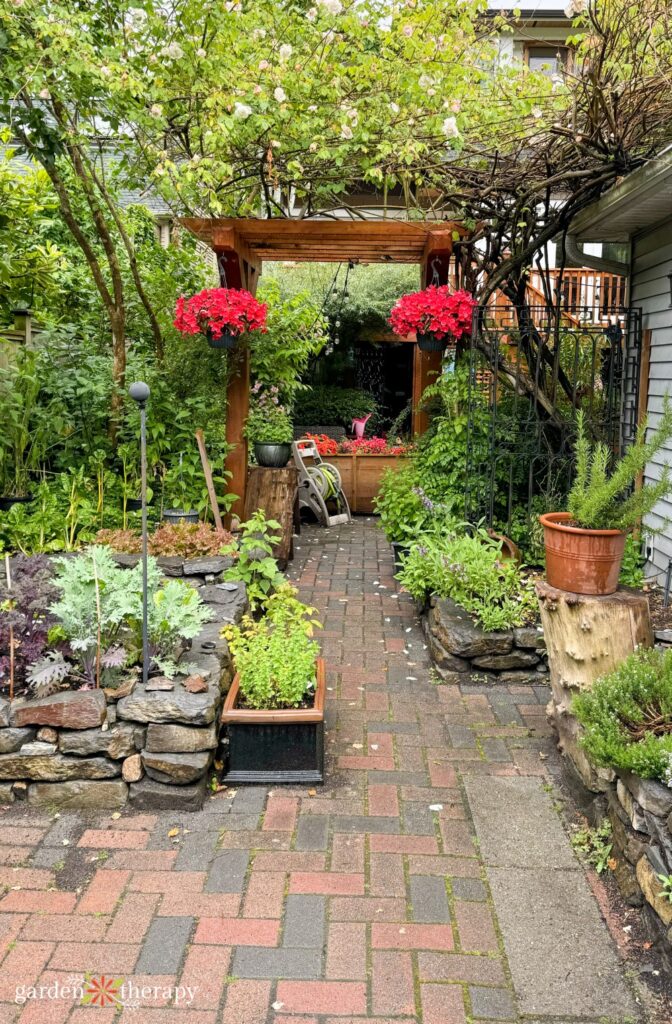
Don’t be afraid to mix up different stone work! This backyard utilizes different shades of brick, as well as different pavers for edging. It also has natural stone creating raised gardening beds. It gives it an eclectic, but organized look to the space.
FAQ About Permeable Pavers
While it can work in the short term, over time, the pavers will shift and sink, leading to drainage issues. I recommend taking the steps to make a proper base to ensure good drainage and a reliable, level base.
You need three layers. First, one layer of larger, crush gravel mix that fills approximately 1/3 of your base. Then, another layer of a smaller gravel and sand mix, filling approximately another 1/3. The final layer is the pavers themselves, with more of the gravel sand mix swept in between to fill the cracks.
Permeable pavers are known for lasting more than 20 years. They’re less likely to crack from freezing and thawing and require fewer repairs than typical pavement and concrete.
More Backyard Projects to Try
A city girl who learned to garden and it changed everything. Author, artist, Master Gardener. Better living through plants.