

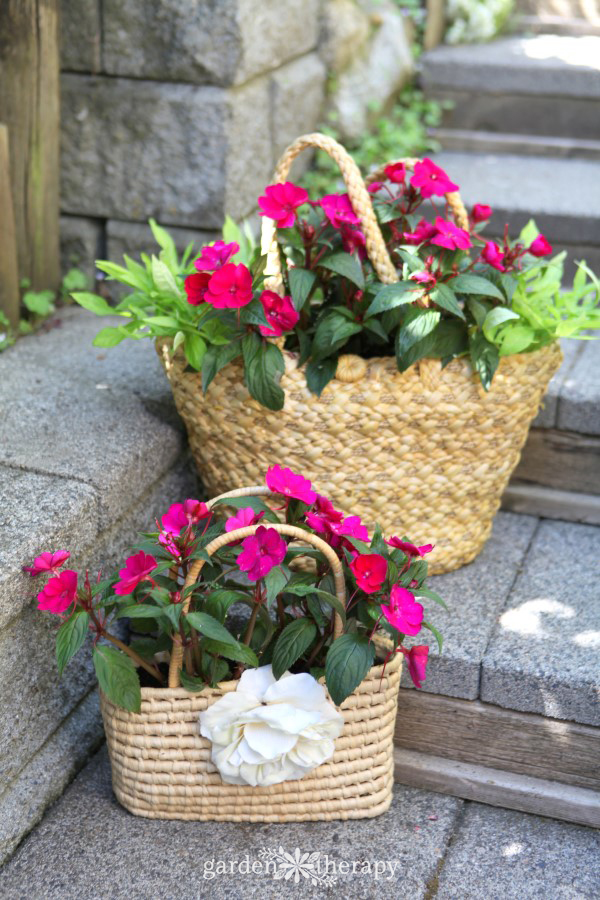
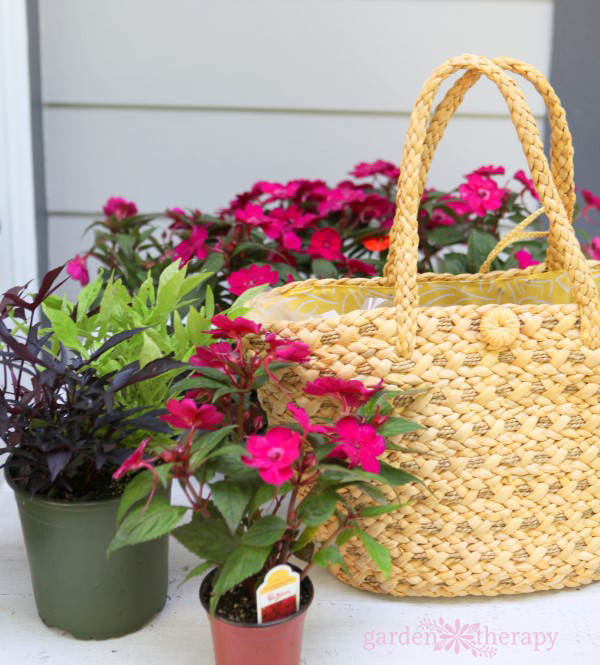
This straw purse planter exudes summer beauty when filled with brightly-hued annuals that bloom tirelessly all season. It’s made out of a thrifty find, giving a straw bag new life in my garden. They’re simple to make with some modifications. Let me show you!
Straw bags are readily and inexpensively available at thrift stores, and that makes them a great option for making decorative purse planters for home decorating, summer events, and fundraising.
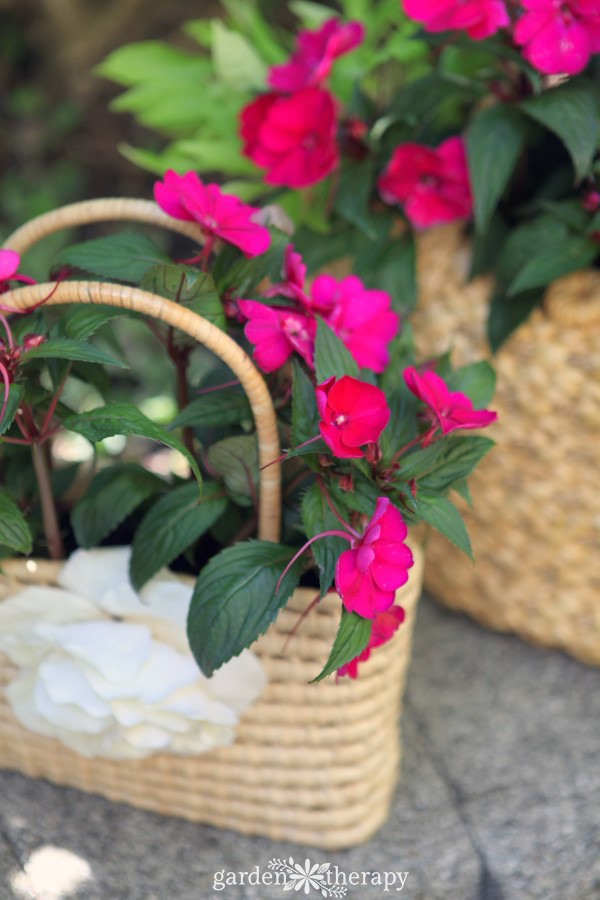
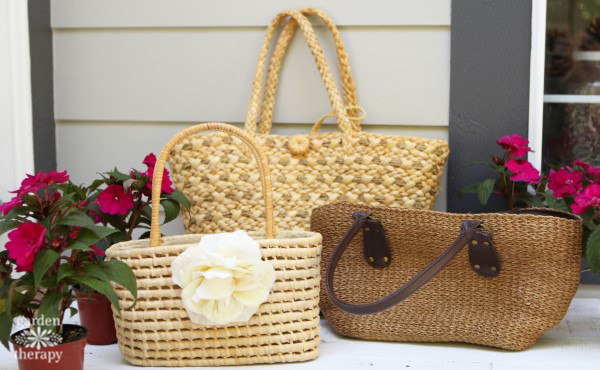
You can very easily collect a large number of purses and convert them to planters with a few easy modifications. I planted mine with vibrant annuals to really make a bold impact. They look perfect on the steps leading up to my porch!
Here’s how I converted the bag into a planter.
Annuals for Summer
Not every project needs to be built to last for many years of garden beauty. Some are fleeting, just like the summer months. In some ways, this makes them even more beautiful. To enjoy something wholeheartedly for a short period of time can bring immense joy and gratitude.
I was once against annuals in my garden, as it seems like you get better value from perennials. But I have since learned the error of my ways.
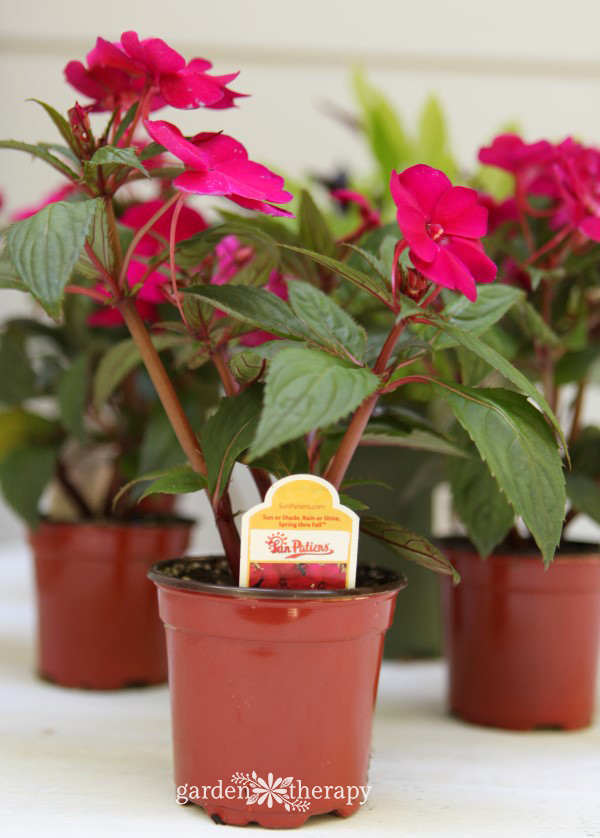
Annuals like Sunpatiens (the ones I planted) can provide a robust season of blooms that a perennial just cannot. Annuals bloom their hearts out and go out with a bang at the end of the season. Perennials need to hold back so they can live to bloom another year. Annuals have a special place in my garden and my memories, and I can switch them up each year to redecorate.
Make a Summery Straw Purse Planter
Just like annuals, a straw purse planter is also meant to last the season but be replaced in the following years. Adding a plastic liner will help to extend its life, and adding drainage holes will let you keep it outside without worry.
Materials
Make It!
Hunt local thrift stores for a straw bag that would be suitable as a planter. I found three for under ten dollars that all look lovely together. You could certainly use any kind of purse for this project, as long as there is enough stiffness to the material that it stands up well to planting.
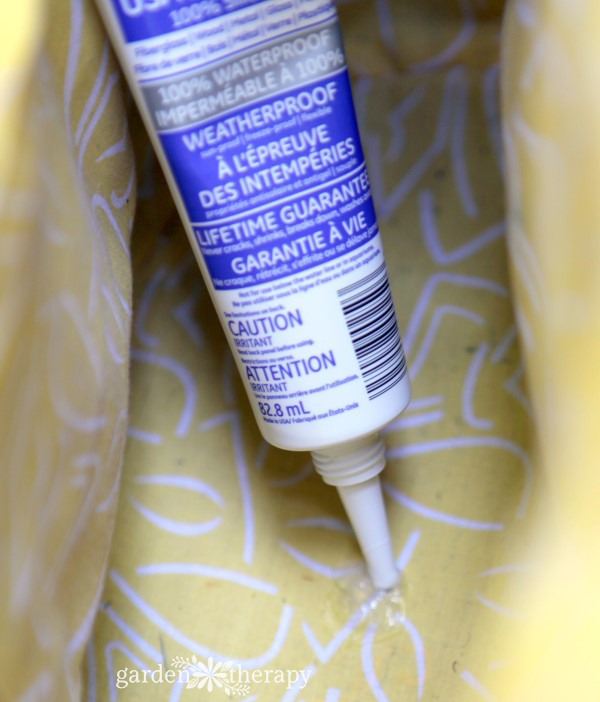
Add a dollop of outdoor silicone sealer to the center bottom on the inside of the purse. Spread the dollop out to a silver-dollar-sized circle. Let dry according to package instructions. This is the first step in creating a drainage hole.
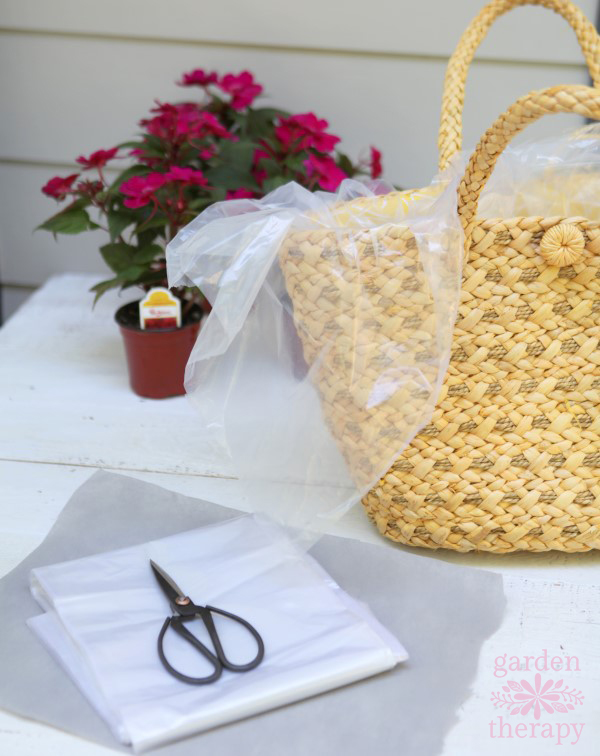
Cut a piece of plastic (or use a plastic bag) to line the inside of the purse. Use spray adhesive to attach it by spraying the bottom of the bag first and adhering the plastic to the bottom.
Next, spray the sides and attach the plastic. If you spray the whole inside at once, the plastic will stick on its way down and turn into a mess (lesson learned!).
Use the drill to make a hole in the plastic and purse bottom in the center of the silicone circle. Use a bit more silicone to seal the inside of the hole, making it watertight.
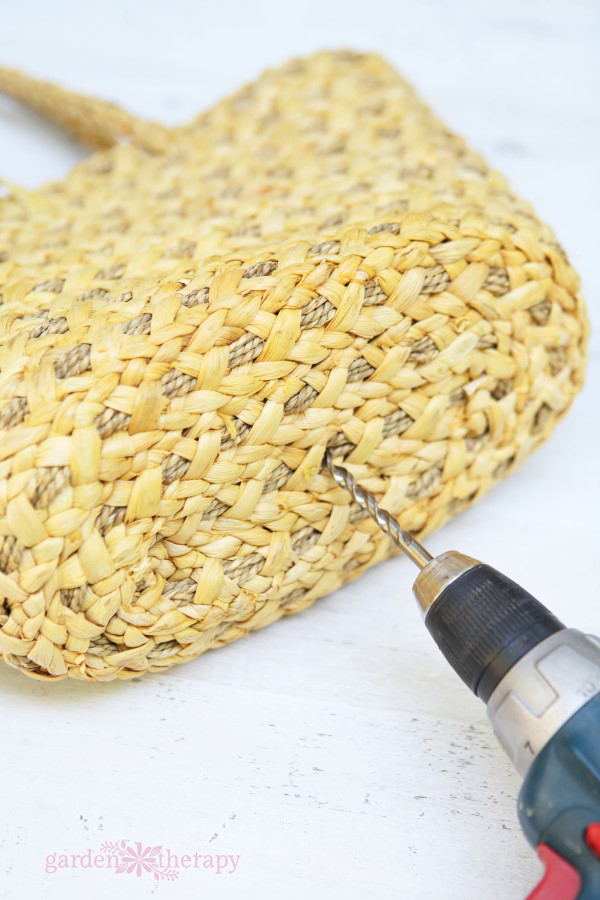
You could also use a grommet to create the drainage hole, given that measurements suit the thickness of the bottom of the bag.
Line the inside of the bag with a piece of landscape fabric to prevent soil from coming through the drainage hole.
Optionally, you can add a few pebbles to the bottom or a larger purse for weight and drainage, but this is not necessary with smaller straw purse planters, as the soil will not compact as much.
Fill the purse ¾ full with a good quality container soil or make your own soil mix with 1 part peat moss, 1 part compost, and 1 part garden soil.
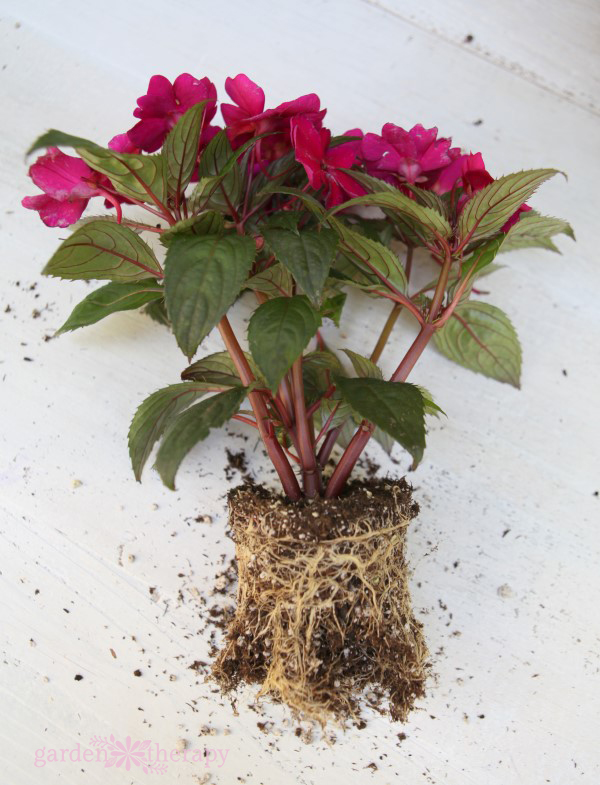
Remove your annuals from the nursery pot and gently separate the roots. Add the plant to the soil and fill in around it with more soil.

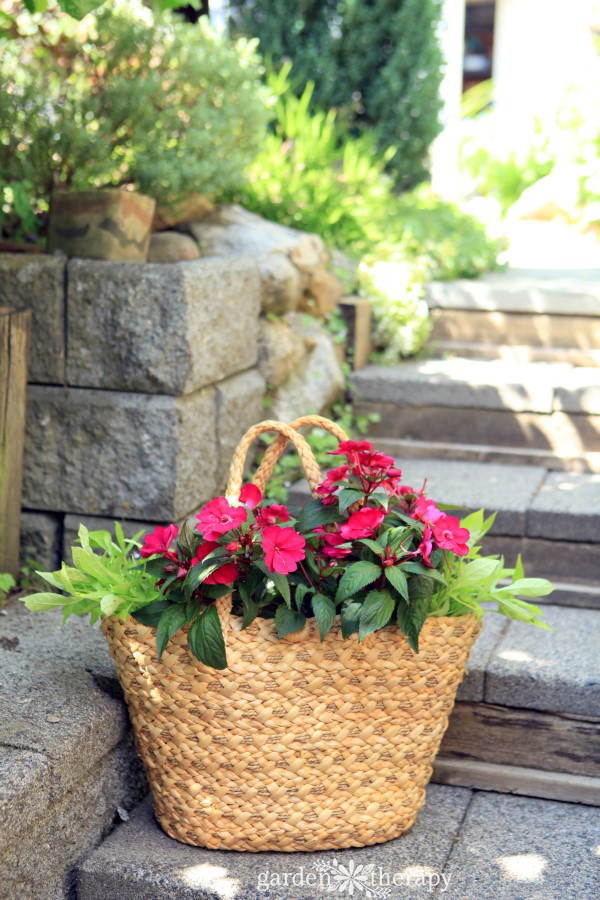
Once you have created your straw purse planter, water it well and set it in your garden to fill out. If you have some money to raise, these planters are a great fundraiser!
By thrift shopping or getting donated purses, some soil, and one plant, the cost of each one will be $5-8 each. I bet you could easily sell these for much more and do some good for your charity of choice!

More Crafty Garden Projects

A city girl who learned to garden and it changed everything. Author, artist, Master Gardener. Better living through plants.
