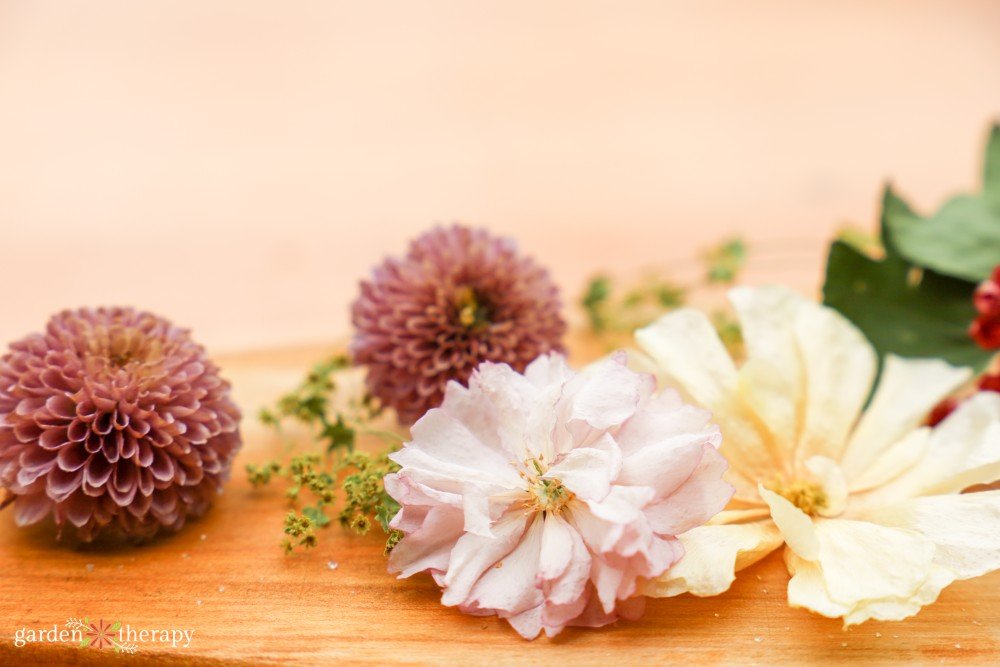
My secret to gorgeous, dried flowers? Silica gel, of course! I love using these dried flowers for my resin creations, but you can also use them for all kinds of décor, from shadow boxes to potpourri. With some delicate handling and these tips for drying flowers with silica gel, preserve the beauty of this season’s blooms.
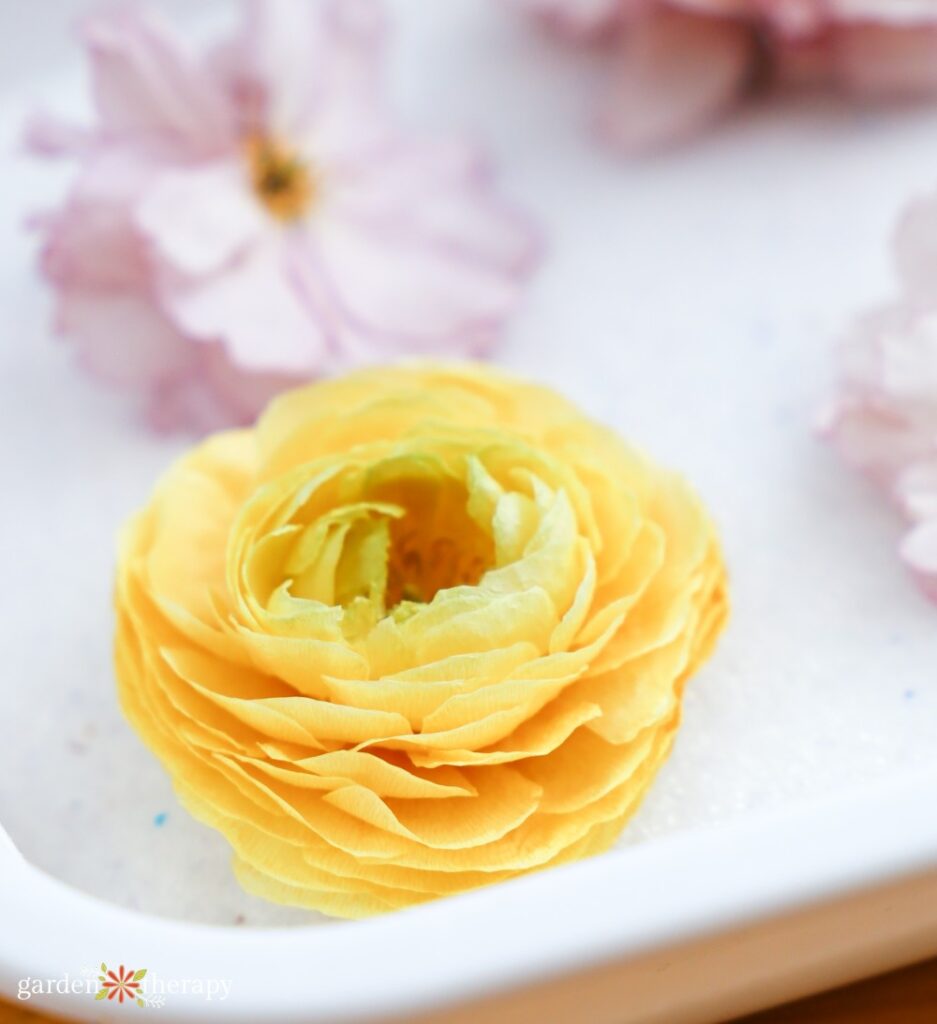
I’m excited to share yet another way to dry flowers that many aren’t as familiar with. Unlike hanging flowers to dry or dehydrating the petals, this method retains the shape and colour of the flowers extremely well. Sometimes they look identical to their original flower!
You know all those little packets you get in your food containers and shoeboxes that read do not eat? That’s silica gel. In another form, this silica is actually marvelous at drying flowers.
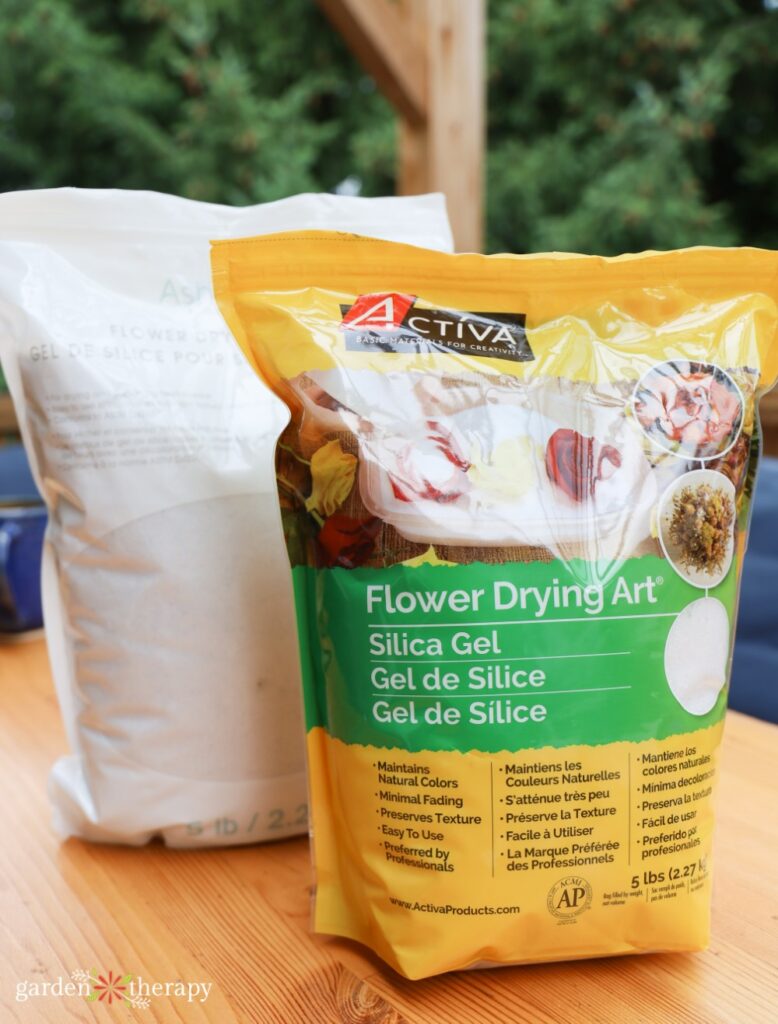
Silica gel is a desiccant, meaning it absorbs and holds moisture. For crafting purposes, they come in hard small beads that are a white or light blue colour. You can likely find silica gel at your local Michaels craft store and on Amazon.
Using silica gel for drying flowers is fairly easy, but there’s definitely a technique to it that helps you achieve the best-dried flowers possible. Let me show you my tips!

What Flowers Can I Preserve in Silica Gel?
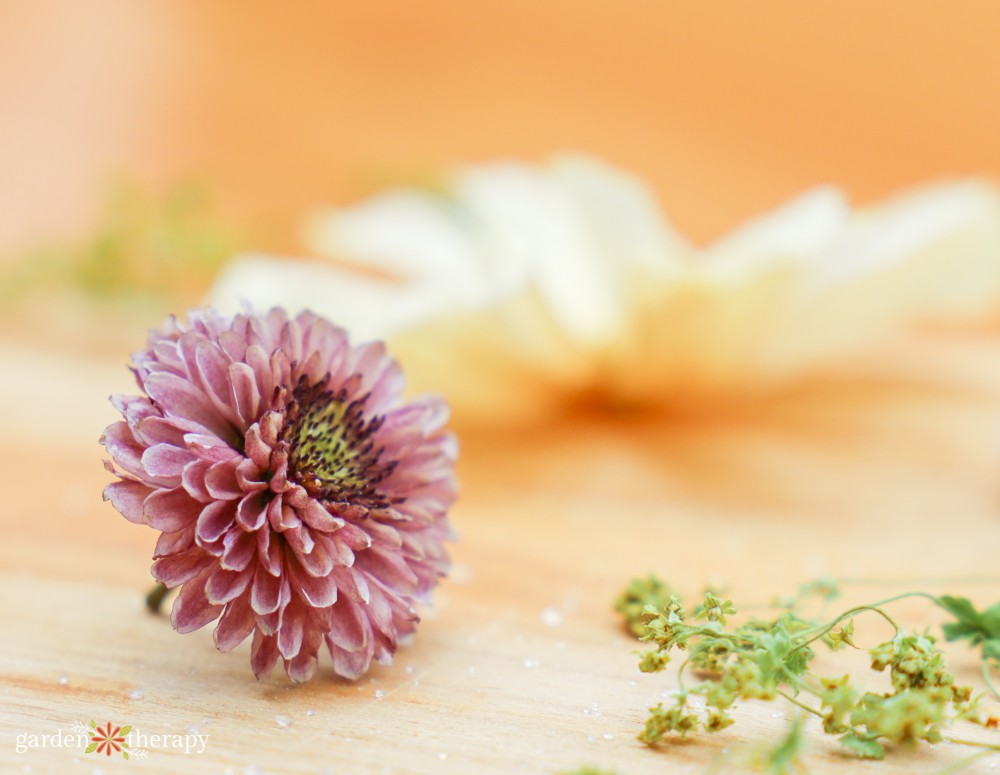
Most flowers dry very well in silica when done properly. But some are easier to dry than others! Bright and colourful blooms always dry best, as their colour remains fairly consistent throughout the drying process.
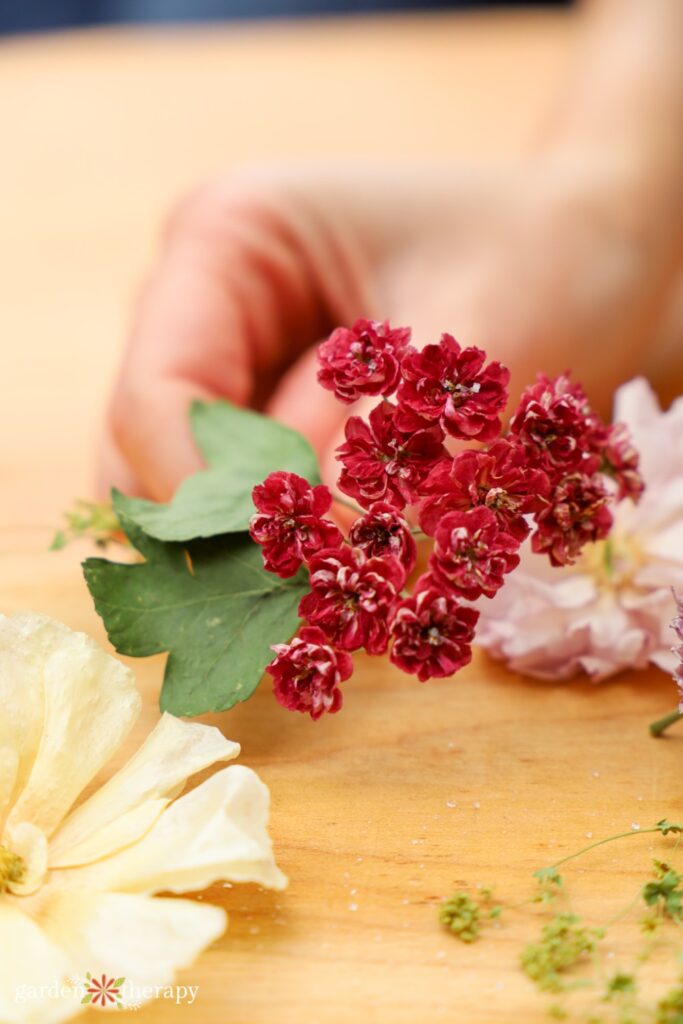

Fresh, locally grown flowers are also ideal. You want your flowers to be hydrated and in tip-top condition, since they will dry exactly as they are.
Here are some flowers that are known to dry exceptionally well in silica:
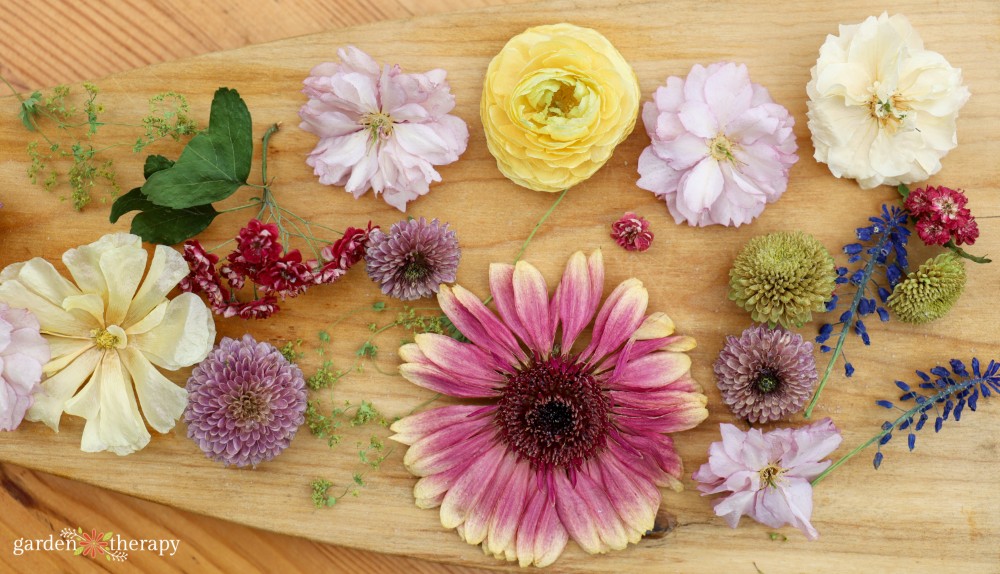

Flowers to Avoid
Flowers with lots of delicate petals are very difficult to dry in silica, as their petals are likely to fall off due to the weight of the gel. This includes mums, cosmos, and anemones.
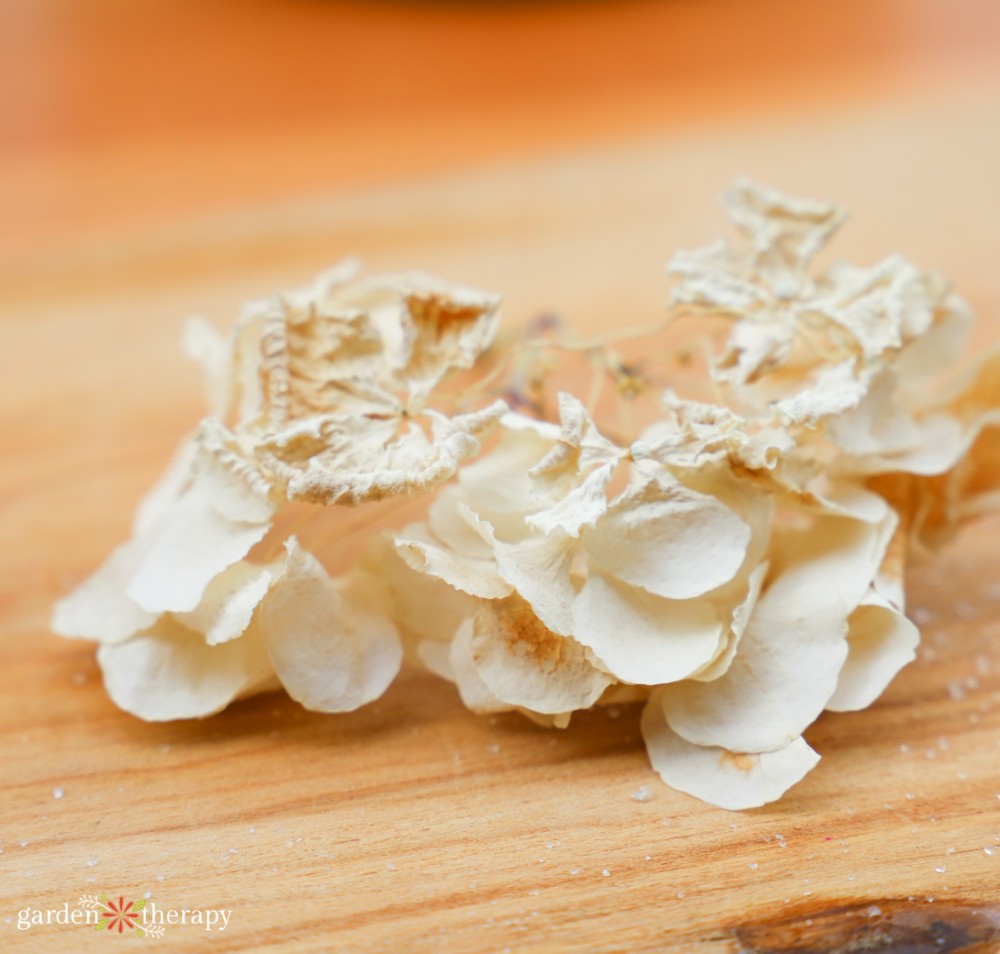
You may also want to curb your expectations when it comes to white flowers and other light colours, as they’re very prone to bruising, especially if you plan to preserve your flowers in resin afterward. They’re also very likely to change colour, turning more into cream and yellow than white.
Wearing gloves when handling the flowers at all times will help prevent your oils from bruising the petals down the line.
Tropical flowers and anything with fleshy petals are also likely to develop some bruising and browning down the line. Most will change their colour during preservation. This includes orchids, classic lilies, and canna lilies.
Even if the flowers are listed here, it doesn’t hurt to try! Experiment, practice, and be delicate with your blooms, and you just might have some success.

Drying Flowers With Silica Gel: Step by Step
Drying flowers in silica is one of the best preservation methods, and it is fairly easy to do. Once you have the silica, you can use it multiple times to dry flowers all season long.
Materials

Preparing Your Materials and Flowers
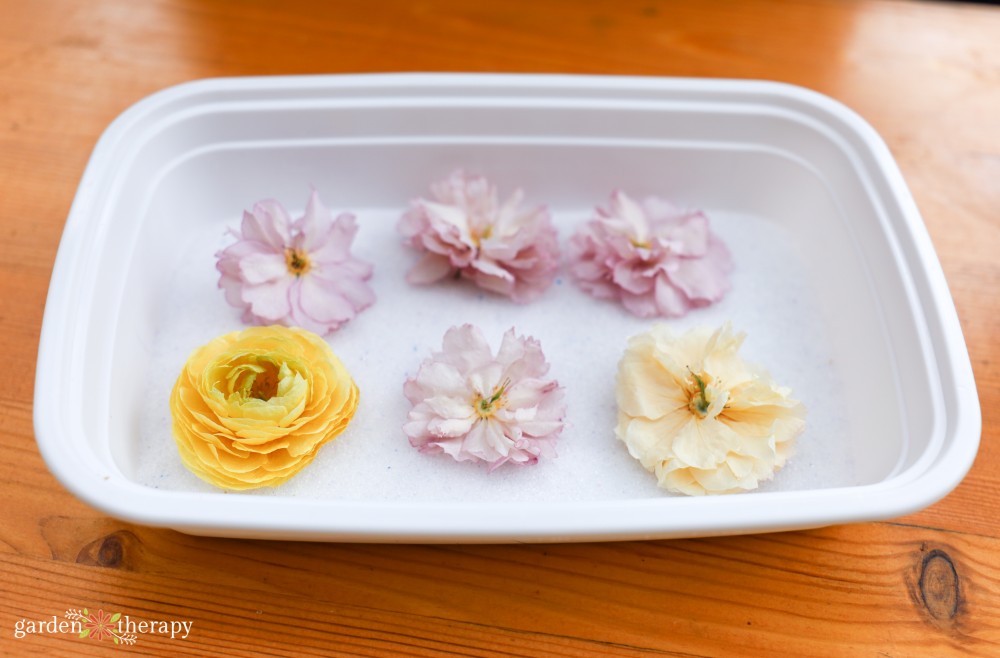
Choose a container that’s deep enough to hold your flowers. You can also layer flowers if the container allows it. 2-4 inches is usually deep enough, since silica can be expensive, and I avoid using too much. A rectangular container is what I prefer to use, since it can hold more flowers. Your container should not be used for food storage after holding silica.
Make sure your flowers aren’t wet and use a paper towel to dab off any remaining moisture. I allow my flowers to fully hydrate in a vase while the dew dries from the petals. And I snip the stems and moisture right off when I’m ready to dry them.
When snipping the flowers for drying, leave a little bit of the stem behind. This will give you something to grab and hold onto besides the petals when removing the flowers from the silica.
If you’re concerned about bruising, wear gloves when working with the flowers before, during, and after drying.

Drying Flowers With Silica Gel
Before working with the silica, make sure to wear a mask. When pouring the silica, it creates a dust that you don’t want to breathe in. Gloves can also help prevent your hands from drying out and getting irritated.
Add a base layer of silica gel to your container. You need enough to support the base of your flower stem. About ½ to 1 inch is enough.
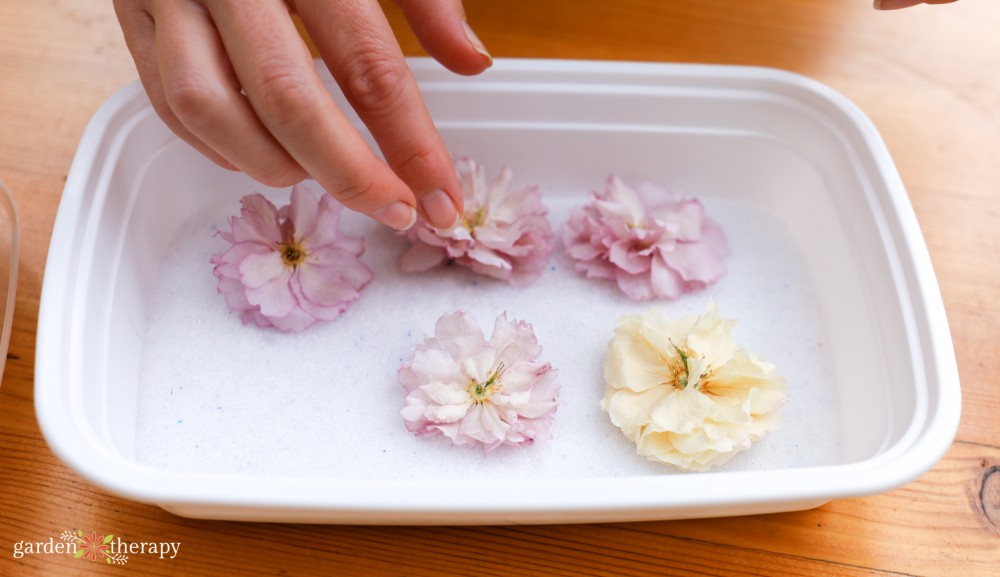
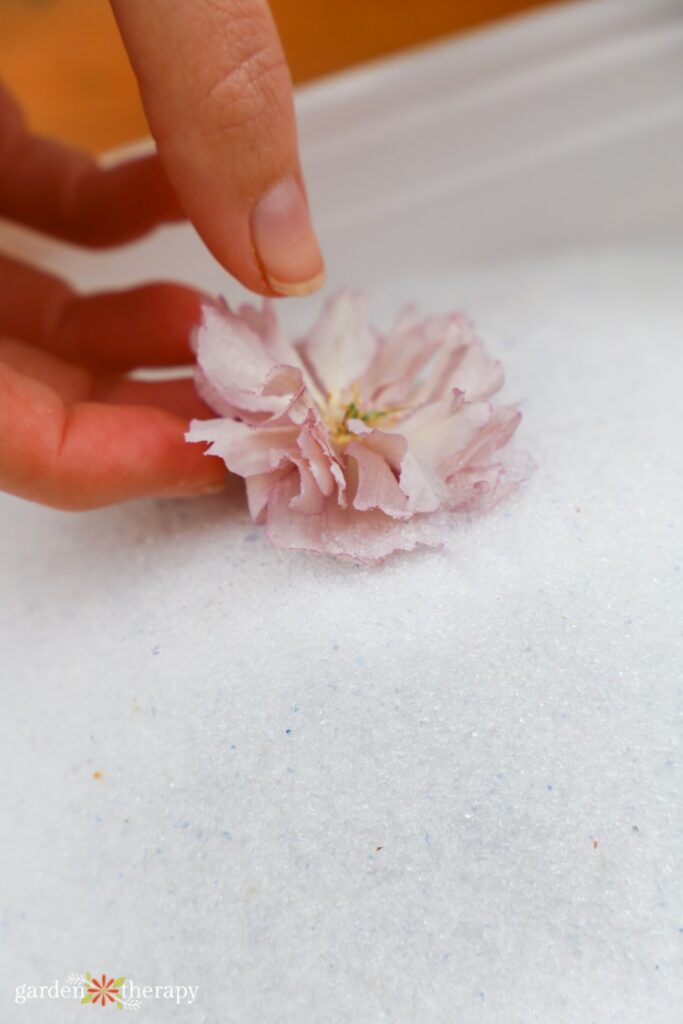
Nestle in your flower’s face up in the silica. The flowers can be close, but they should not be overlapping.

Carefully pour in the silica (a Mason jar or pitcher can help give you more control). Flowers will dry exactly as they are buried in the silica, so you want to avoid dumping silica right into them, as they will get crushed. The goal is to bury each flower while maintaining its exact original shape.
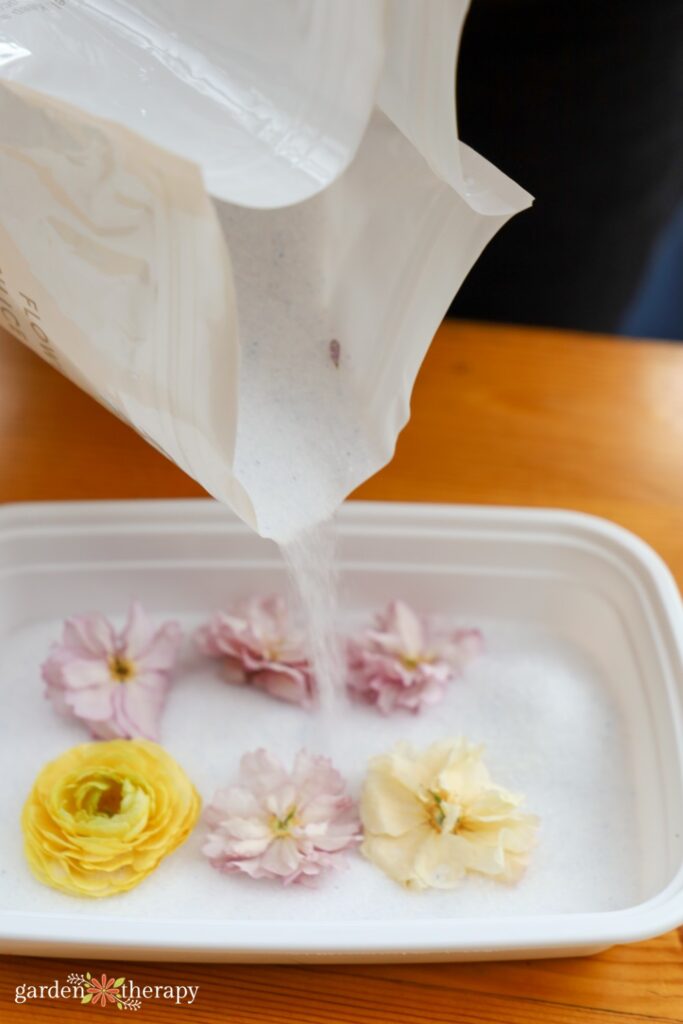

I like to pour around the outside, shaking the silica into place until the outside is fully supported before adding silica to the center. Shaking helps to get the silica into all the grooves and crevices.
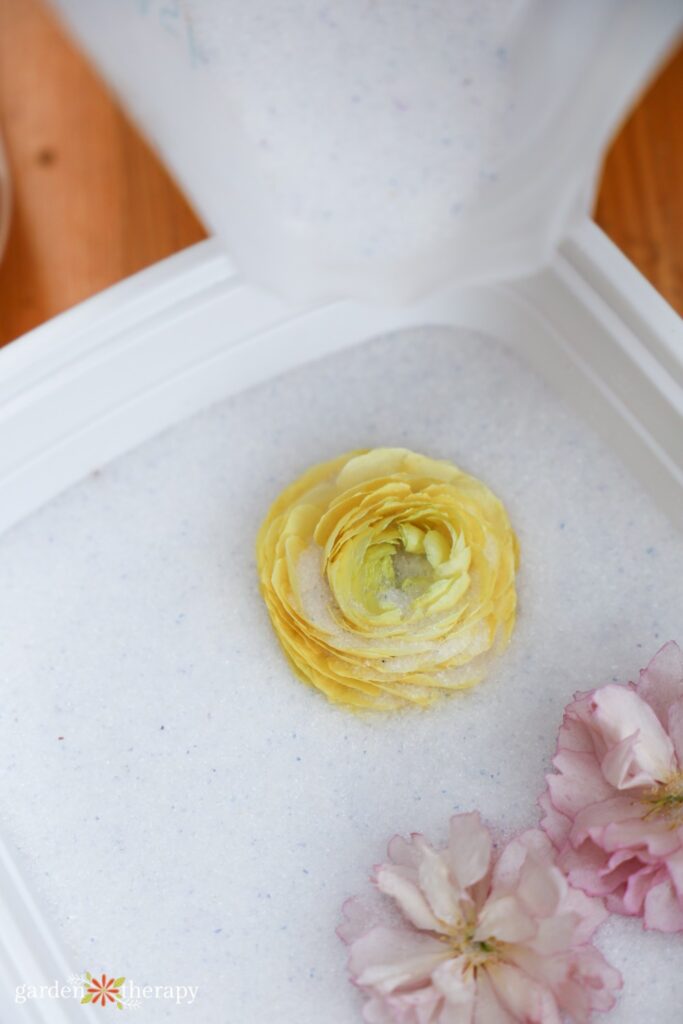

Make sure to fully cover your flowers with silica, or you may end up with browning (see the cream hydrangea photo earlier). You can layer as many flowers as your container fits, as long as the flowers aren’t touching. Put heavier blooms on the bottom and more delicate blooms on top.
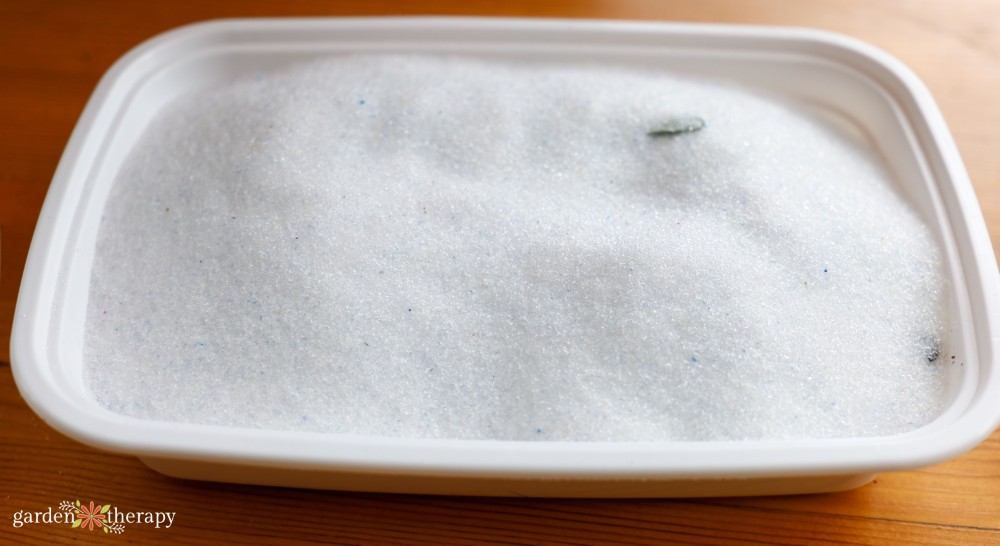

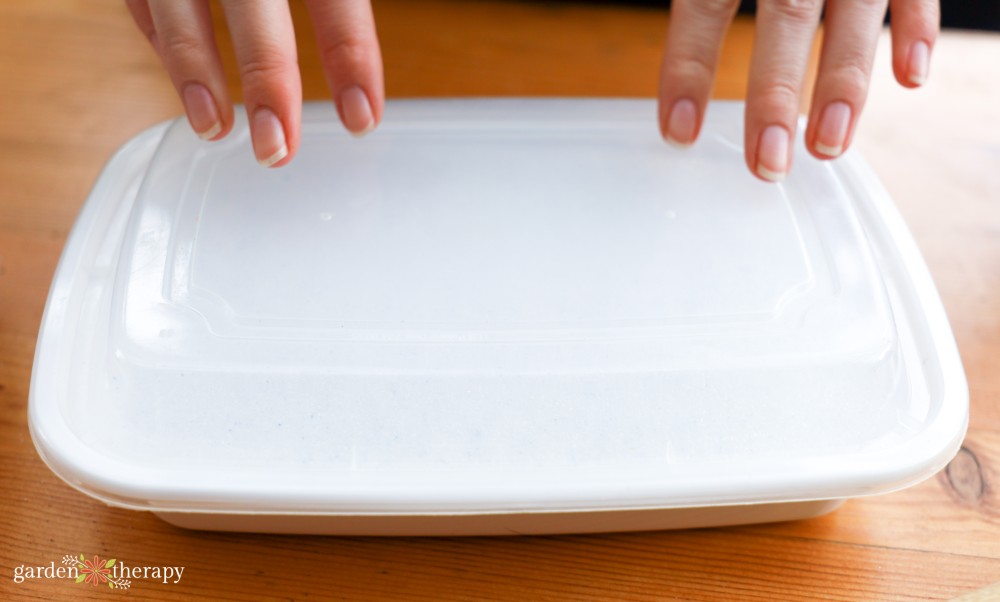
Cover with an airtight lid, and label what flowers are inside as well as the date.

Removing the Silica Gel
Most instructions that come with your silica gel will say you only need a few days to a week for your flowers to fully dry. This is not long enough in almost any case.
I leave my flowers in silica for a minimum of three weeks, or longer if I’m working with larger flowers (such as roses), since they contain a lot of moisture. It’s impossible to leave flowers in silica for too long. Longer is better than not enough.
If there is any soft texture, your flowers aren’t ready. They should feel like paper and be extremely light.
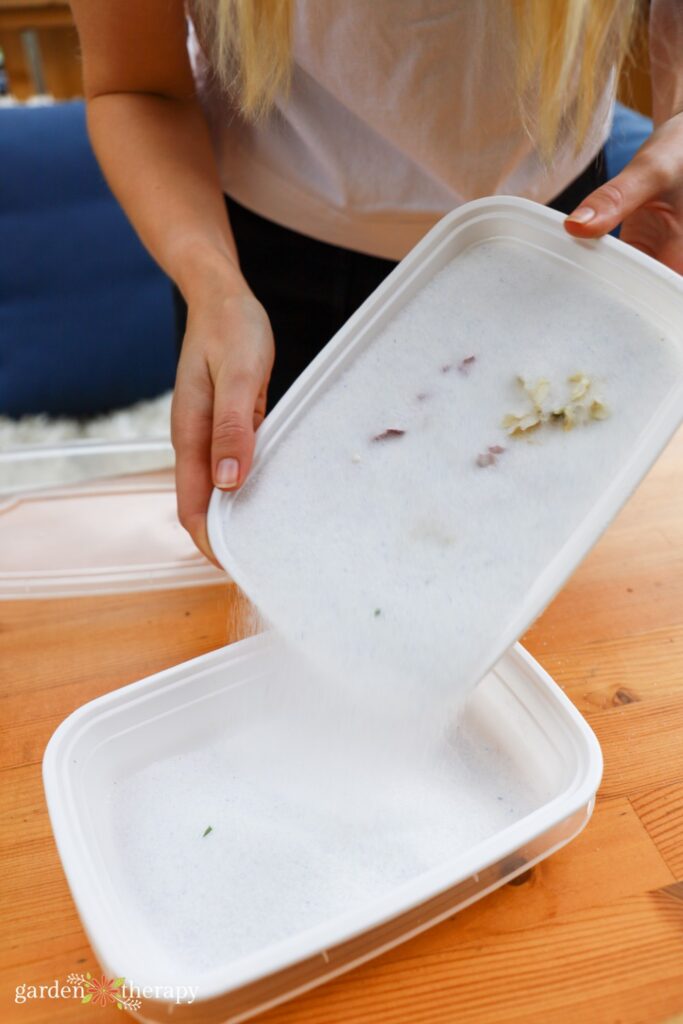

To remove your flowers, gently pour your silica into another bowl or container slowly. Do not dump it all at once. Gently catch the flowers as they fall out, holding onto the stem rather than the petals.
Hold the flower upside down and gently tap to help get rid of the remaining silica. Use a soft paint brush or makeup brush to remove any stubborn silica pieces.

Using Your Silica Gel Flowers
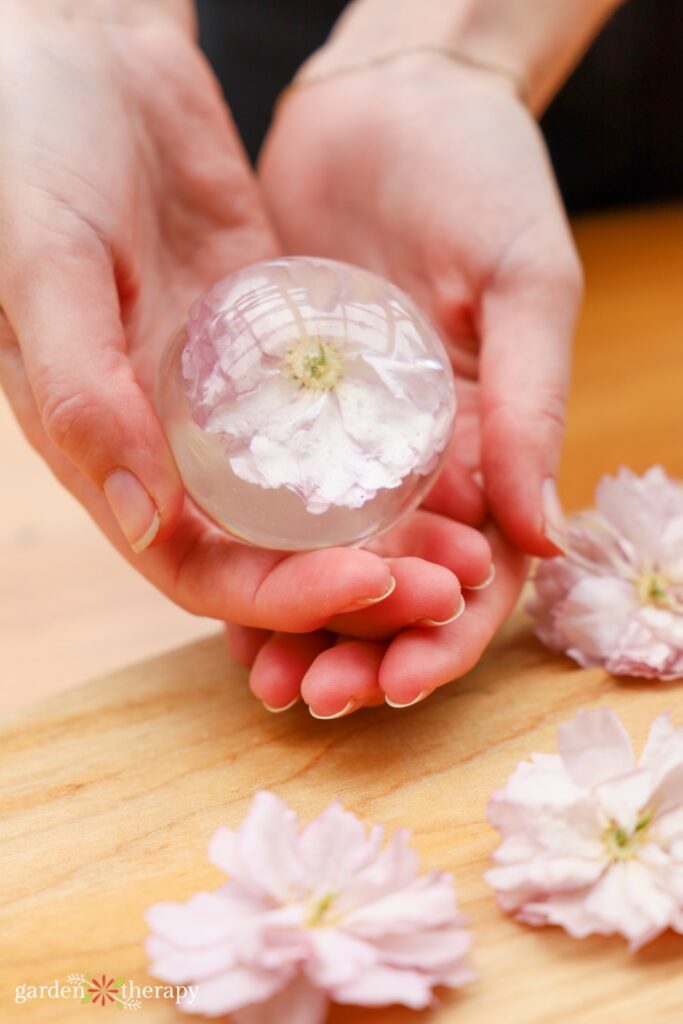
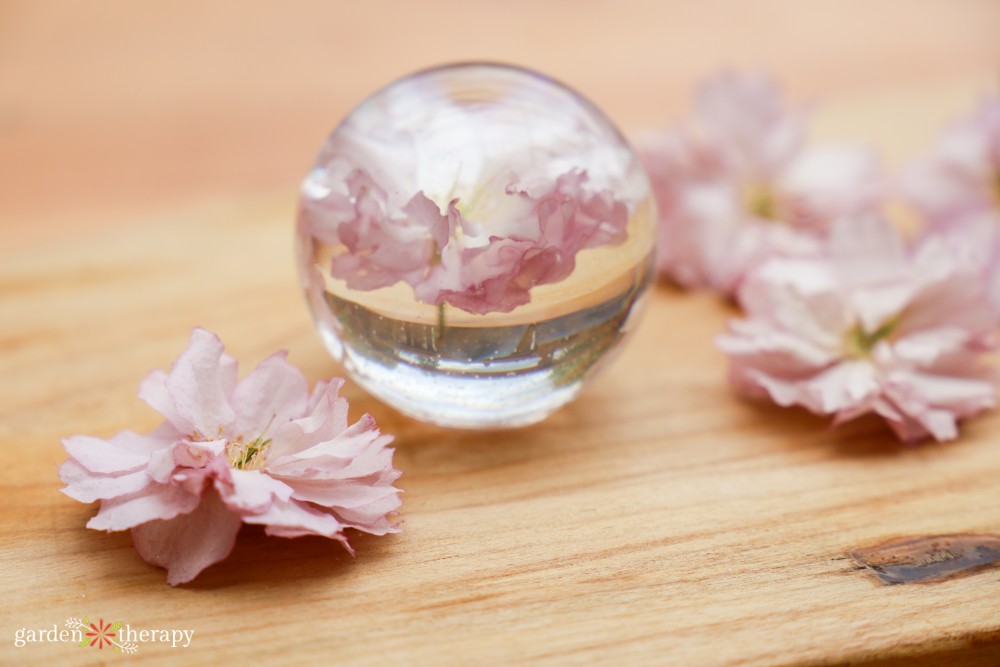
I dry flowers in silica to use for resin. They must be fully dry, or they will rot in the resin. If I don’t use them right away after removing them from the silica, I’ll place them back in the container with a thin layer of fresh silica at the bottom. The flowers don’t need to be fully covered in silica once they’re fully dry.
Other than resin, you can also use them for many other projects (they don’t have to be stored in silica once dried. That’s only for resin projects.)
Here are some project ideas for silica gel flowers!


Silica Gel Flowers FAQ
While I wouldn’t say these flowers last forever, they do last for a very long time when done right. If they begin to change shape shortly after being removed from the silica, then they were not in there long enough.
Your flowers should last you a minimum of a year, and can go onwards to last for a decade. Like any dried flower, their colour will begin to fade. To prolong their life, keep them away from sunlight, heat, and moist areas.
Roses dry extremely well in silica gel. They do contain a lot of moisture, especially the center, so you need to leave them in the silica for at least 3 weeks to ensure they fully dry.
Some people will remove the center petals to prevent the flower from browning or rotting. Personally, I skip this step and just make sure to carefully fill all the nooks and crannies of the rose to ensure the silica absorbs all the moisture.
Yes! Fresh silica is the strongest and can be used a few times before it needs to be recharged. While each brand varies, usually the colour will change when it’s no longer able to absorb any more moisture.
To recharge your silica, it should be placed on a baking tray and left in the oven at 250°F for a minimum of five hours. However, check the instructions of your silica gel to see their recommendations.
Silica should be recharged after every use for best results.
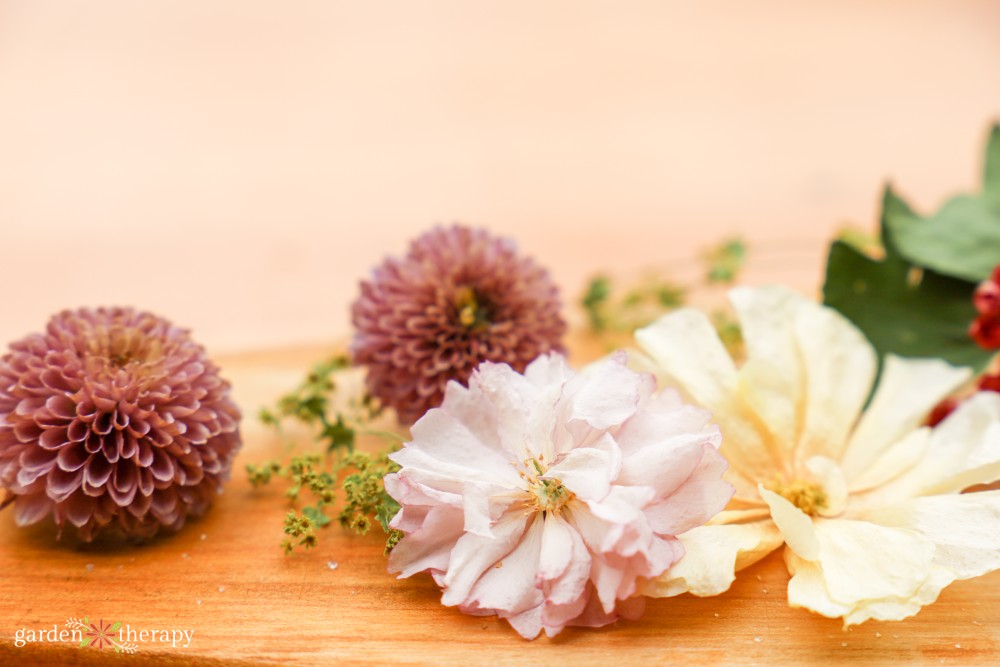

Get creative with your flowers, experiment, and have fun! Let me know if you have any questions about using silica gel for drying flowers in the comments below.
More Tips for Drying Flowers
From Vancouver, BC, Holly is Garden Therapy’s Content Manager. She has a BFA in Writing from the University of Victoria as well as a diploma in Floristry Design from Burnaby CCE. At home, she loves to grow cut flowers and dried flowers for her business, Dirty Daisy Florals, and is an avid houseplant collector and lover of bees. You can find her at @dirtydaisyflorals and @hollyheuversocial.

