With their iconic shape and eye-catching colour varieties, tulips just might be my favourite spring flower—both in the ground and in a vase! It’s no wonder they’re one of the most popular cut flowers, and they’re surprisingly easy to grow. The only catch is that these bulbs should be planted in the fall, so let’s get into my advice for growing cutting tulips.
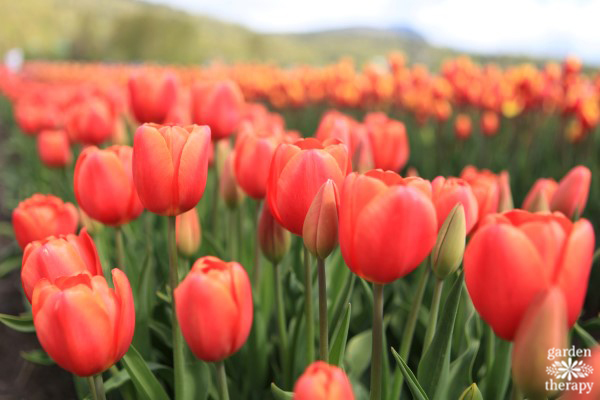
What do most people love about the tulips? You plant the bulbs once and forget about it. They return year after year, giving you a much-needed burst of colour after a snowy (or, in my case, grey) winter.
I hate to burst the tulip bubble, but that’s not always the case. Yes, there is such a thing as perennial vs annual tulips.
Many people plant tulips with the intention that they’ll come back each year, but this is a misconception, as the majority of tulips we plant are annuals.
Once they bloom, they generally don’t propagate very well unless you’re a tulip farmer, backyard farmer, or just a really darn good tulip gardener. This takes careful work to get them to grow back. For the majority of us, you won’t have tulips that naturalize very easily.
So here’s what you can do. Plant whatever tulips you wish, but plant them as cut flowers.
The price of tulip bulbs is very similar to that of other annuals you might find at the garden centre, yet we’re A-okay with saying goodbye to those plants at the end of the year. Why not our tulip bulbs, too?
This releases the expectation that they’ll return year after year. You can plant them once, cut them in the spring, and put them in the vase. Next fall, you do it all over again.
With that said, I thought now would be the perfect time to share some tips for growing tulips for a cutting garden so that you can look forward to some beautiful floral arrangements next year.
Sponsored: I’m thrilled that this post has been sponsored by Flowerbulb.eu. They’re an amazing resource for all things bulbs and graciously supported the planting of my bulb lawn last year and the tulip cutting garden this year. Be sure to check them out for more growing information on spring and summer flowering bulbs.
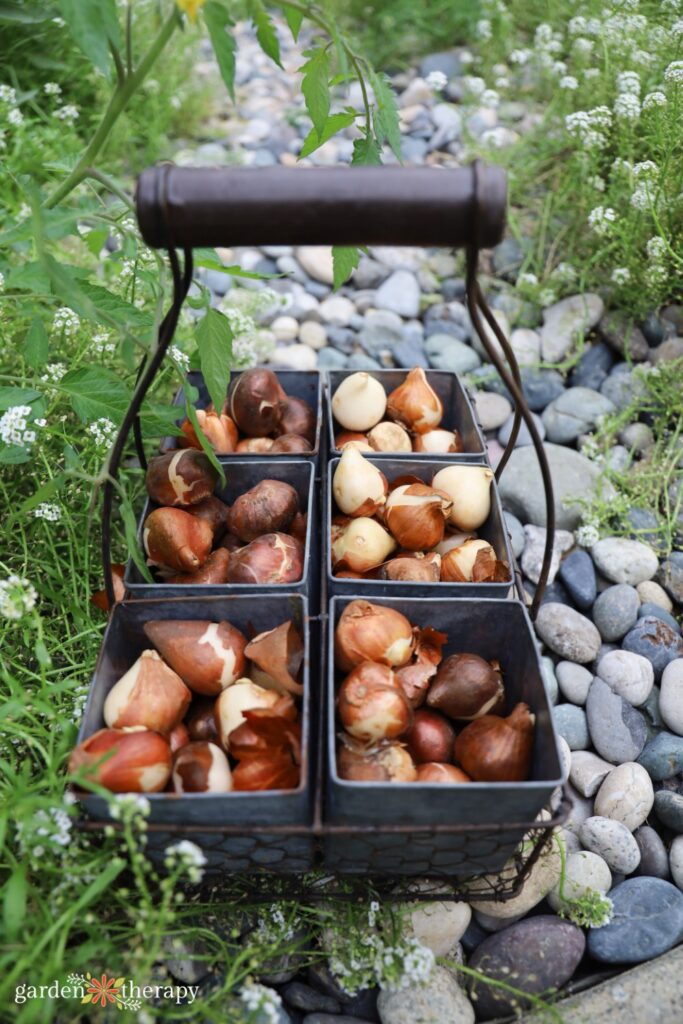

Perennial vs Annual Tulips
I’ve written quite a bit about both perennial and annual tulips. Perennials will naturalize in your garden and are great for a low-maintenance garden. But they don’t usually have as big of a “wow factor” as annuals.
Annual tulips are bred specifically for looks. They come in the showiest colours and textures, which means they’re perfect for cutting. You can choose exactly the look you’re going for, and their colours tend to be bolder than their perennial counterparts.
If you do decide to go for perennial tulips instead, you may also need to adjust your expectations. While you can certainly cut perennial tulips, just know that they may not return as easily the next year. Make sure to leave the leaves behind so the bulb can recharge and get enough energy to return the following year.
And hey, you can plant tulips expecting them for one year. Then, who knows, you might get lucky and see them return for the following year. Just try to release the expectation that your tulips will return each year to lessen the disappointment when they don’t return and triple the joy if they do!

My Tulip Garden Design
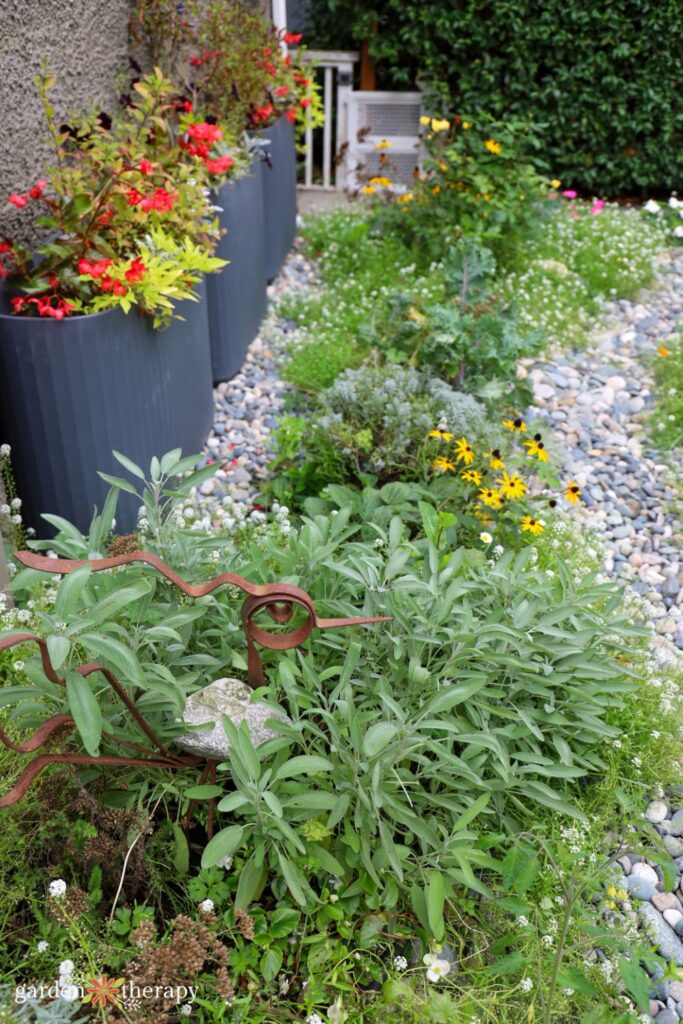
This fall, I planted my tulip cutting garden in front of my herbs, so it sits between my front containers and dry river, and amongst my wildflower lawn.
I included tulips in my bulb lawn last year, and I ended up cutting a ton of them to bring indoors. So, I’m excited to set aside a part of my garden specifically for cutting tulips this year.
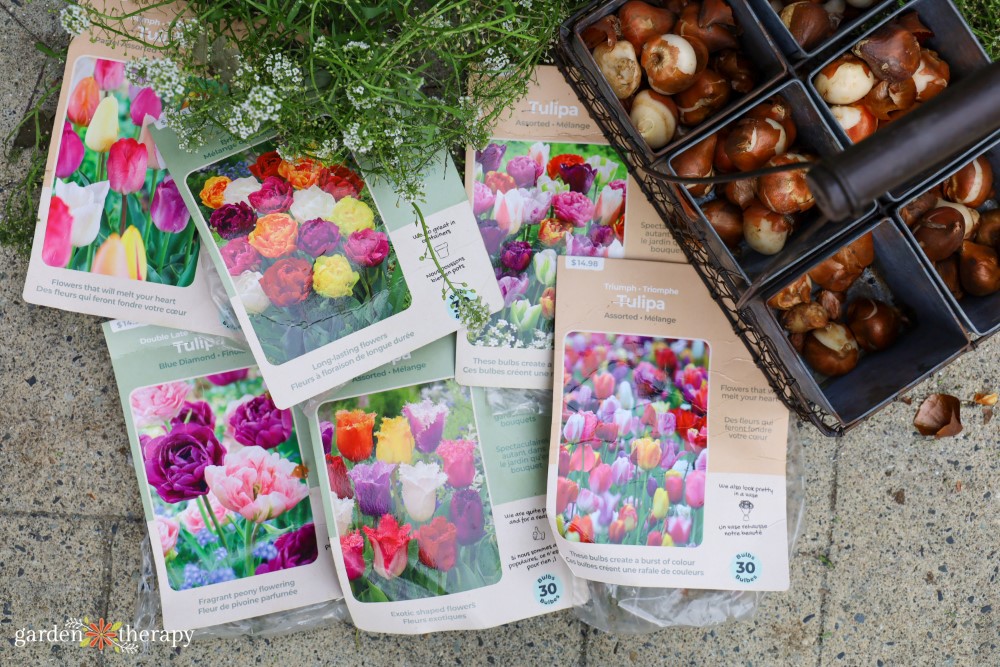
To add to my bulb lawn, I planted 250 tulips with my power planter. I wanted to make sure that I’ll have a few different flowers to work with when I eventually harvest my tulips, so I planted a few varieties. I went with ‘Blue Diamond’ double late tulips, as well as assorted double lates, triumph, fringed, and species tulips.
To add even more variety and colour, I dotted some crocus flowers throughout the lawn in this area. I also pulled out any buttercup weed that was creating patches and made sure to fill in any bare areas with the tulip bulbs.

Planting Cutting Tulips
I usually get my tulips in the ground by mid-October, so now is the perfect time to start planting. If you can, choose a sunny spot in your garden, although tulips aren’t too picky and can handle some shade as well.
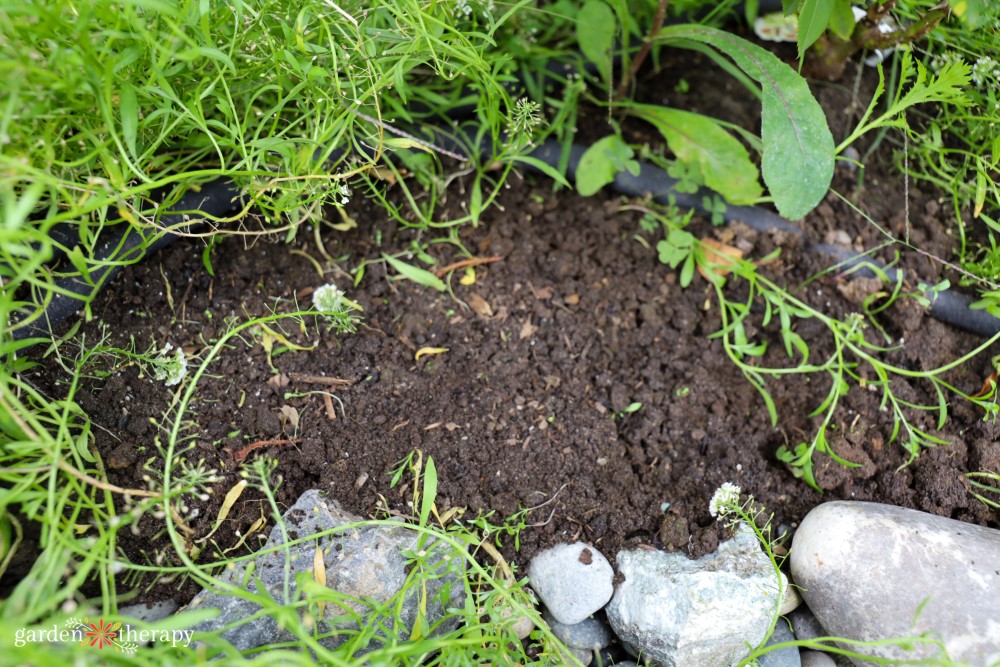

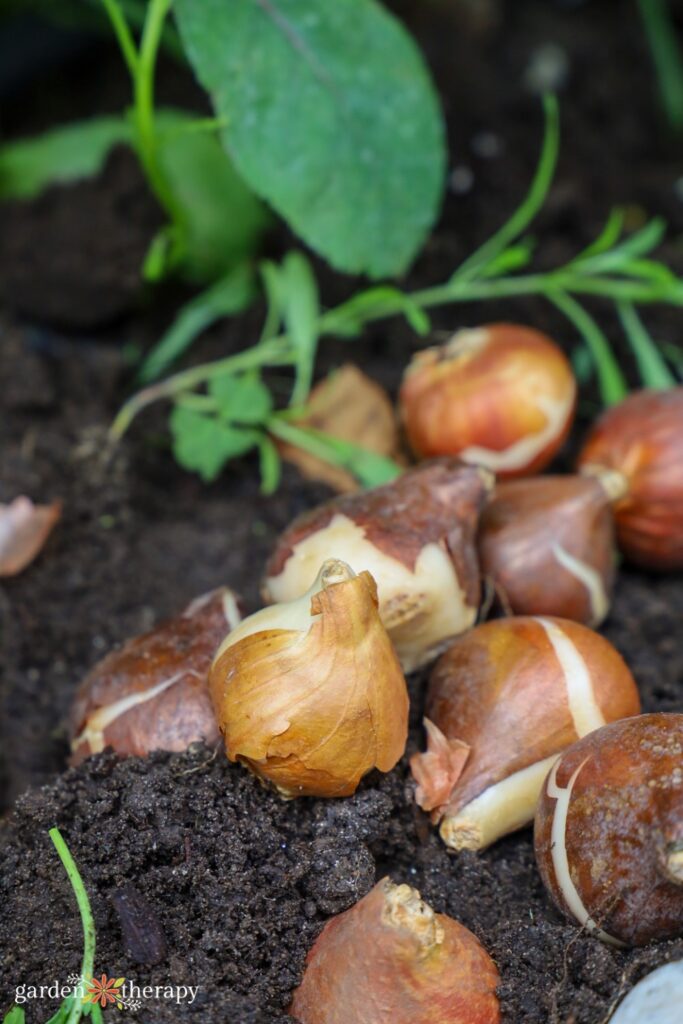
Once you’ve chosen a spot, you can start placing your bulbs in loose soil with the roots down and the pointy end facing up. A power planter will come in handy here, as tulips need to be planted fairly deep if you want their stems to be strong. Two to three times the height of the bulb is a general rule of thumb.
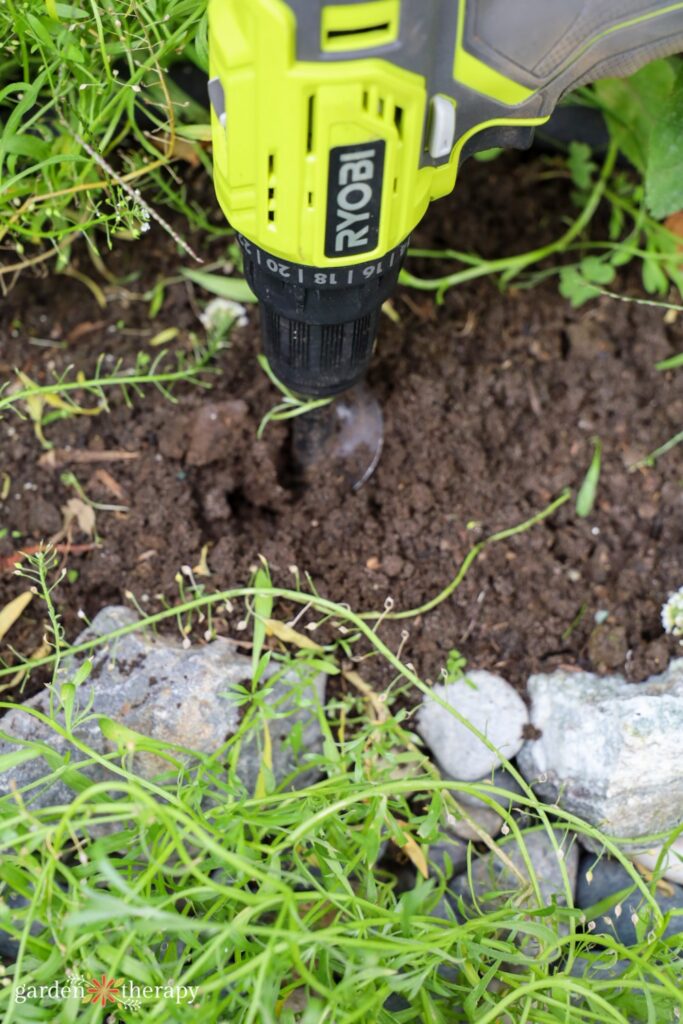

The nice thing about growing tulips for cutting purposes is that they can be placed quite close together.
Once you have the bulbs deep in the ground (two to three times the height of the bulb), you can spread a layer of mulch over them and give them a good watering. After this, they won’t need any more water or fertilizer until they sprout in the spring (unless you have a prolonged period of drought.
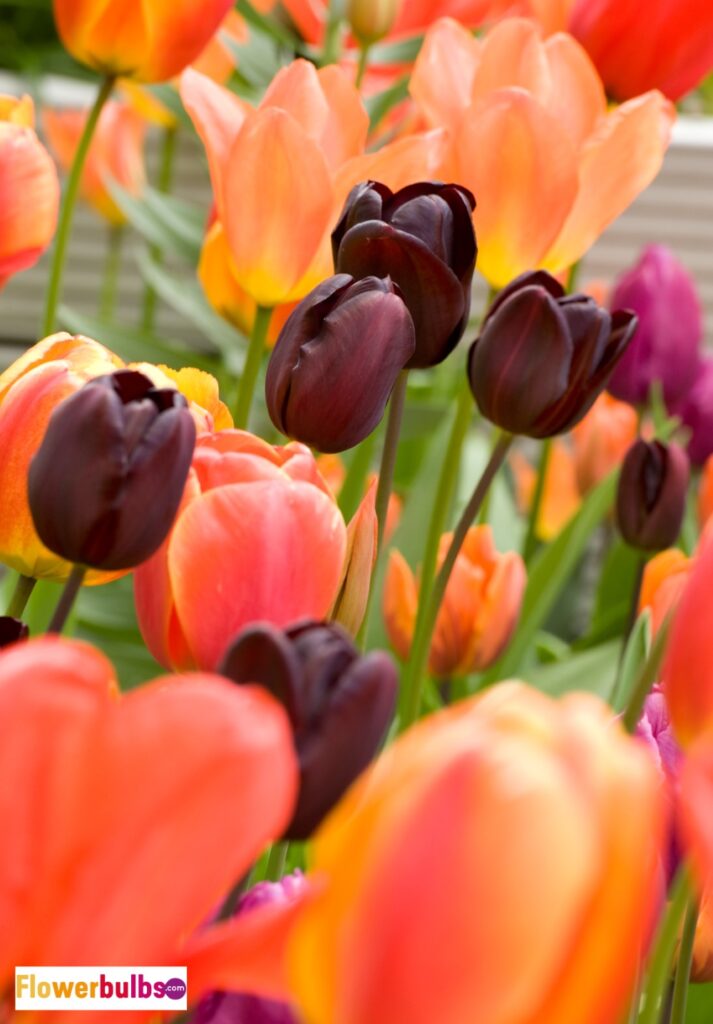
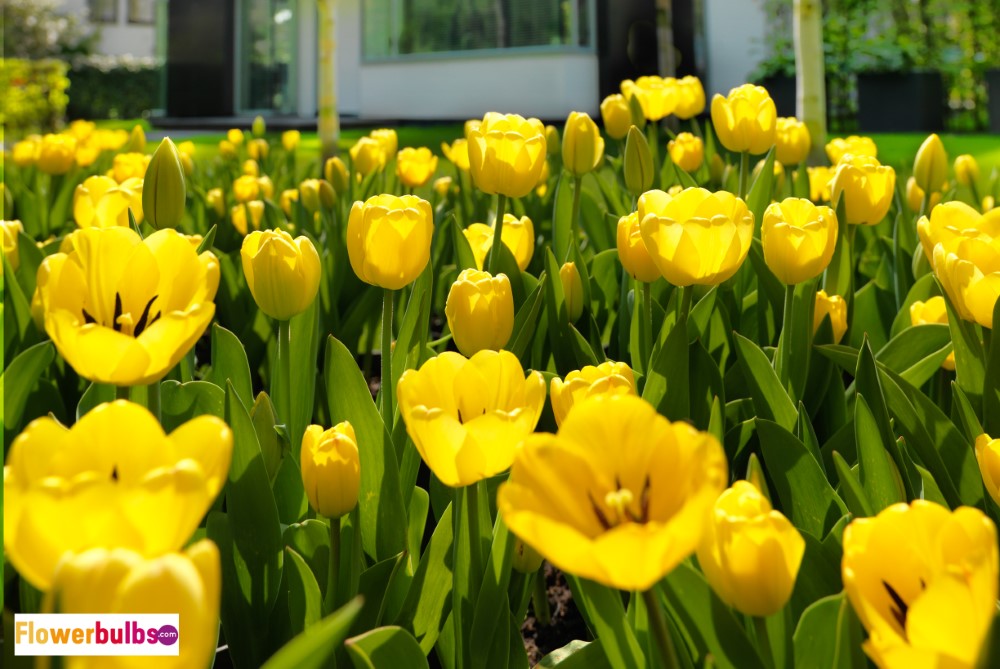
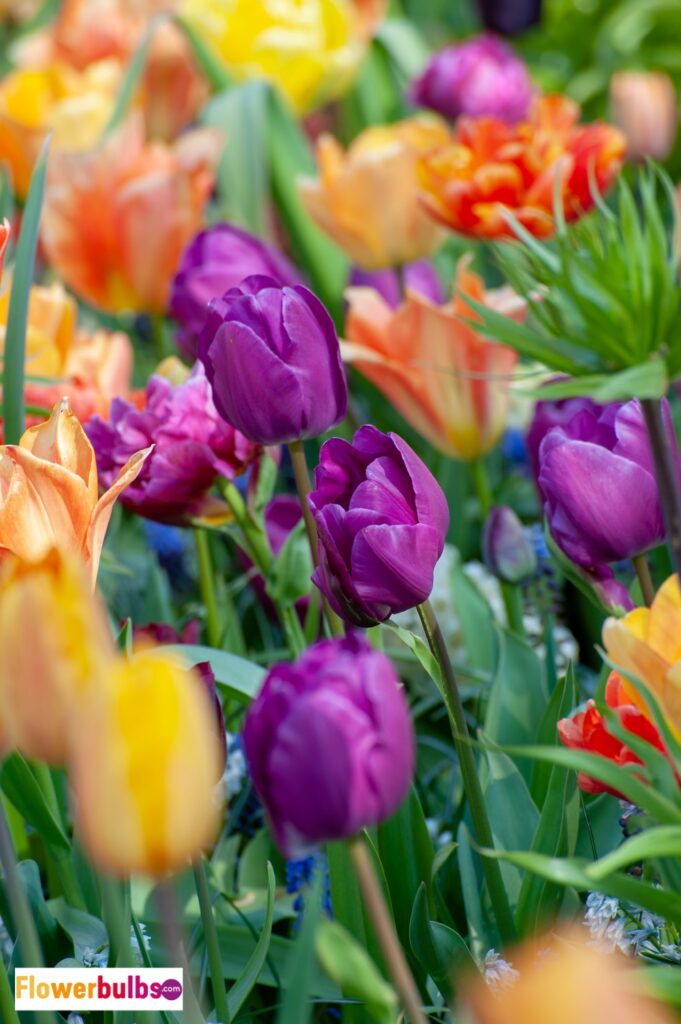
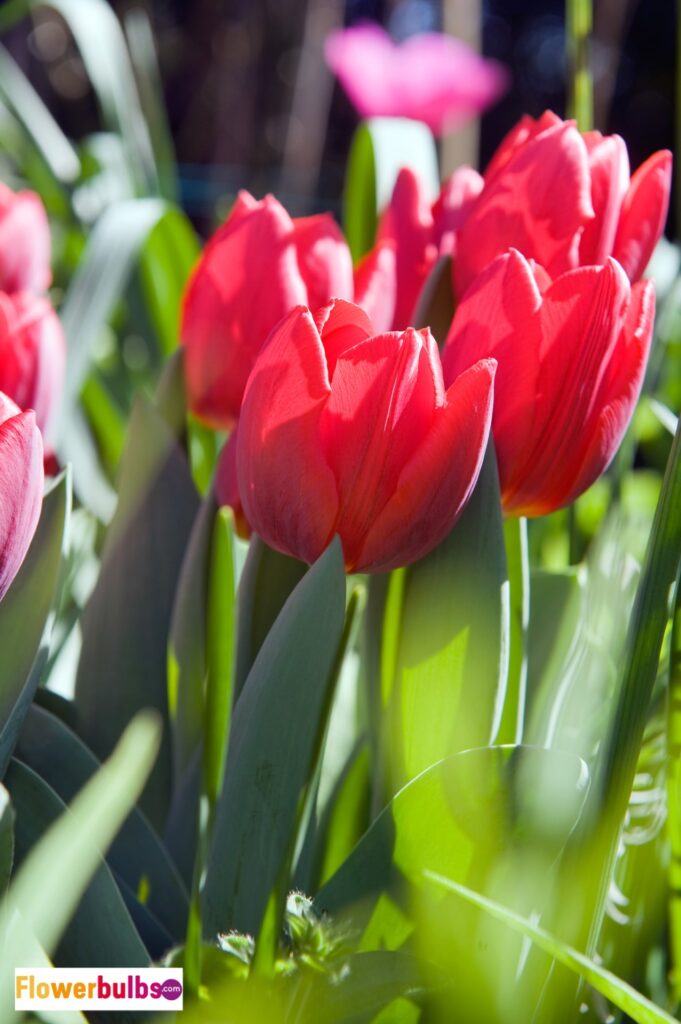
Here are some of the tulips I planted last year.




Harvesting Your Tulips
Once your tulips have opened slightly and some colour is showing on the outside, it’s time for the exciting part—cutting your beautiful tulips so you can bring them inside!
To get the longest vase life possible, you want to make sure you’re cutting them at the right time. Don’t cut them when they’re still tight and green. You want half of their colour to show.
When the time comes for harvesting, I recommend doing so in the morning when it’s not too hot out and the tulips are the most hydrated.
Like I mentioned, I recommend treating all tulips as annuals if you’re growing them for cutting. This means you can pull the entire plant out of the ground, including the bulb. The nice thing about this method is that it gives you a longer stem.
If you’re not planning on putting them in a vase immediately, you can also store them dry in a cooler for up to two weeks. Otherwise, just cut off the bulb and place it in water. I can usually enjoy a vase of tulips for about a week and a half.
If you’ve ever had tulips, you’ll know that the stems have a habit of curving, which causes the flowers to look droopy. One trick I’ve learned is to wrap the stems in paper and leave them in a vase the night before you arrange them. When you remove the paper, they’ll stand straighter.
When you’re arranging your tulips, also keep in mind that they do continue to grow in the vase.
The Best Tulips for Cut Flowers
- Triumph tulips are the largest group of tulips, which means they come in a wide variety of colours and shapes. Their tall, sturdy stems make them a great choice for cutting.
- Rembrandt tulips are known for their distinct striped markings. I like that they add a beautiful pop of uniqueness to any arrangement.
- Fringed tulips are recognizable by their serrated petals, which give them a fluffy look. They’re excellent for adding a contrasting texture to a classic tulip bouquet.
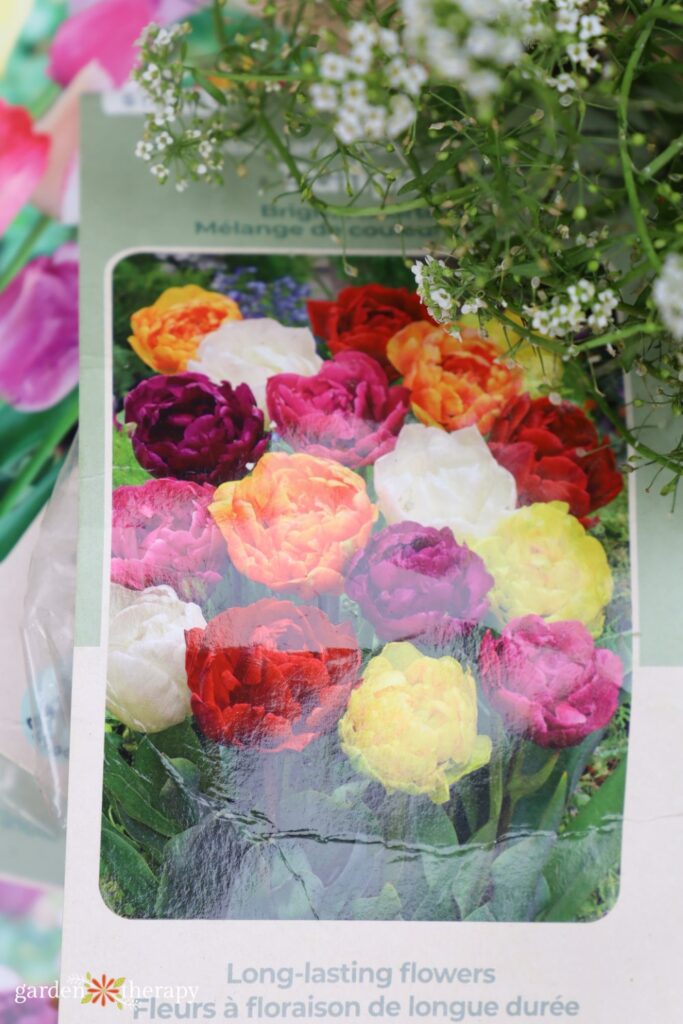
- Double late tulips are often mistaken for peonies as they have lush, rounded petals. With a variety of single and bi-colour options, these look beautiful in vases and gardens alike.

FAQs About Cutting Tulips
When you harvest tulips fresh from your garden, they can last up to two weeks in a vase! If you’ve ever had store-bought tulips, you’ll know this is quite the improvement from the typical four to five days.
I always recommend giving your tulips a good trim before placing them in your vase to avoid putting the leaves in water. This helps the tulips last longer and makes them easier to arrange.
Harvesting your flowers at the right time really is key to using tulips as cut flowers. Wait until your tulips have opened slightly, but make sure to cut them before they’re in full bloom. You’ll know it’s the right time when about half their colour is visible.

More Helpful Tips for Growing Tulips


