Taking nature walks to collect pretty bits and pieces like pinecones from the forest floor is a wonderful way to lower stress and get exercise. But what do you do with all that stuff once you’ve got it? If you’re anything like me, you have a large collection just waiting to be put to good use in some of these beautiful pinecone crafts.
Pinecones have such a beautiful natural shape and texture, making them a great way to bring nature indoors as decoration. Every time I’m out on the walk, I can’t deny that I’m always hunting for cute goodies to bring into the house. It’s in our innate nature to collect things, just like squirrels.
In fact, it’s part of what the tree wants. When we collect and move things around, we spread their seed. While a tree might not have envisioned we’d be crafting with pinecones from its branches, I’m sure it’s happy when those pinecones eventually make their way back to nature.
These pinecone crafts celebrate the natural beauty of foraged cones by using simple techniques to create stunning, elegant projects. They’re wonderful for the onset of the cozy season and when crafting calls!
Jump ahead to…
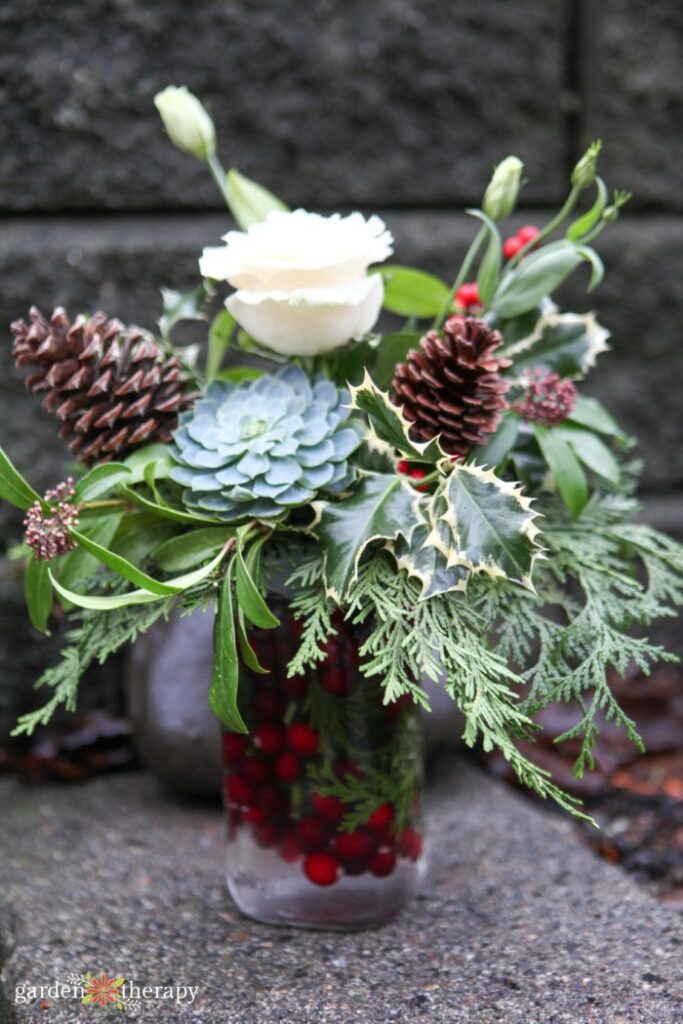

My Pinecone Collection
Recently, I made a big move from my house of just over ten years. While moving, I had lots of help from movers and friends. At one point, they discovered my box labeled simply pinecones. A friend carried the bin to the compost and was about to dump it before I noticed and went NOO!
I explained that there are lots of pinecones uses, especially in my crafts. The box was full of all kinds of pinecones, including bleached ones, wired ones for wreaths, giant sugar pinecones, ones my mom had collected, and many more in various shapes and sizes.
At that point, my friends had a serious talk with me: Moving is expensive. Do you really need to move a whole box of pinecones to the next house?
I was about to shout yes…until I looked around me. Besides the pinecones was a whole box of moss. Then one with dried flowers. Another just of bird pinecone gourds. And it went on.
So I agreed. But I didn’t want to just toss this amazing collection of foraged materials. I took the boxes to my kiddo’s after-school program. When I dropped them off, they were thrilled. They said the kids would absolutely love crafting with them
In the end, it felt so wonderful to pass along my pinecone crafts to the next generation. And, of course, I can begin collecting all over again!
6 Pinecone Crafts for Your Foraged Collection
If you also have a pinecone collection or know the perfect places to gather a bunch, here are some amazing crafts with pinecones that you can use to decorate your home.
1. Bleached Pinecones
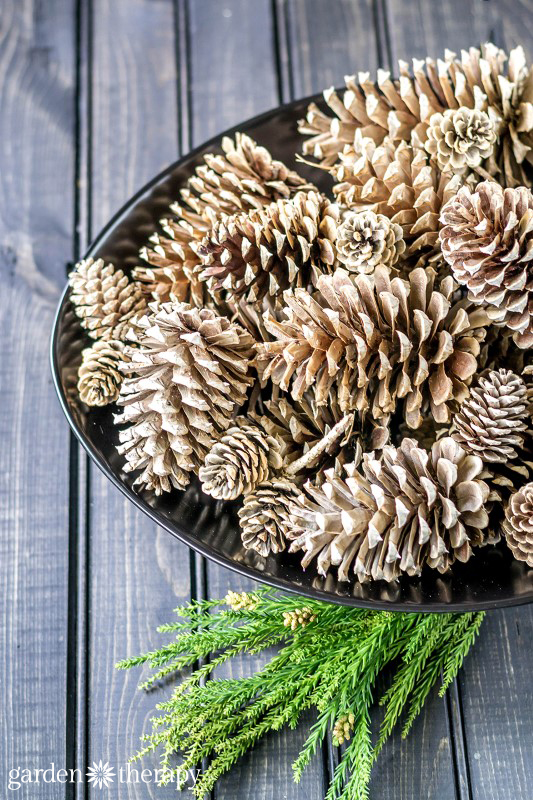
While covering pinecones in paint or glitter until they no longer resemble their former selves is not really my thing, one way of altering pinecones that I do love is bleaching.
Bleached pinecones still look natural and rustic but with a softer, more modern vibe. They can be used in any of the pinecone crafts in this post or simply displayed in a pretty dish or basket.
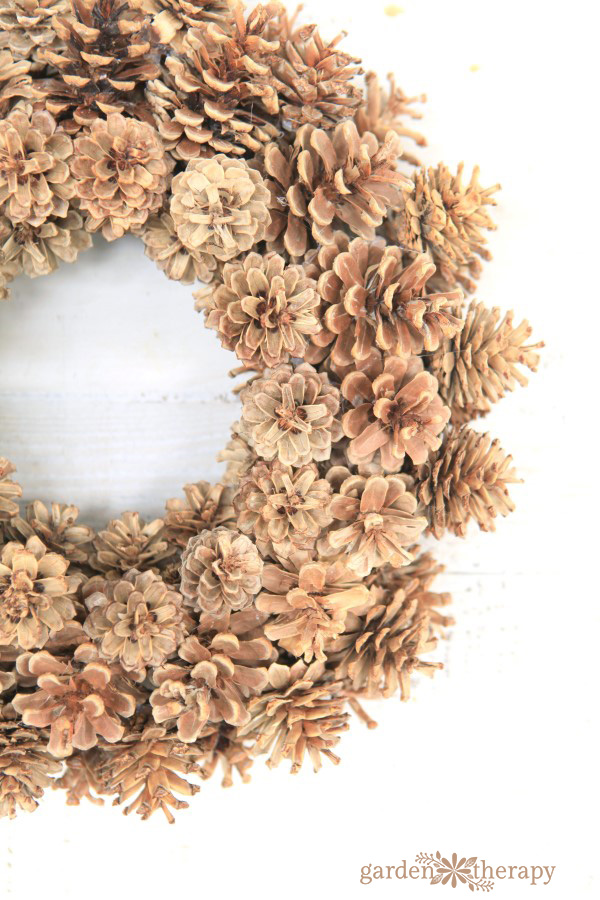
2. Woodland Wreath
A pinecone wreath is a wonderful way to bring the forest to your front door. Use bleached or natural pinecones (or a combination of both) to create this stunning wreath.
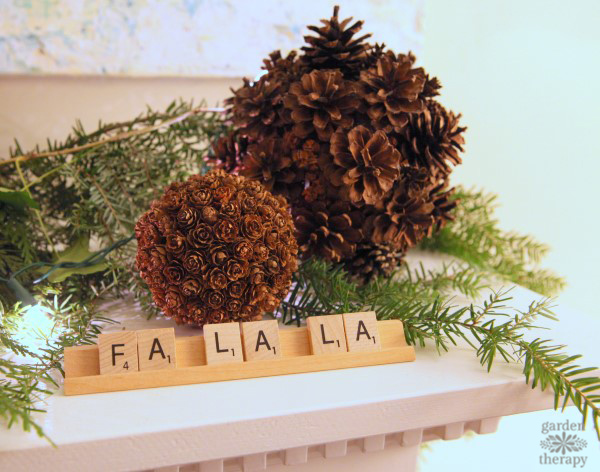
3. Pinecone Spheres
These pinecone spheres are a great way to display smaller pinecones or the teeny tiny ones that come from hemlock trees. They look equally at home during the holidays among festive decor or throughout the rest of the year as a simple and stylish way to bring natural elements indoors.
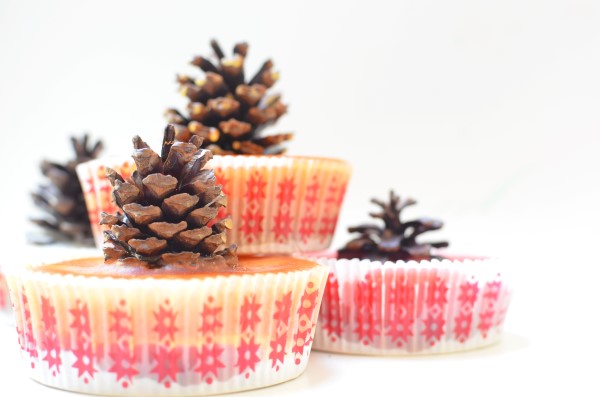
4. Pinecone Firestarters
Is there anything better than a cozy fire on a chilly day? Whether you’re camping, using an outdoor fire pit, or an indoor fireplace, these crafty firestarters make getting a fire going easy and hassle-free.
Plus, they look adorable, making them a great gift too.
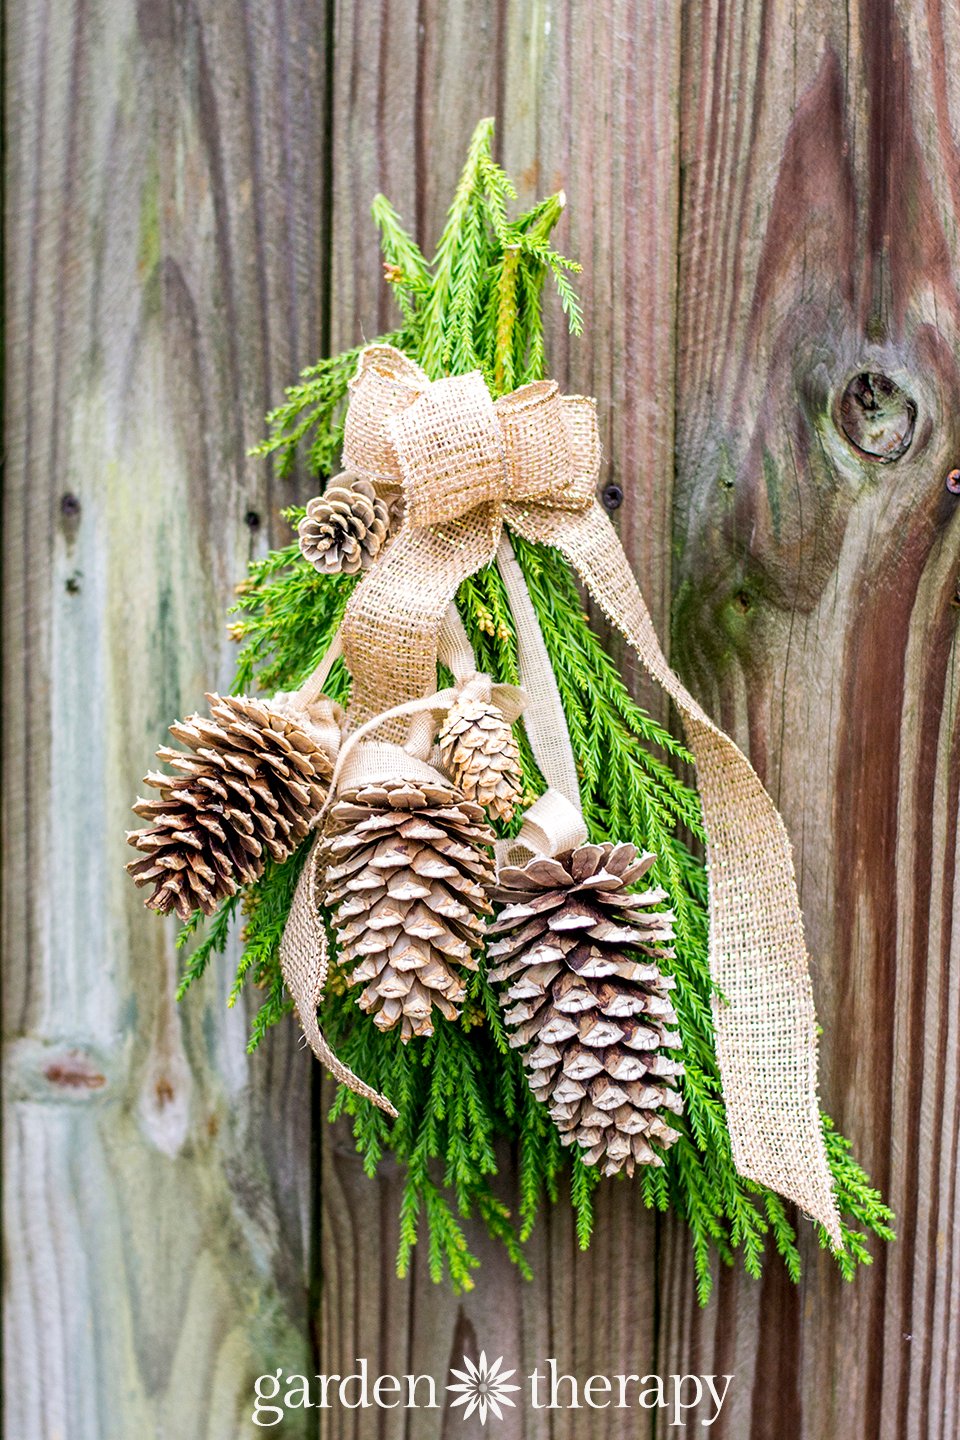
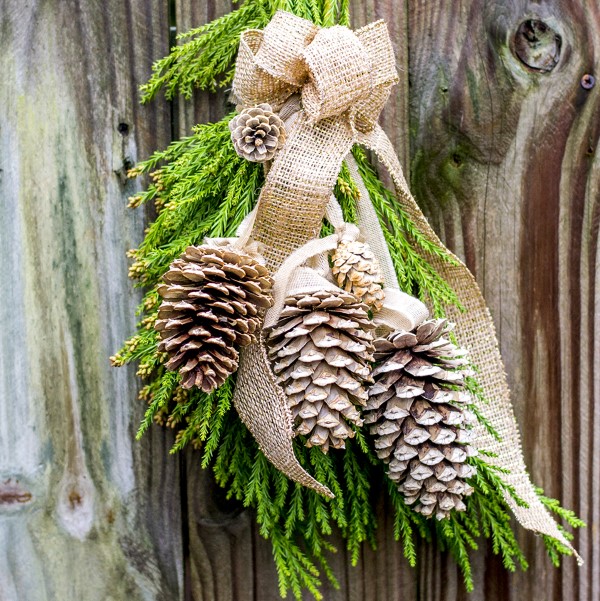
5. Simple Swag
This elegant pinecone swag project uses bleached pinecones, but you could certainly use untreated pinecones if you prefer. Hang this indoors or out to spruce up doors, banisters, fences, garden sheds…anything that needs a little pick-me-up!
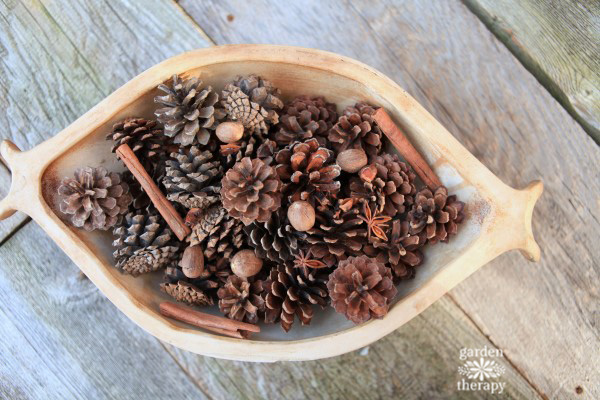
6. Aromatherapy Pinecones
Dried pinecones make wonderful scent diffusers. Have you ever been totally overwhelmed with the artificial cinnamon fragrance on pinecones in stores? This is the upgraded, natural version that you’ll actually enjoy.
Simply follow the tutorial, add your favourite essential oils to the pinecones, and enjoy natural aromatherapy’s soothing and healing benefits.
Frequently Asked Questions About Crafting With Pinecones
To wash pinecones, fill the sink with warm, soapy water. Gently wash the pinecones or let them soak for a few minutes. You can use a small scrubbing brush if necessary to get in the grooves. An old toothbrush or BBQ brush works great.
When clean, remove them from water and give them a shake before letting them sit in a strainer. Then, they’re ready to begin drying.
It’s a good idea to give pinecones a quick wash before making any crafts with pinecones to help eliminate unwanted dirt, debris, and bugs.
Then, you can set them out to dry in the sun or by placing them in an oven. They’re fully dry once they have opened up and are no longer cold to the touch.
If you’re using your pinecones for outside décor, there’s no need to clean and disinfect them. However, if you’re going to bleach them, you may want to rinse off the dirt beforehand.
If you plan on crafting and decorating inside, I would recommend washing the pinecones beforehand with soap and water. No strong chemicals or disinfectants are necessary.
You’re going to get some small creepy crawlies when working with pinecones. Even if you don’t see them, some of them are there. Before using them, bake them in the oven at 200F or your lowest setting for a couple of hours before using.
You don’t have to worry about finding already opened-up pinecones. If it’s sunny out, place the pinecones outside and let them sit until completely dry. It can take a few days for them to fully open and become moisture-free.
You can also get them to harden in your oven. Place the oven to its lowest setting (usually 200F) and line a baking sheet with parchment paper. Let them sit for 30 minutes to an hour or until they look open and feel dry to the touch.

More Holiday Crafting Ideas

