This DIY cedarwood soap smells just like a winter forest with the additions of cypress and sweet birch. These woodsy essential oils are so refreshing each morning and will help you embrace the season, Double this batch and gift some to friends, too.
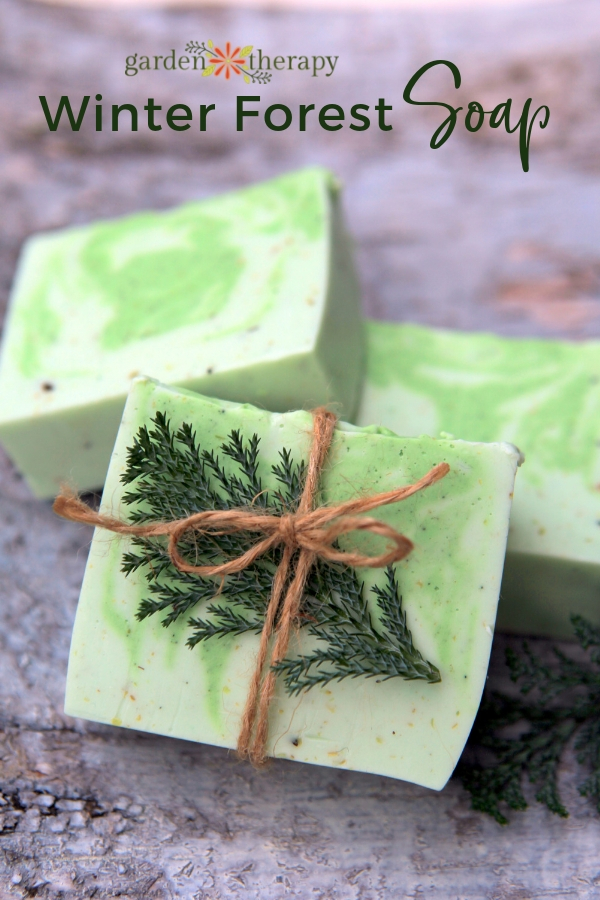
This winter forest soap recipe smells like a walk through the forest in the brisk winter air. It is made with two colors of soap swirled together, just like cool winds in evergreen trees.
It’s scented with essential oils from forest trees making it both fresh and woodsy. As a bonus, the combination of essential oils will perk you up and help with the dreariness that comes with the long winter nights and short days.
This soap is made from a melt and pour soap base, but the essential oil and color combinations can also be used with cold-process soap.
Woodsy Essential Oils
The most important part of getting this winter soap recipe to have that fresh, woodsy scent is to use the correct essential oils. Here are the three woodsy essential oils this recipe calls for, and what the benefits are of each:
- Cedarwood essential oil – this warm, woodsy essential oil is perfect for promoting emotional balance and wellness. Some say it also purifies skin, making it the perfect addition to soap!
- Cyprus essential oil – cypress has a fresh scent that is often used at spas to help invigorate and refresh. This oil is also said to help reduce blemishes on the skin.
- Sweet birch essential oil – birch oil is similar to wintergreen oil, and will add a fresh feel to your soap recipe.
How to Make Winter Forest Cedarwood Soap
Let’s get into how to actually make this soap. This is one of my absolute favourite bars to lather up with. The smell is out of this world!
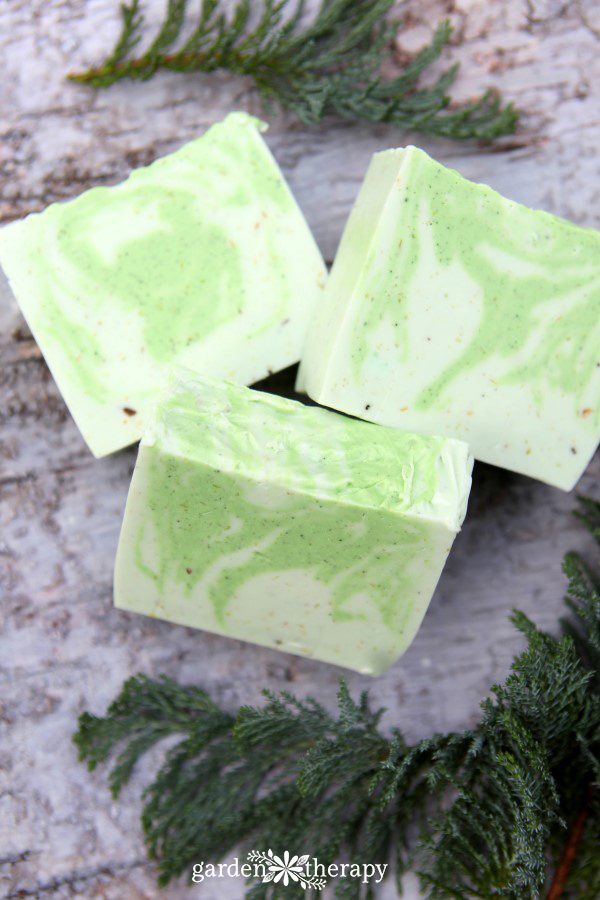

Materials Needed for Cedarwood Soap
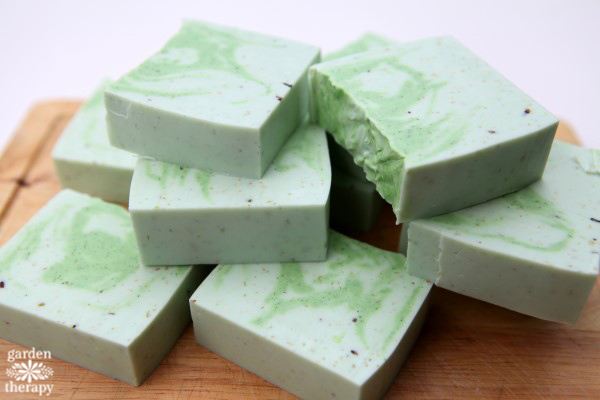

Make it!
For this recipe I used 3 lbs of an oatmeal melt and pour soap base. It comes in a 2 lb box, but I find that that doesn’t fill up the silicone loaf mould enough. I wanted larger, almost square bars for this project so I used one and a half boxes of soap base.
Cut and Melt Cedarwood Soap Base
To start, cut one 2 lb box of soap base into one-inch cubes and add it to a large heatproof bowl or Pyrex measuring cup. Then, cut the other 1 lb of soap base into cubes and add it to a second large bowl or Pyrex measuring cup.
The key to getting a swirl with melt and pour soap is all in the timing. The soap base in both colors needs to be melted together and poured into the mould together quickly.
To do this, use a microwave to alternate melting the soap base for each or use two double boilers and melt them simultaneously. To melt them in the microwave, start with the 2 lbs of soap and get the scents and colors ready for when it comes out.
When the soap is almost melted but has a few lumps, put the other 1 lb of soap base in the microwave to melt while you stir and add scent and colors to the first batch.
Colour the Soap
When the second is somewhat melted and lumpy, take it out of the microwave and stir in the colors and scents. At the same time, add the first batch back into the microwave for 20 seconds or so. Keep switching them in and out of the microwave as you stir and melt the base in both.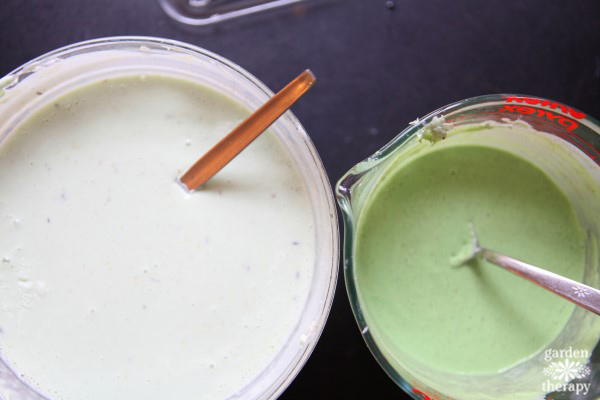

I colored the 2 lb soap base with spirulina, a natural green powder that I usually use in cold-process soap. Personally, I like that it gives a pale green, speckled look.
I then used a green soap dye for the 1 lb soap base to get a stronger color. You could certainly use soap dyes or natural colorants for both. I just chose these to get the color combination that fits the scent.
Add Woodsy Essential Oils
Next, you’ll divide the essential oils into thirds and add 2/3 to the 2 lb batch and 1/3 to the 1 lbs batch. It doesn’t really matter if you get it divided perfectly, the soap will all be mixed together in the end so it will be fine if you only scent the larger batch. (Usually, you will add 1 teaspoon of essential oil per pound of soap, but I found these scents to be very powerful and so I used much less.) You are welcome to add more essential oils if you like a stronger smelling soap.
The woodsy essential oil combination was created to be both calming and refreshing. It’s perfect for the morning shower as sweet birch is said to help you overcome feelings of sadness and inertia that can be prevalent with reduced winter light. Both cypress and cedarwood are stimulating to the body while calming to the mind, making them ideal to help start your day off right.
Once you have your two colors of soap base melted and scented, then you can swirl! Pour the 2 lb soap base into a silicone loaf mould, and then immediately pour the melted 1 lb of soap base in as well.
Add the second color by pouring it along the length of the mould and side to side. Use a chopstick to quickly make a few zig zags in the soap and then let it be. It can be tempting to over fuss with the soap, but this will muddle the colors too much.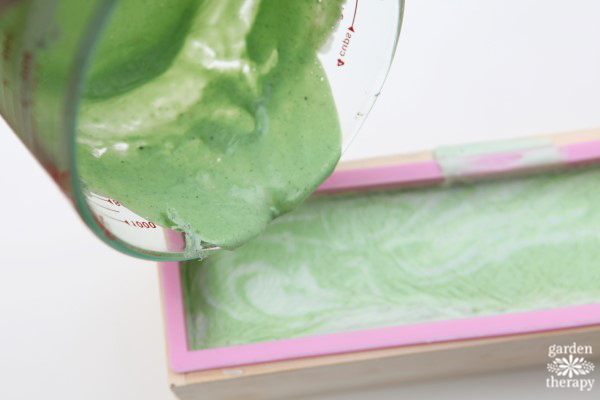

Demould and Cut the Cedarwood Soap
When the soap has set, remove it from the mould and use a soap planer box to cut even sections, or wing it and cut them by eye.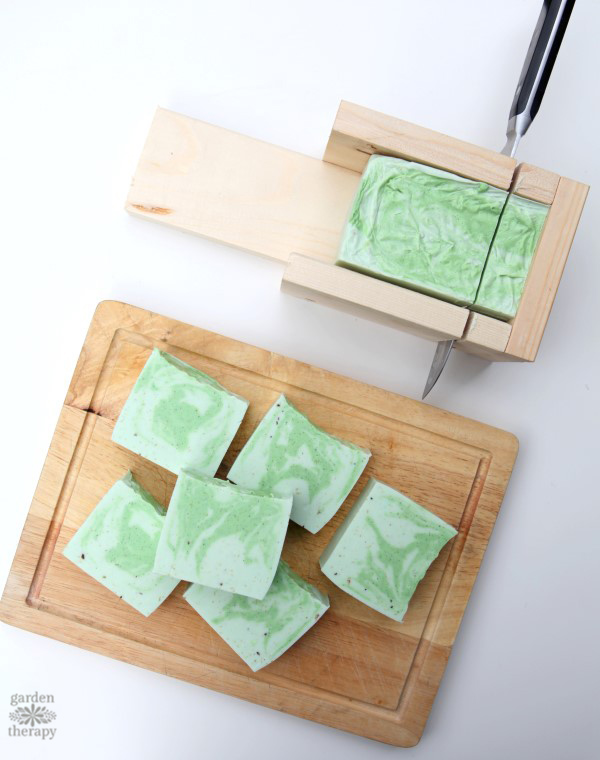

Wrap the soap in garden twine and a fresh cut evergreen branch if you plan to give them as gifts.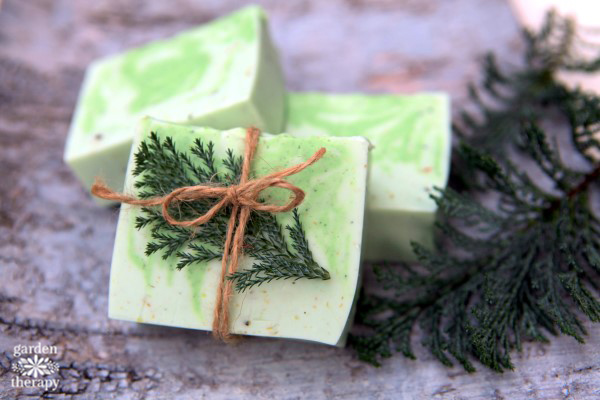

More Fabulous Soap!
Here are some more recipes for making soap at home. I love to make soap and I’m sure you will find a recipe or two that suits you here:
Cedarwood Soap with Cyprus and Birch
This woodsy essential oil soap is the perfect way to feel refreshed and invigorated each morning.
-
Cut 2 lbs of soap base into cubes and melt in the microwave in a heat-proof bowl. Set aside.
-
Then, cut 1 lb of soap base into cubes and melt in a separate container. Both batches will need to be kept hot at the same time, so you may want to alternate heating back and forth.
-
Colour the 2 lb soap base with spirulina. Then add dye to the 1 lb bowl to give it a stronger green shade.
-
Scent the soap base. To do this, divide your essential oils into thirds, and give 2/3 to the 2 lb base and the remaining 1/3 to the 1 lb base. This can be a rough estimate.
-
Pour the 2 lb base into the silicone leaf mould, then immediately add the 1 lb soap base on top. To swirl the colors, drag a chopstick and make a few zig-zag patterns.
-
Allow the soap to set, Then demould and slice into bars. Enjoy!

