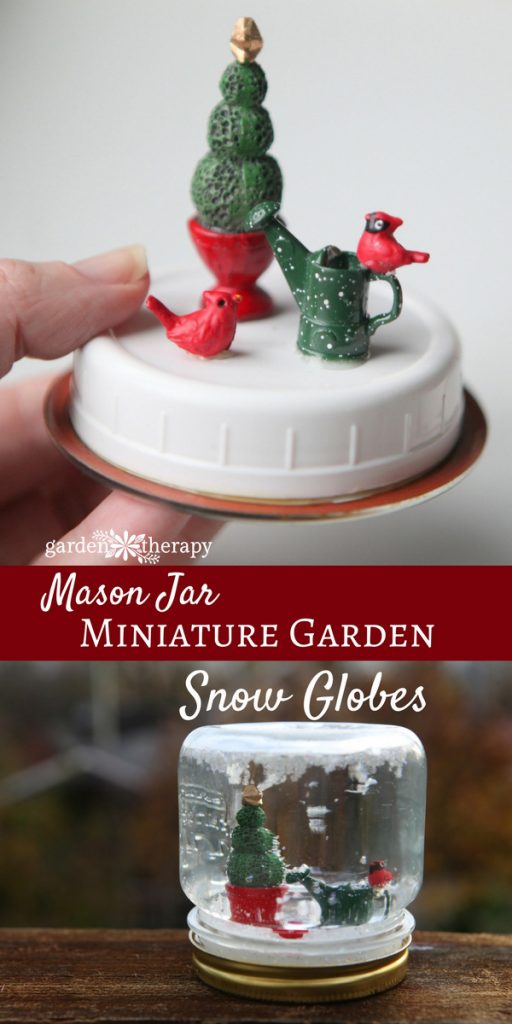
Snow globes are a magical wonder, showcasing tiny scenes where snow is always whimsically falling. Making your own Mason jar snow globe is surprisingly simple with easy-to-find materials. Personalize the scene inside, and you’ll have a beautiful decoration to display every holiday season.
Is there any more quintessential winter object than a snow globe? There is something about these tiny snow-covered winterscapes that fills us with a sense of nostalgia and wonder.
Making your own is easy and fun, and all you need are a few simple materials that you may already have around the house.
This Mason jar snow blog is fun for kids and adults to make, and having your very own personalized snow globe feels magical, no matter what your age.
This post will cover..
How to Make a Mason Jar Snow Globe
For this project, you can easily use a Mason jar or a different glass jar and lid you have available, as long as it’s air-tight. Feeling extra creative? Make your miniature objects yourself out of polymer clay.
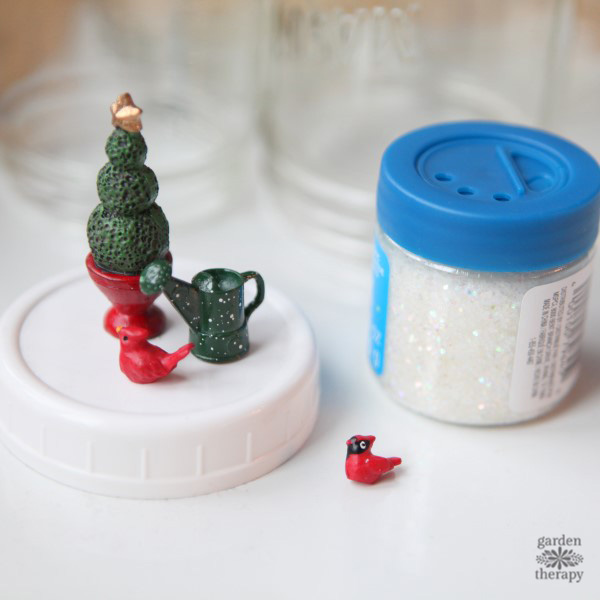
Materials
Make It!
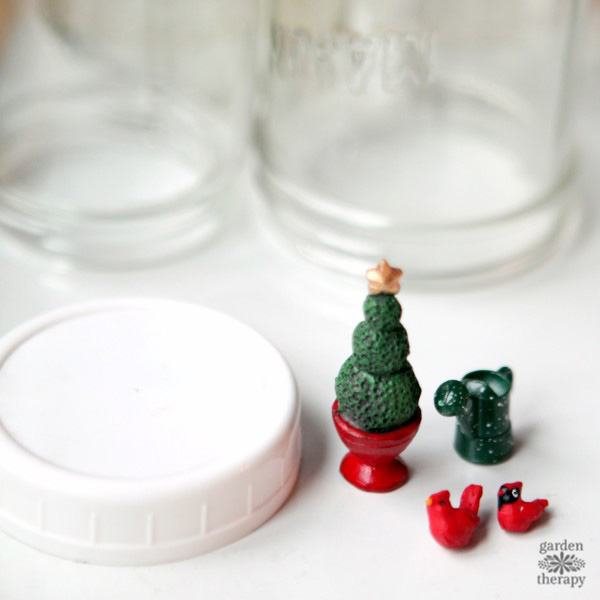
First, choose the objects you want to use and try setting them up in different ways until you get the scene you want. Try holiday or winter-themed items or objects in red and green for a Christmassy snow globe.
Or do something wild and unexpected, like a tropical scene. It’s completely up to you! I chose garden-related objects with a holiday theme.
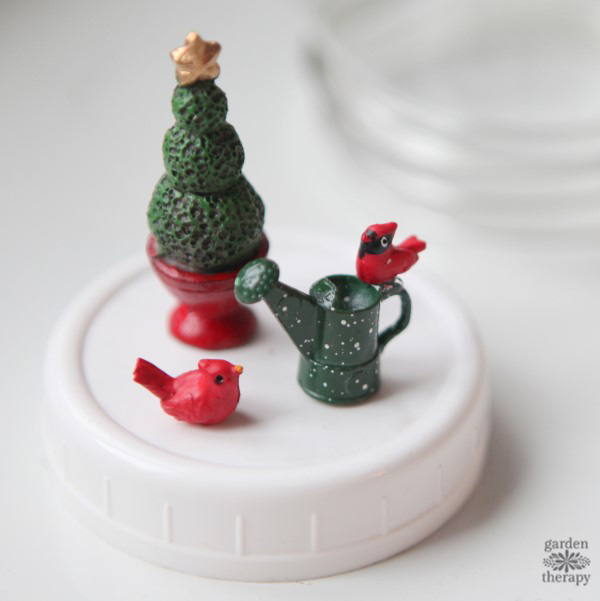
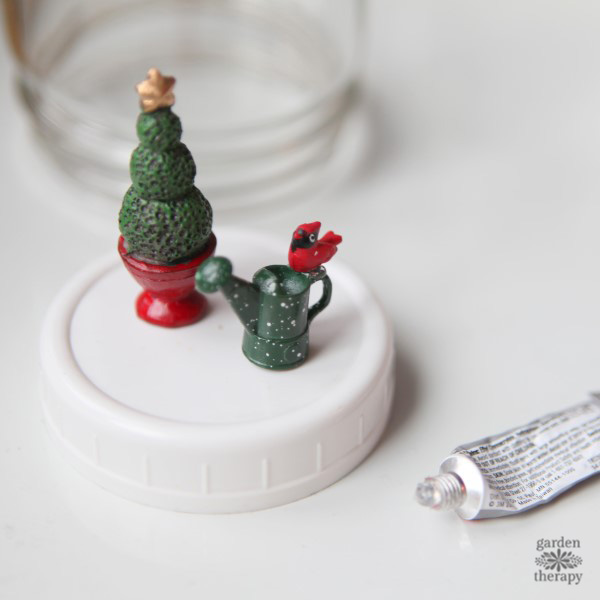
Position your objects on top of the plastic canning lid, the way you want them to be laid out inside the snow globe.
Keep your scene small enough that everything fits easily in the center of the lid. The glass of the Mason jar will magnify the scene, making the snow globe look fuller once it is all put together.
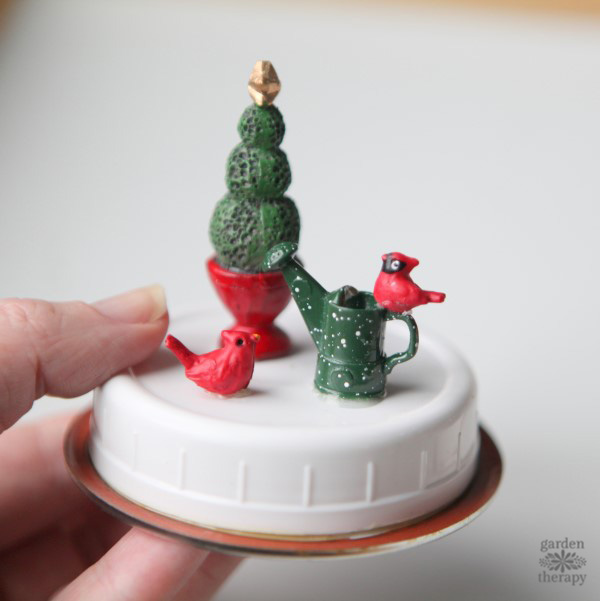
Use the waterproof adhesive to glue down the objects in the positions you want them in.
Allow the adhesive to dry for a few hours to make sure it is completely set.
Glue the plastic lid down onto the underside of the snap lid, making sure not to get any adhesive on the orange ring around the outside edge of the lid. The orange ring is the seal, which will not work to keep liquid inside if it gets glue on it.
Some waterproof adhesive expands when they dry, so keep that in mind and give yourself some extra room around the snap lid’s seal.
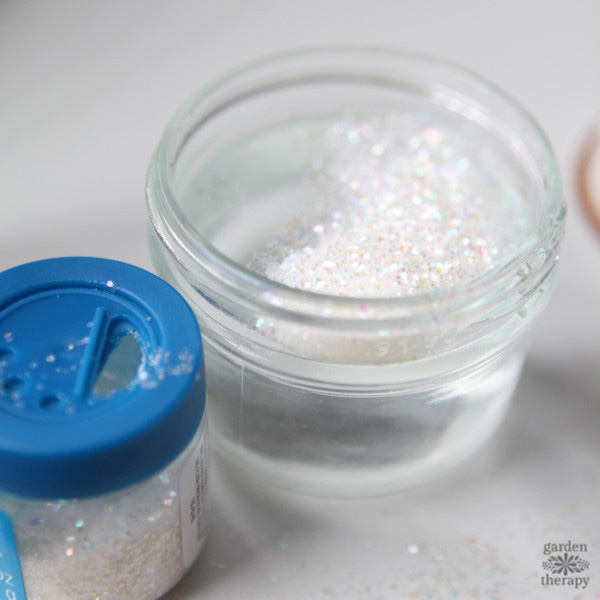
Fill the jar with water, glycerin, and some glitter. The consistency of the mixture will be different depending on how much glycerin you add.
The glycerin makes it thicker so that the glitter falls more slowly, so start with mostly water and add glycerin gradually until you like how the liquid moves the glitter when you shake it up.
I used fairly small glitter, but not superfine. It clumped together a bit, which made it look more like snow.
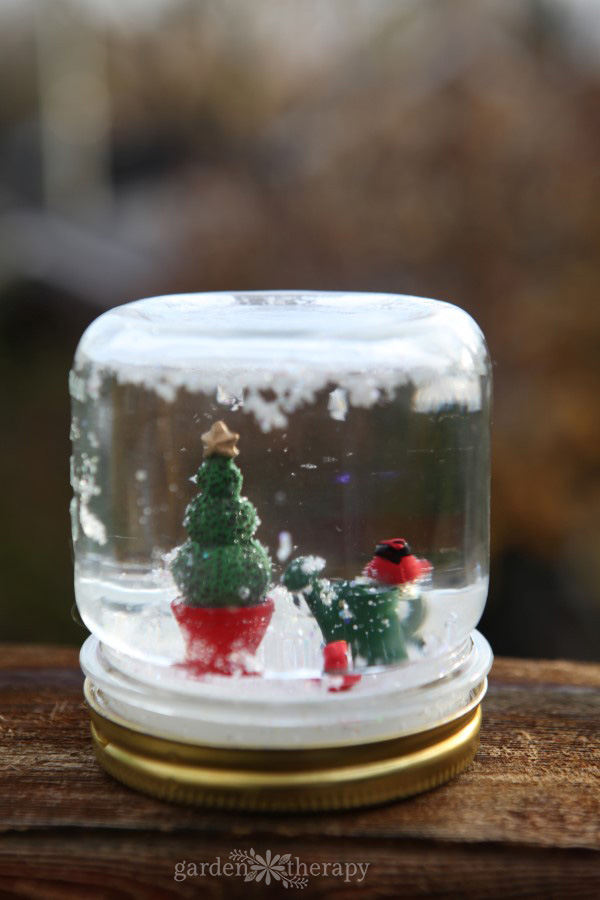
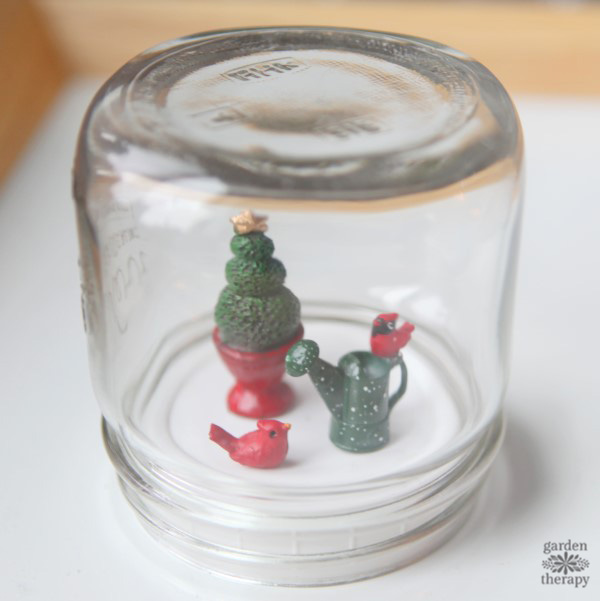
Now it’s time to put the snow globe together! Add a bit more water to the jar so that it is very full. You’ll want to do this next step over the sink, as there will likely be some spillover.
Carefully screw the lid onto the jar so that the miniature scene stands up inside it. If your jar has writing or patterning on one side, try to position the scene so that it faces the part of the jar that is completely clear and smooth to give you the best possible view.
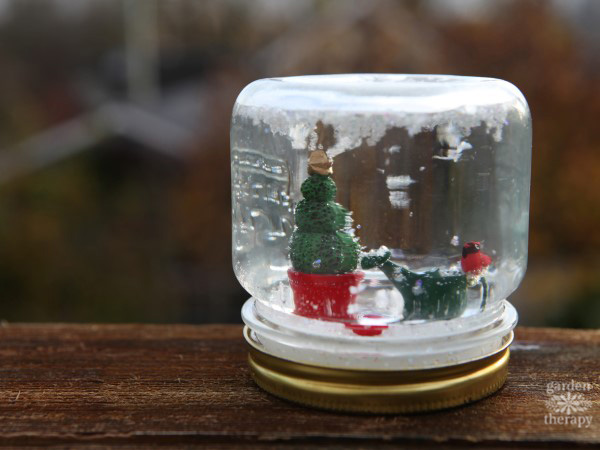
Wipe off any liquid that spilled over the sides, and seal the lid with waterproof sealer so that the ring stays in place permanently. Turn the jar upside down, and you have a whimsical snow globe ready to set somewhere in your home or give as a gift.
Mason Jar Snow Globe FAQ
Thankfully, there are many eco-friendly glitters available now. They’re slightly pricier, but it’s worth it to not be contributing any more microplastics.
I originally made these snow globes many years back, so I have not had the chance to try ones with eco-friendly glitter yet. Since they’re designed to break down, they might slowly fade over time in the snow globe, but I’m not positive. If anyone tries this out, please come back and let me know how it does!
You need an airtight container. Even though you will use a waterproof sealer to secure the snowglobe, you want to ensure the lid and the container are a good fit.
Also consider a jar with writing on it. If yours has writing on it, this will play a part in where you position your scene inside the snow globe.
Avoid using tall glass containers and opt for rounder and shorter glass jars.
My snow globes use a combination of water and glycerin (and glitter). The ratio depends on what type of glitter you use. 50/50 is a good place to start, but play with it depending on how you want your “snow” to fall.
More Crafty Christmas Projects
A city girl who learned to garden and it changed everything. Author, artist, Master Gardener. Better living through plants.